 83867
83867
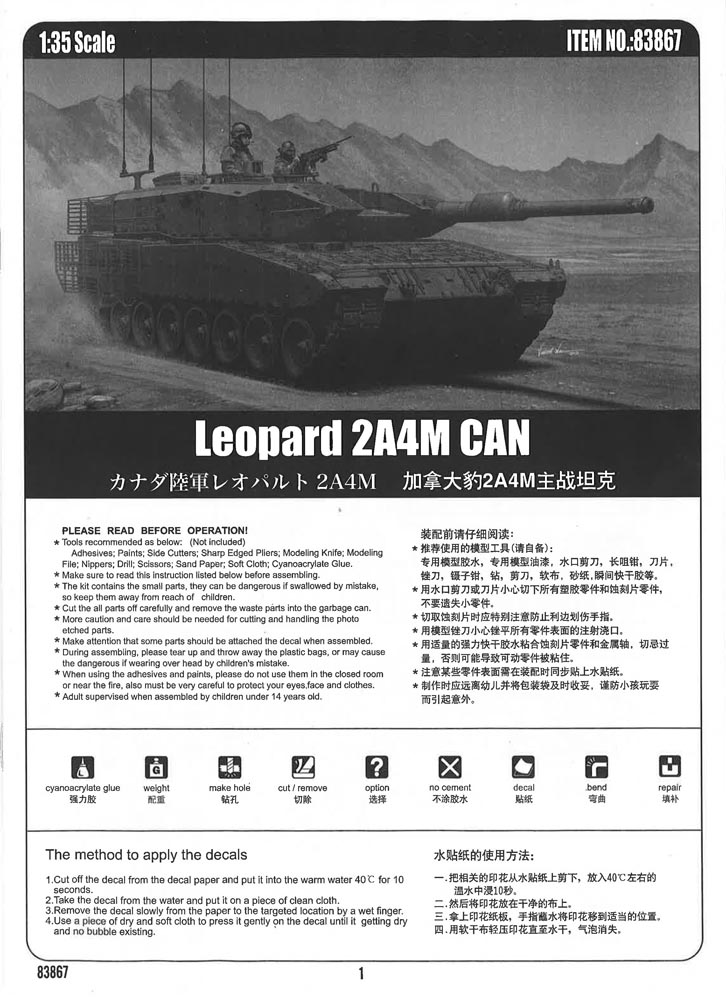
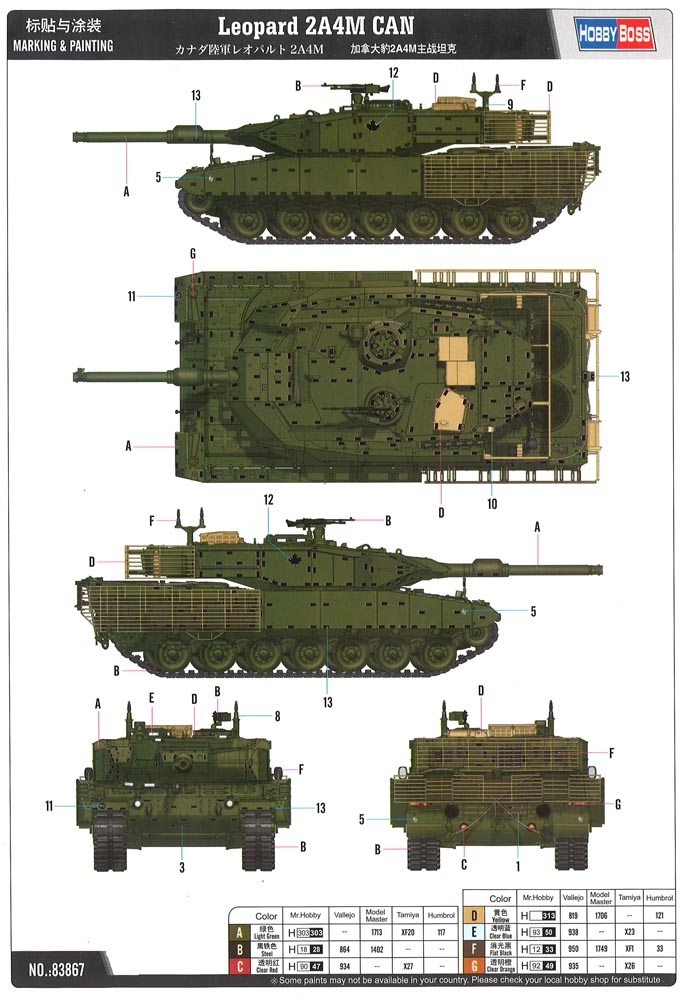
Scale: 1:35
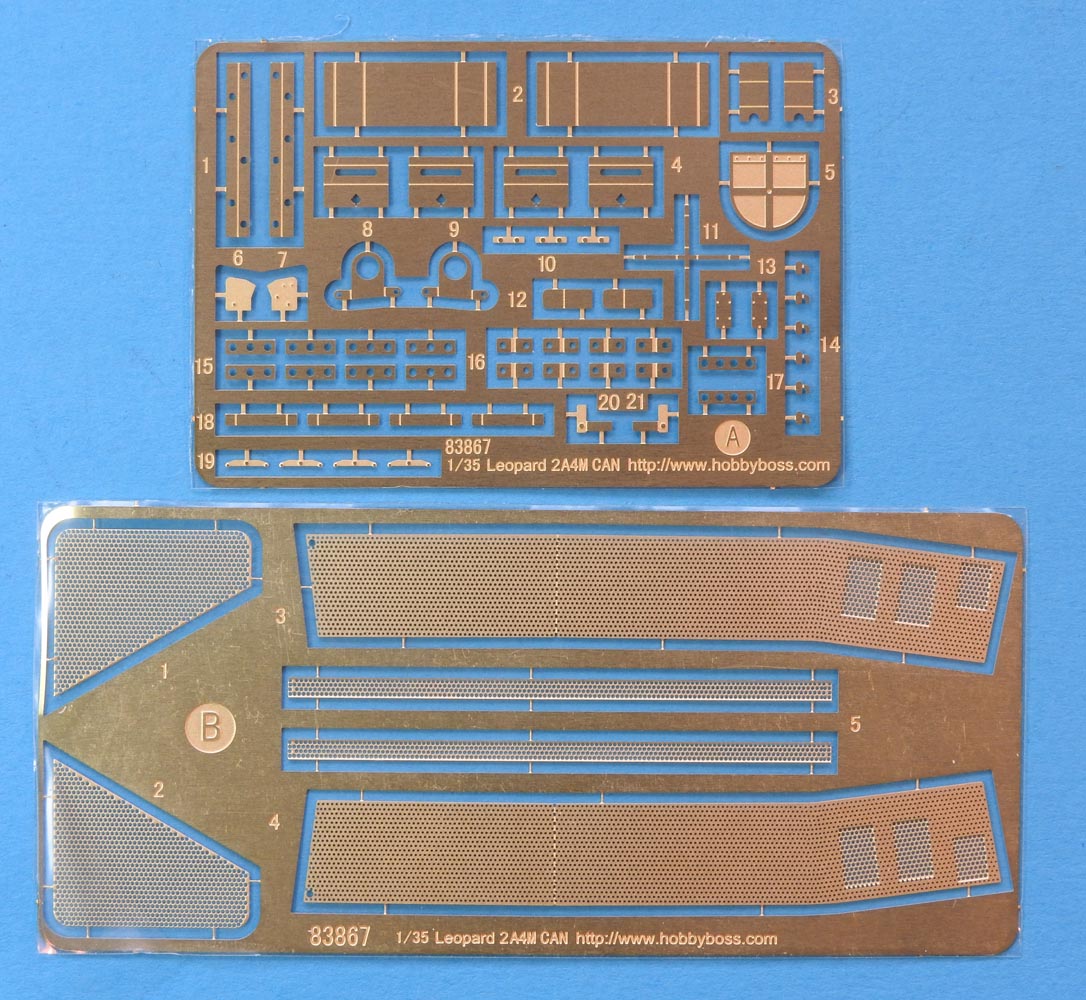
Media: injection moulded plastic, vinyl, wire, photo-etch
Reviewed by Michael Shackleton
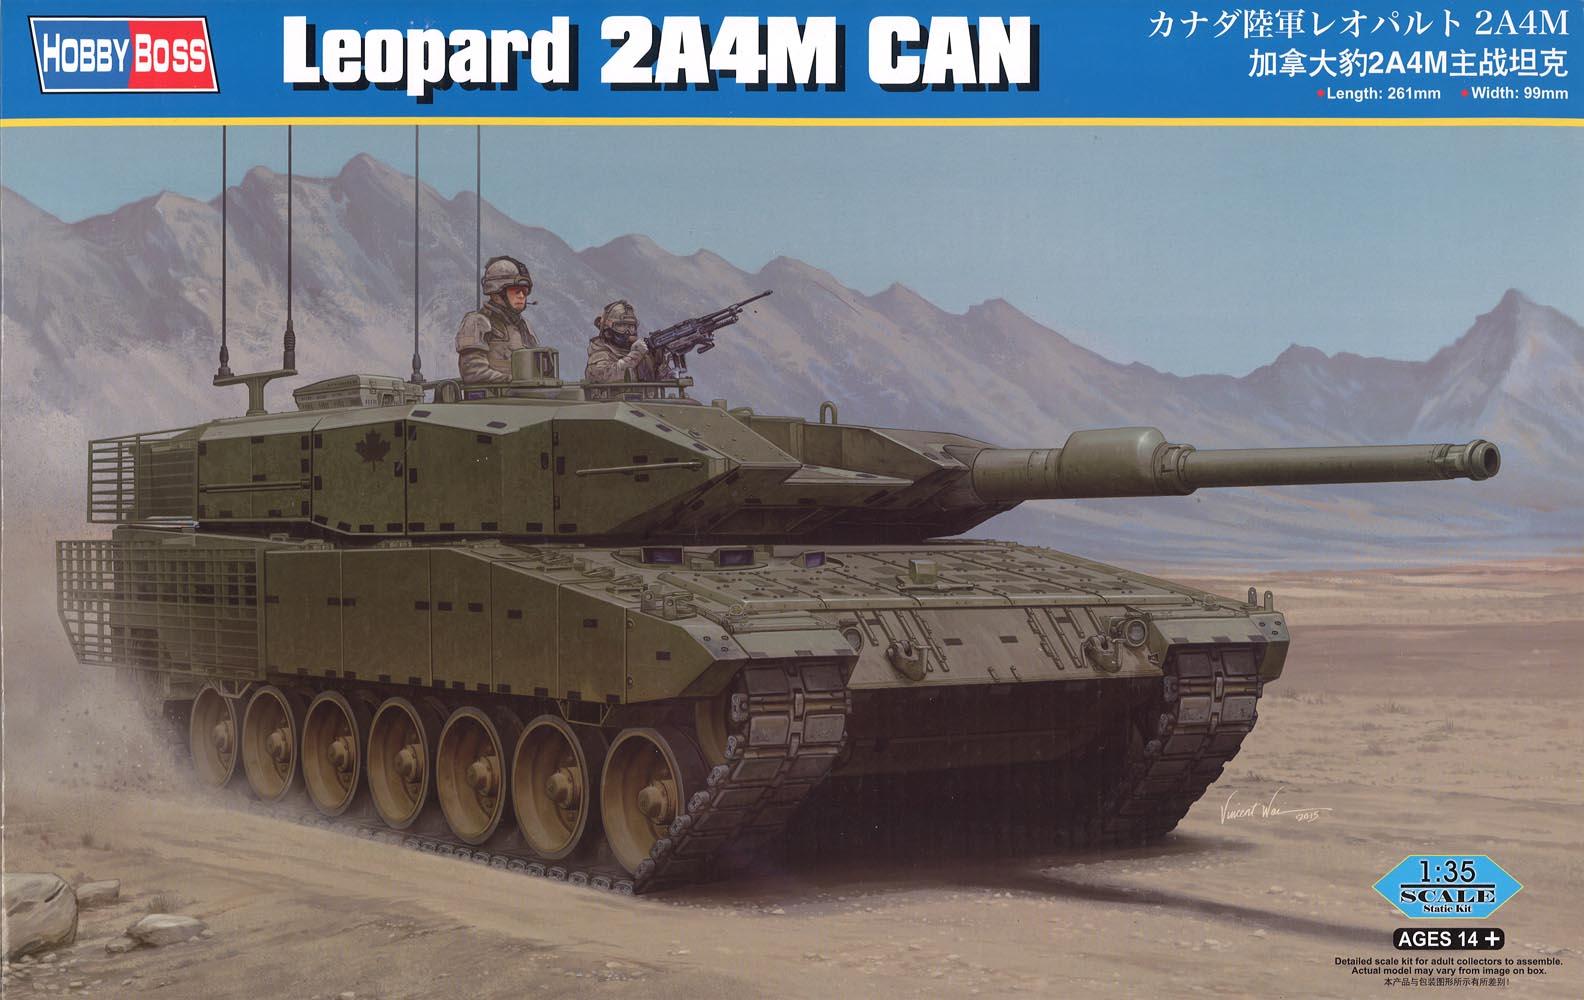
HobbyBoss have, at last, come good on their Leopard 2 range. The Canadian 2A4M CAN has been long anticipated, but there has always been the fear that it might not be up to scratch after HobbyBoss's poor renderings of Leopard 2 in the past.
Well, let me put those fears to rest. First impressions are of a huge box filled with what appears to be an excellent kit. A very definite improvement over any previous HobbyBoss Leopard 2 - and what a relief that is!!
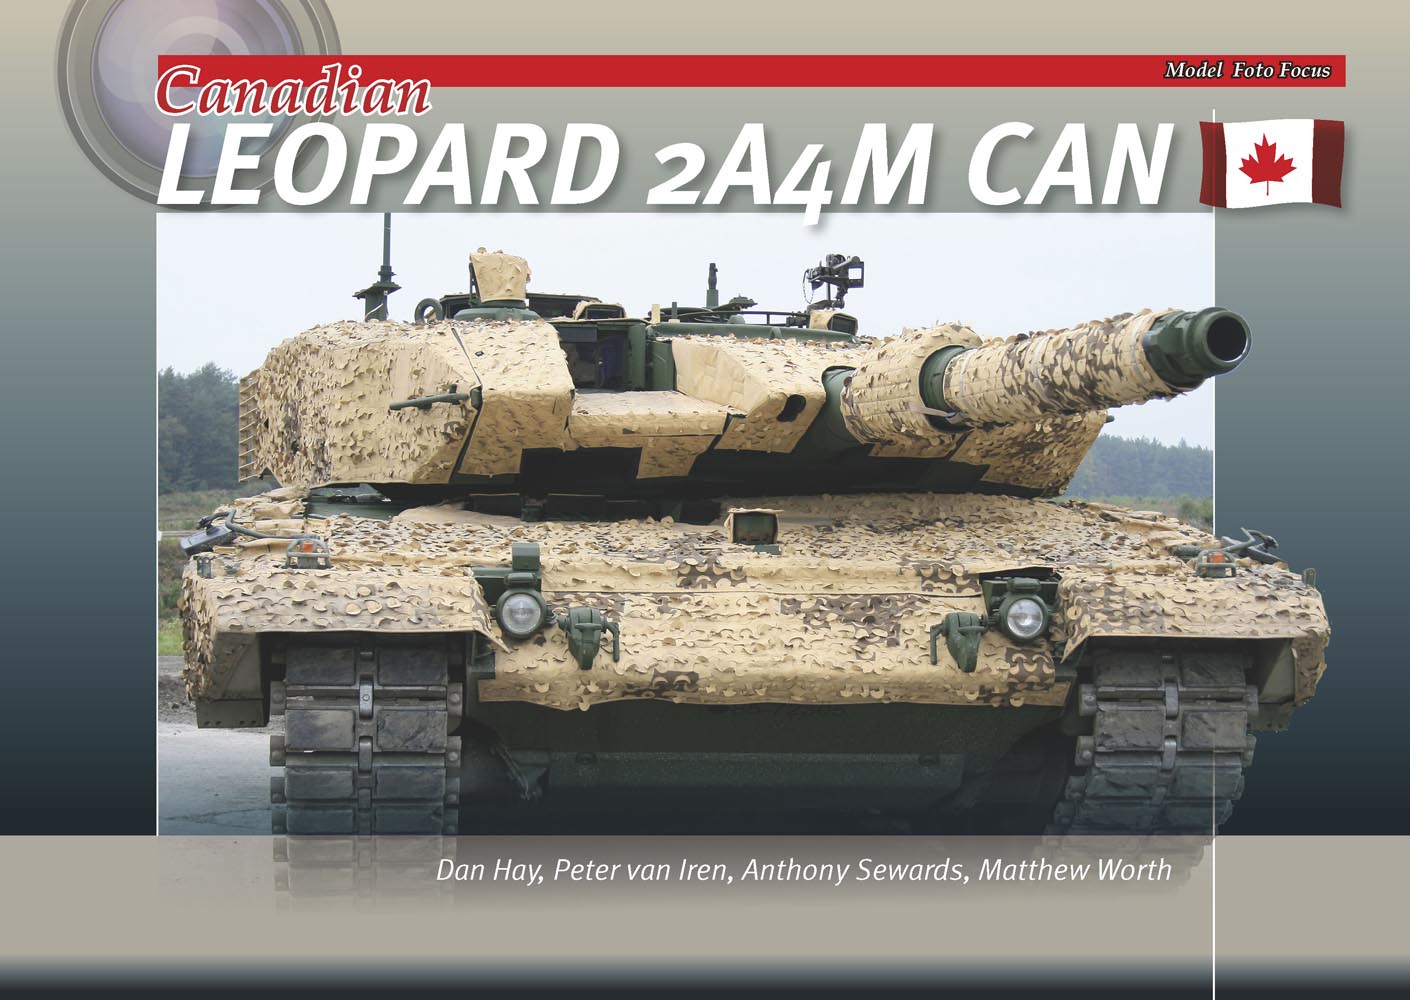
The first thing to notice is the box itself which IS BIG! On the side of the box are my two Canadian friends, Jason Bobrowich and Anthony Sewards, both of whom have been credited as they have guided HobbyBoss through the research on this kit.
Everything inside is well packed and certainly fills up the box.
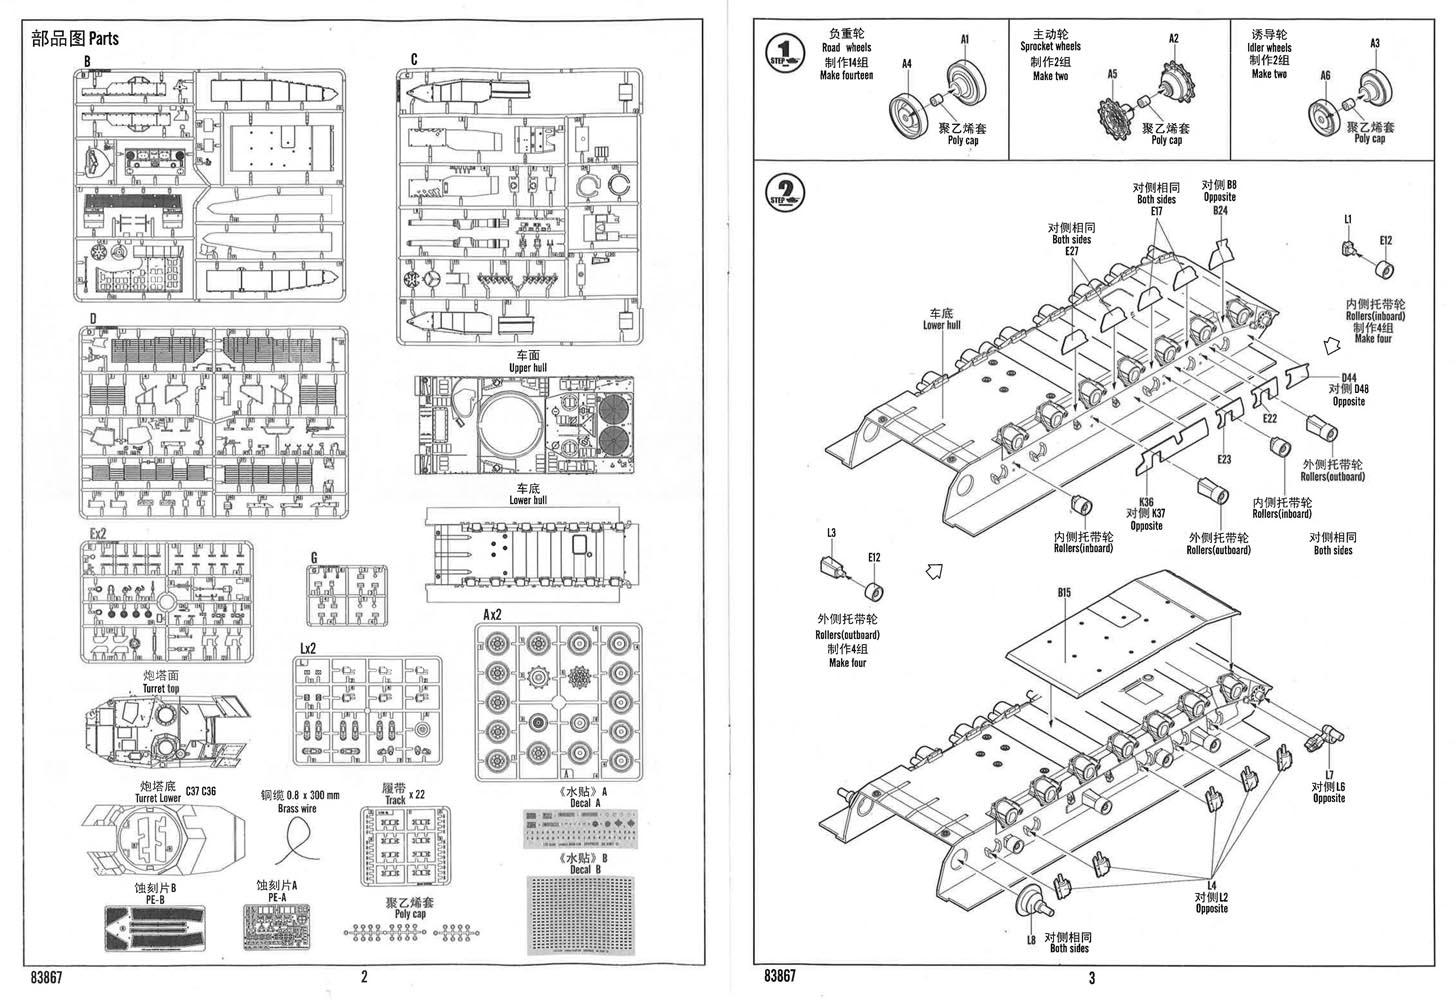
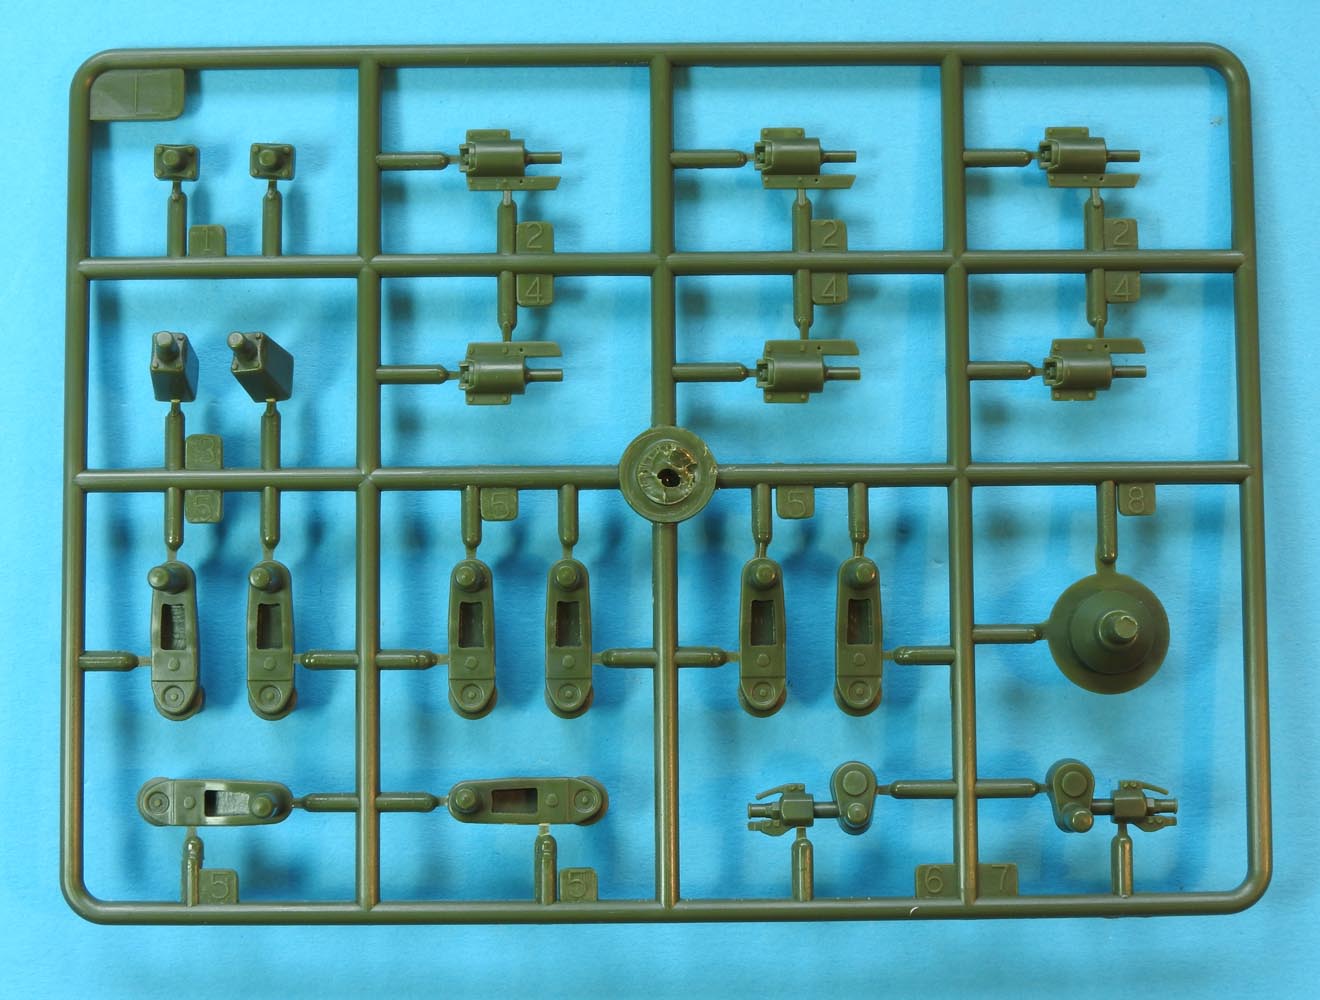
The sprue breakdown is conventional and exactly what you might expect of any tank model. However, the tracks are not vinyl - there is no option. You get individual links in styrene. More on these later.
Options are few and far between, just one in fact. However, one very important option is not even mentioned in the instructions. The instructions assume that the slats are fitted at all times. They are NOT! There is no mention that in-service machines are NOT usually fitted with slats. The only occasion the 2A4M CAN had slats fitted were during operations in Afghanistan, for a very short period before Canadian forces were withdrawn in July 2011. Even then, the tanks were fitted with Barracuda MCS over the hull and turret, and this kit does not include Barracuda. Before returning to Canada, the Barracuda and slats were removed, and this is how they serve in Canada.
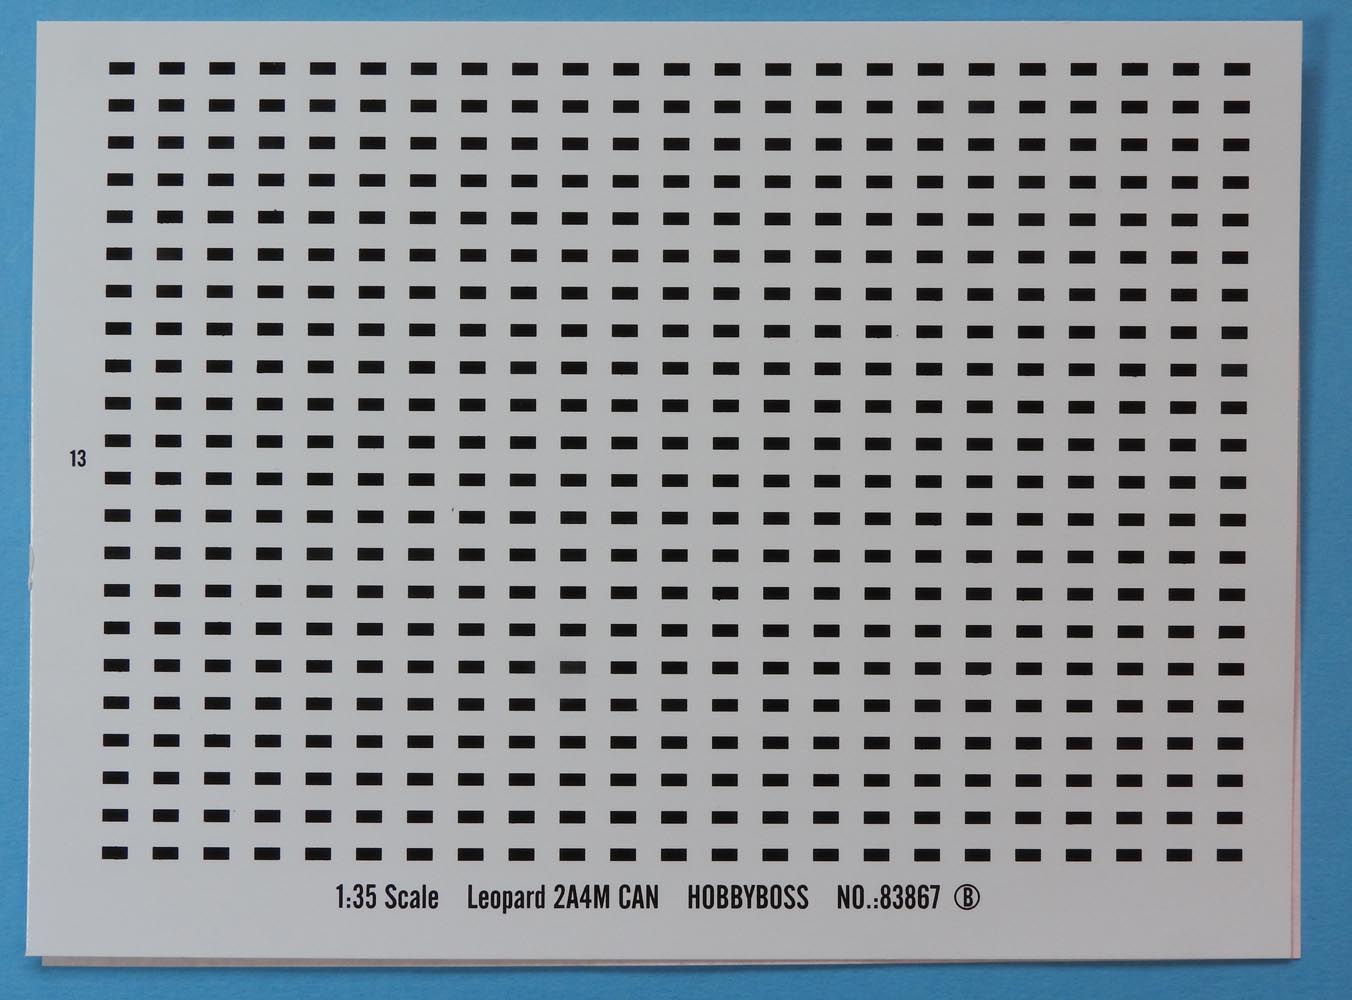
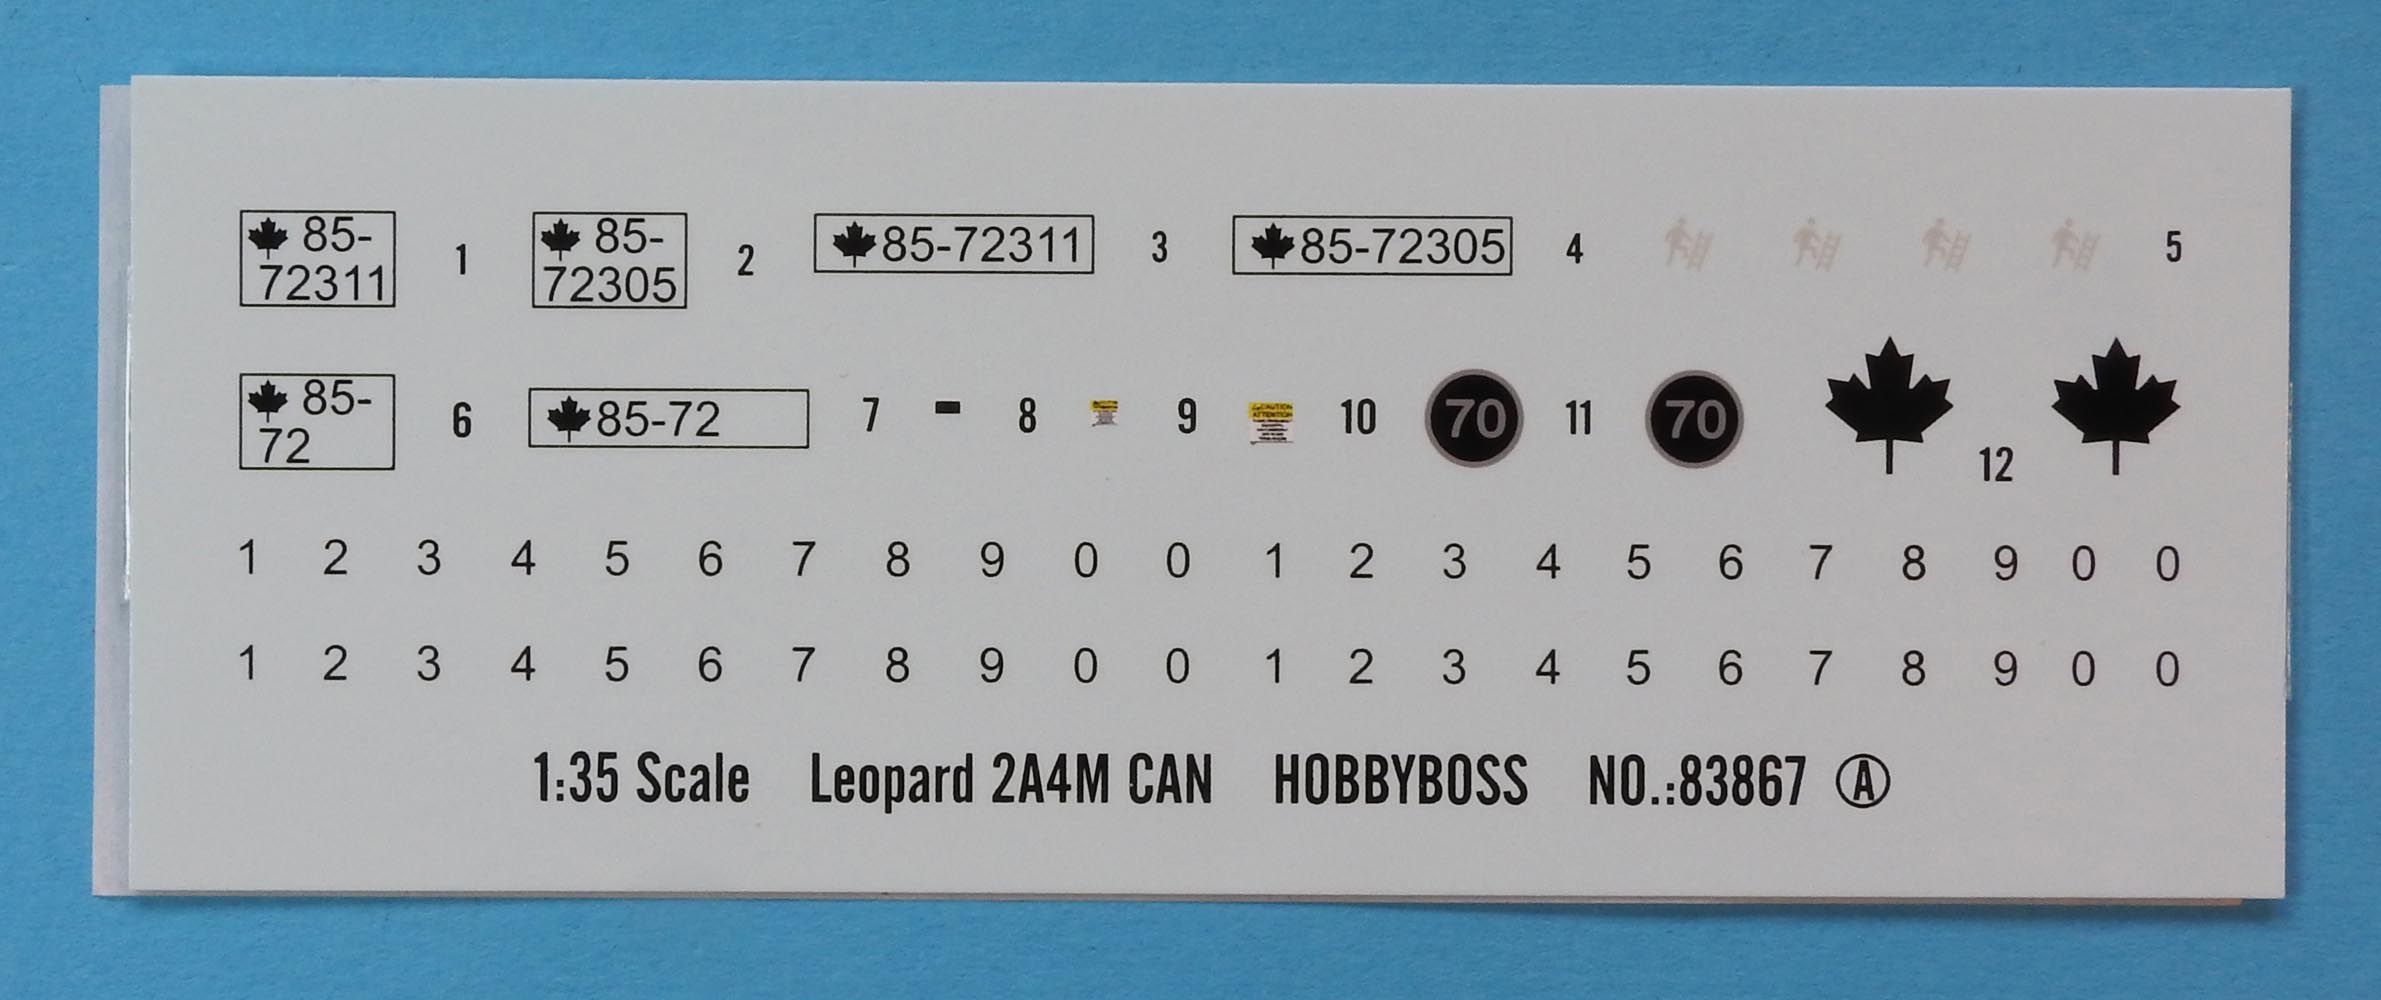
Markings, not surprisingly, are limited to Canadian only, but all of the Velcro strips are included as separate decals!! Only 506 of them!!!
As I go through, you will have to excuse my references to possible Leopard Workshop improvements.
Reference for these tanks can be found in the excellent Trackpad Publishing book, Canadian Leopard 2A4M CAN (to which Anthony Sewards also contributed), which is available from Trackpad Publishing.
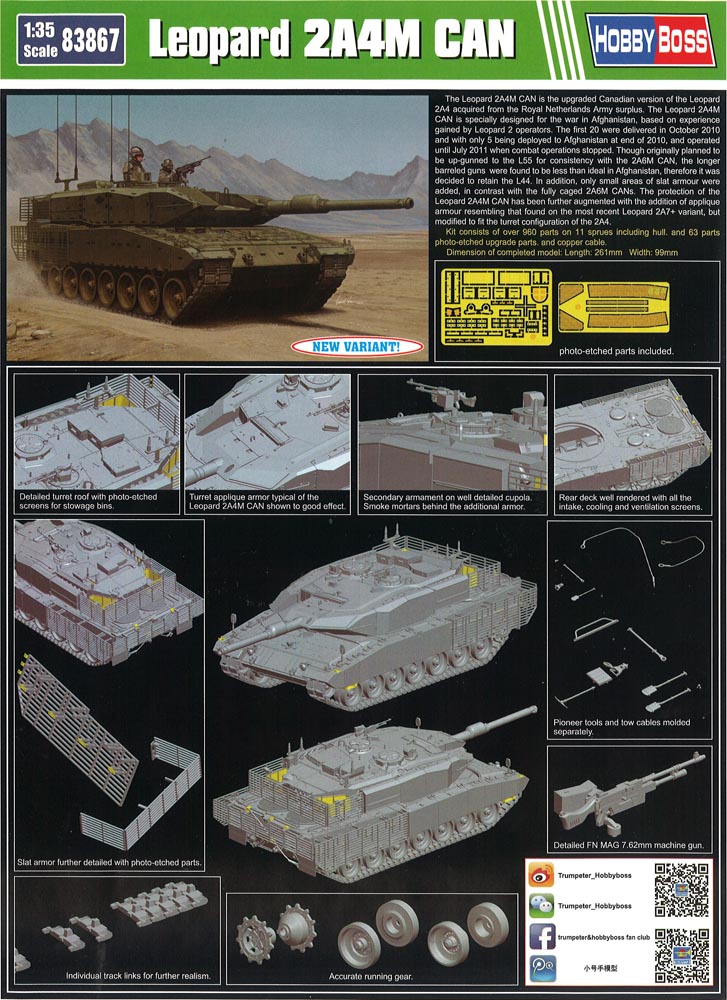
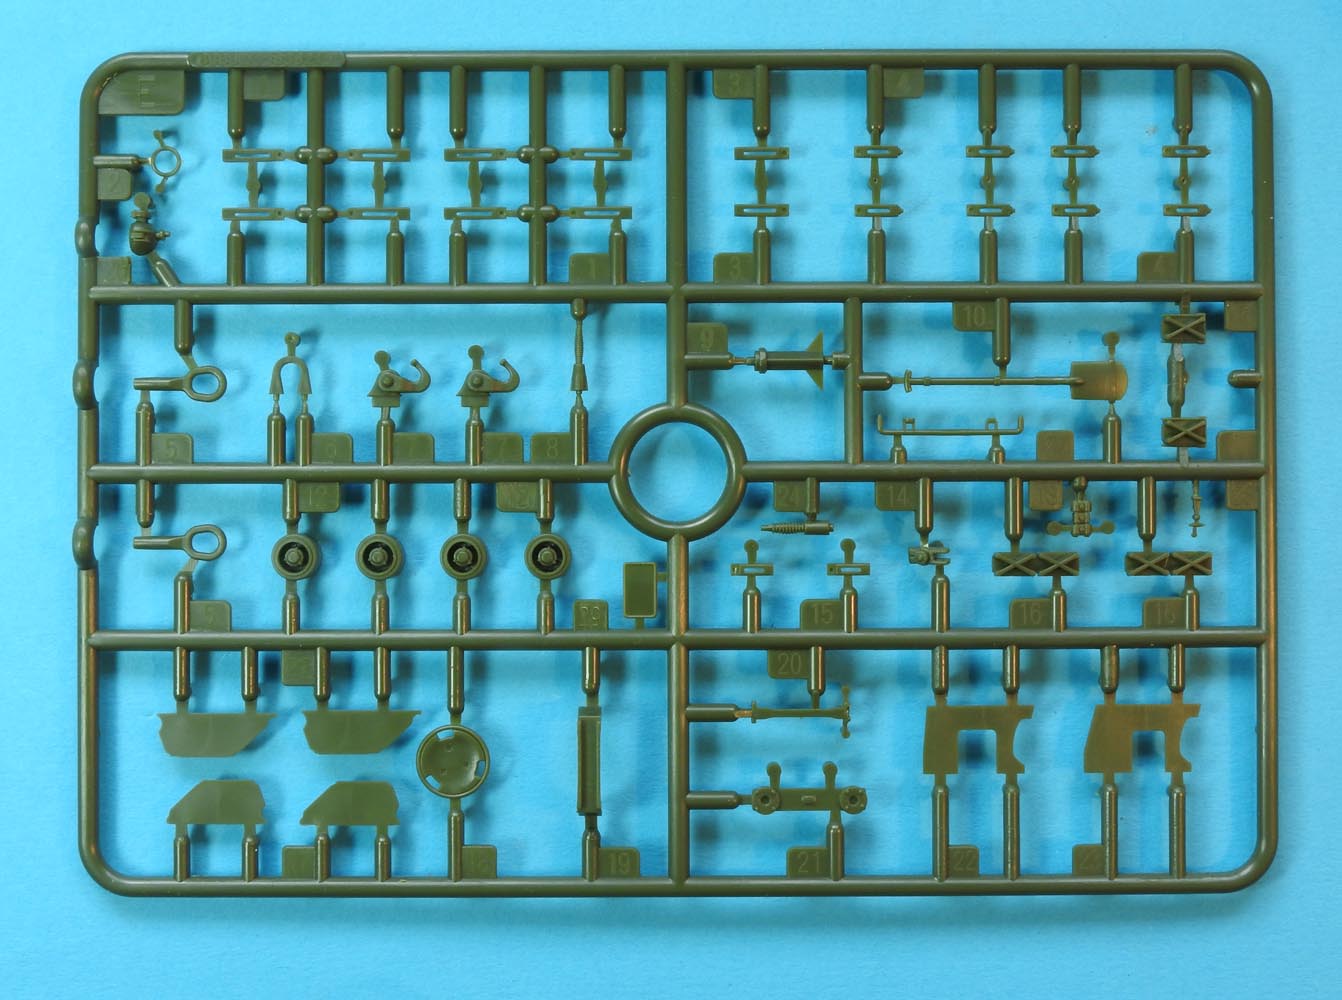
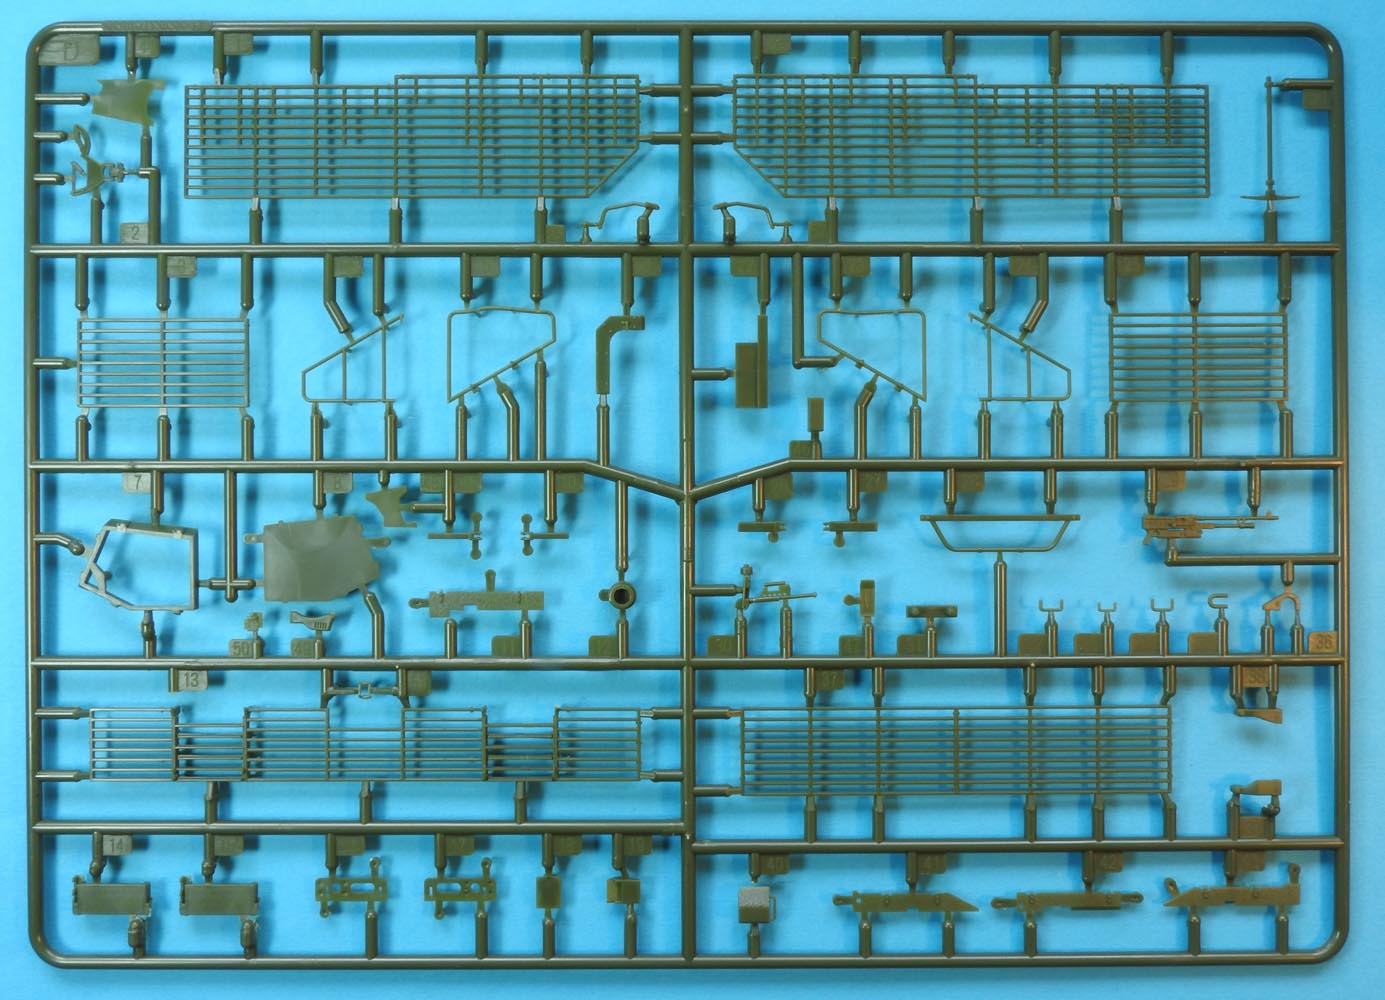
There are eight sprues, three of which are duplicated twice. One sprue is duplicated 22 times (the tracks). One sprue is clear and includes periscopes and headlight lenses. In addition, we have hull top and hull bottom, turret top and turret bottom, two etch frets, vinyl polycaps for the wheels and a piece of wire for the tow cables. All of these are in separate polythene bags with the slat sprue and clear sprue additionally protected in an envelopes of soft foam.
The quality of the parts is top-notch. This model is a vast improvement on ANY previous HobbyBoss Leopard 2 kit, second only to Meng's latest offering, and certainly on a par with Tamiya's 2A5 and 2A6.
The instructions are in a relatively simple 12-page booklet. Construction looks very simple as it is covered in 13 building stages.
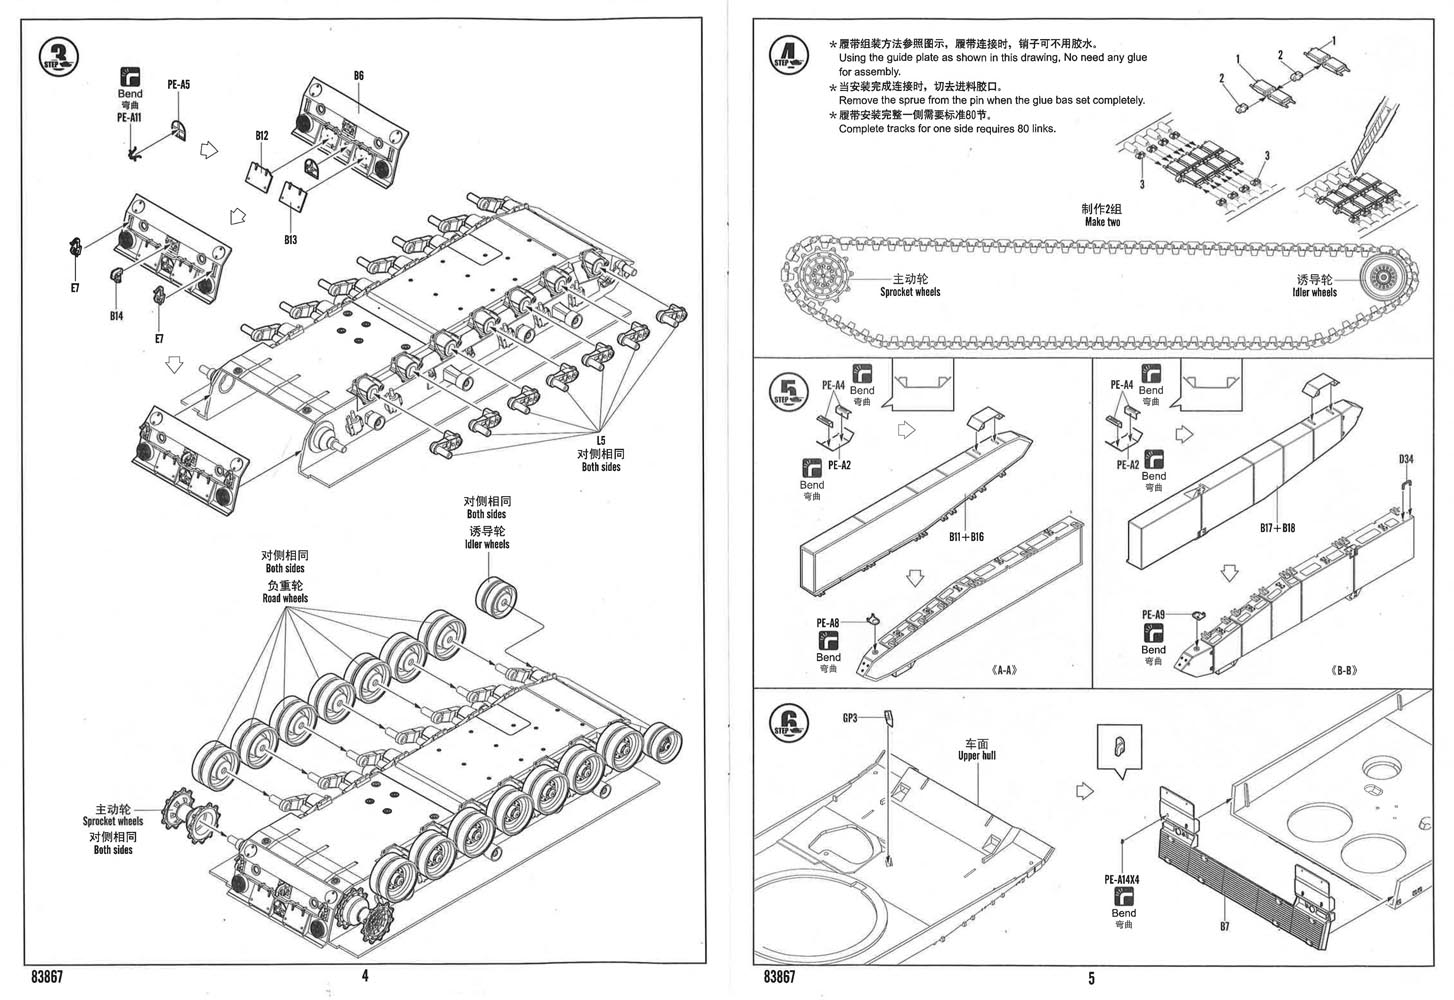
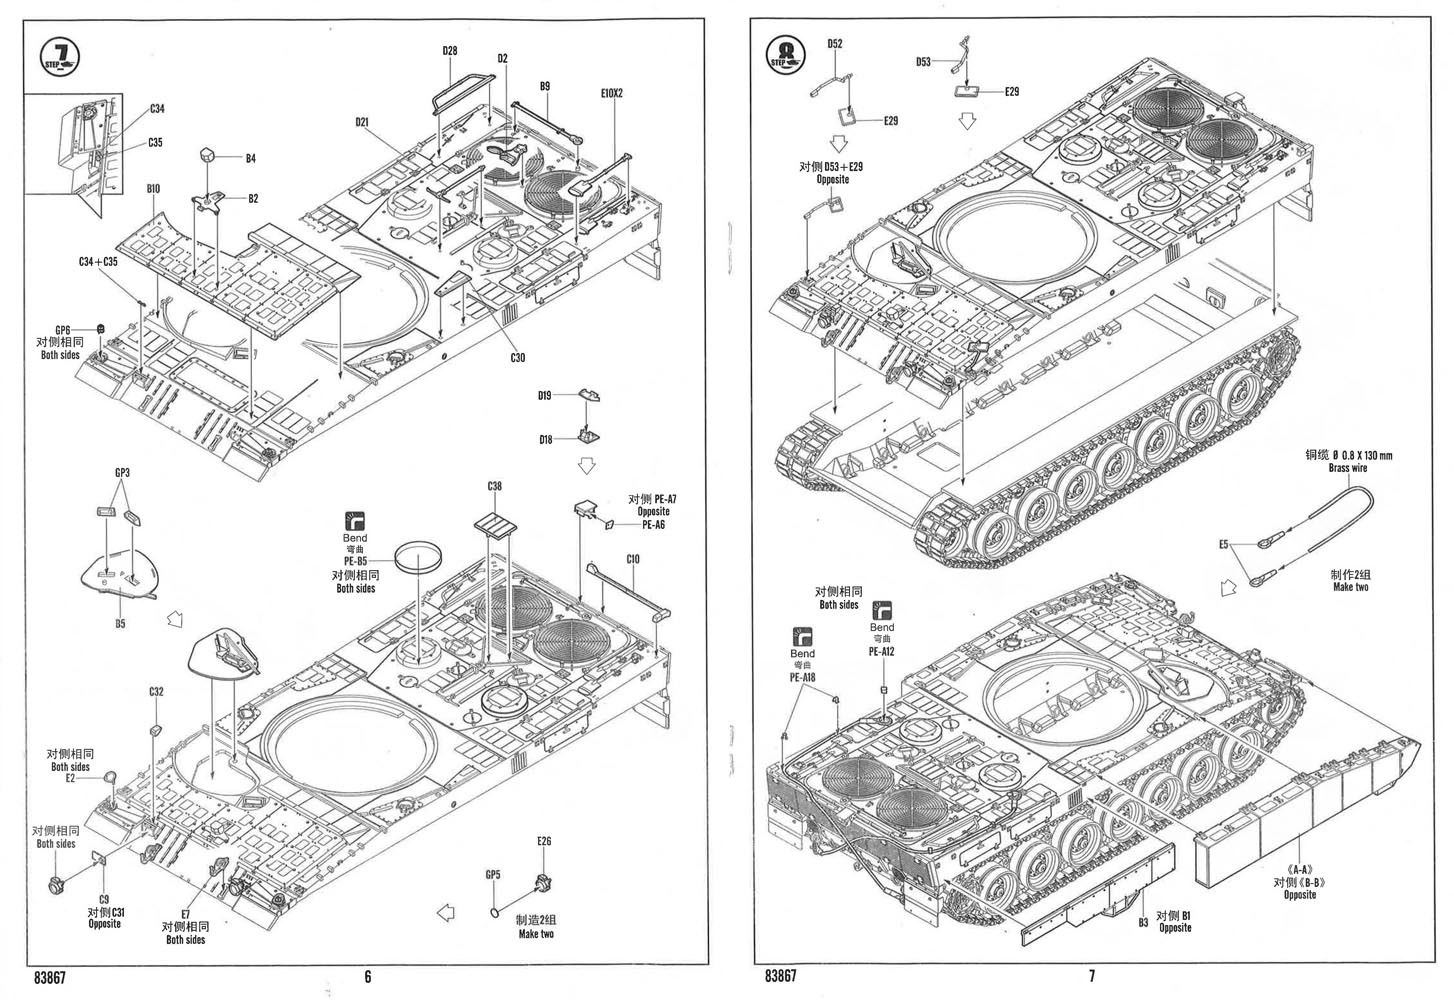
There is nothing unconventional about this kit. Thank goodness the suspension does not have the now-usual torsion bars. Simplicity seems to be the name of the game in this kit, and it is all the better for it.
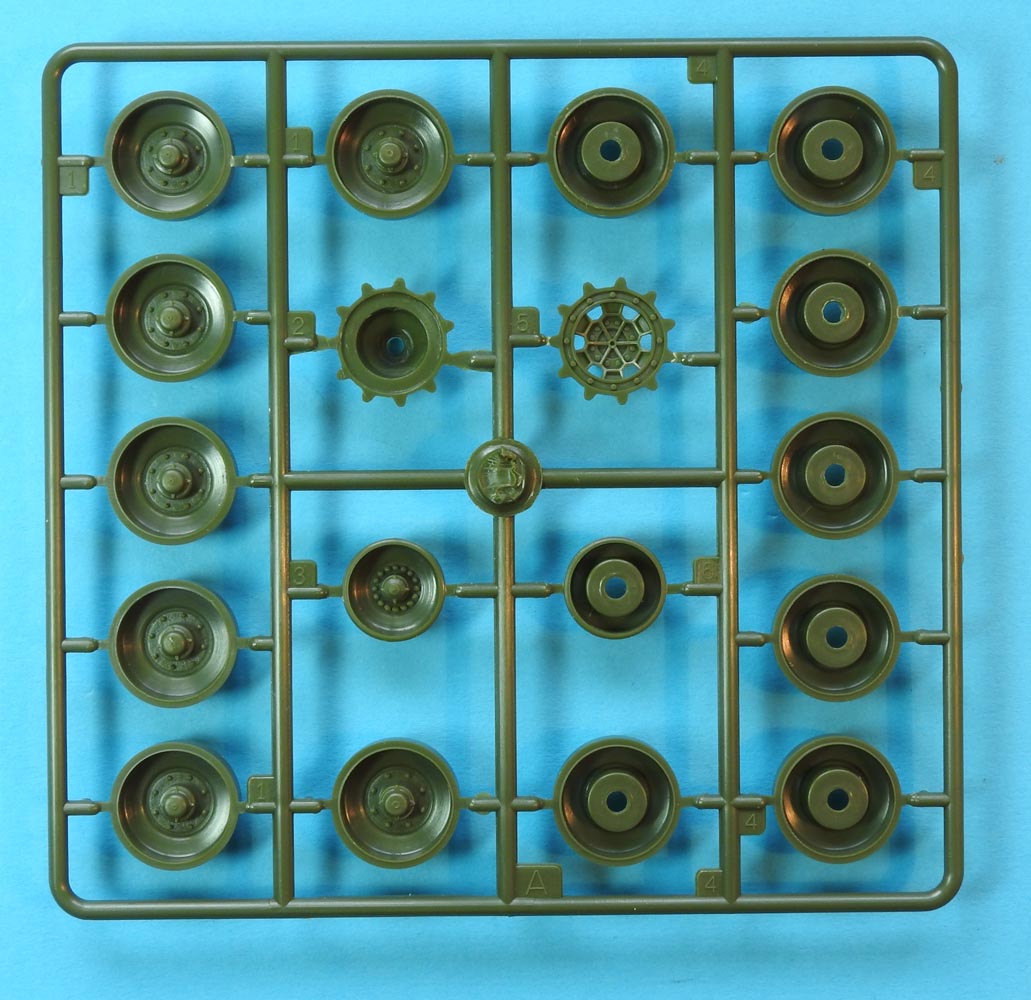
All wheels have polycaps which is good for Leopard Workshop! The rear faces have huge drum shapes to house the polycaps which, of course, are totally inaccurate. Detail on the outer faces is nice, but I feel the inner rim faces are too angular and should have a slight curve on them. Accurate wheels are available as LW013. I have checked the fit and the new HobbyBoss axles are a little thicker than the Leopard Workshop axle holes which were designed for the original HobbyBoss/Tamiya wheels. However, with a little drilling to make the hole slightly larger, they will fit.
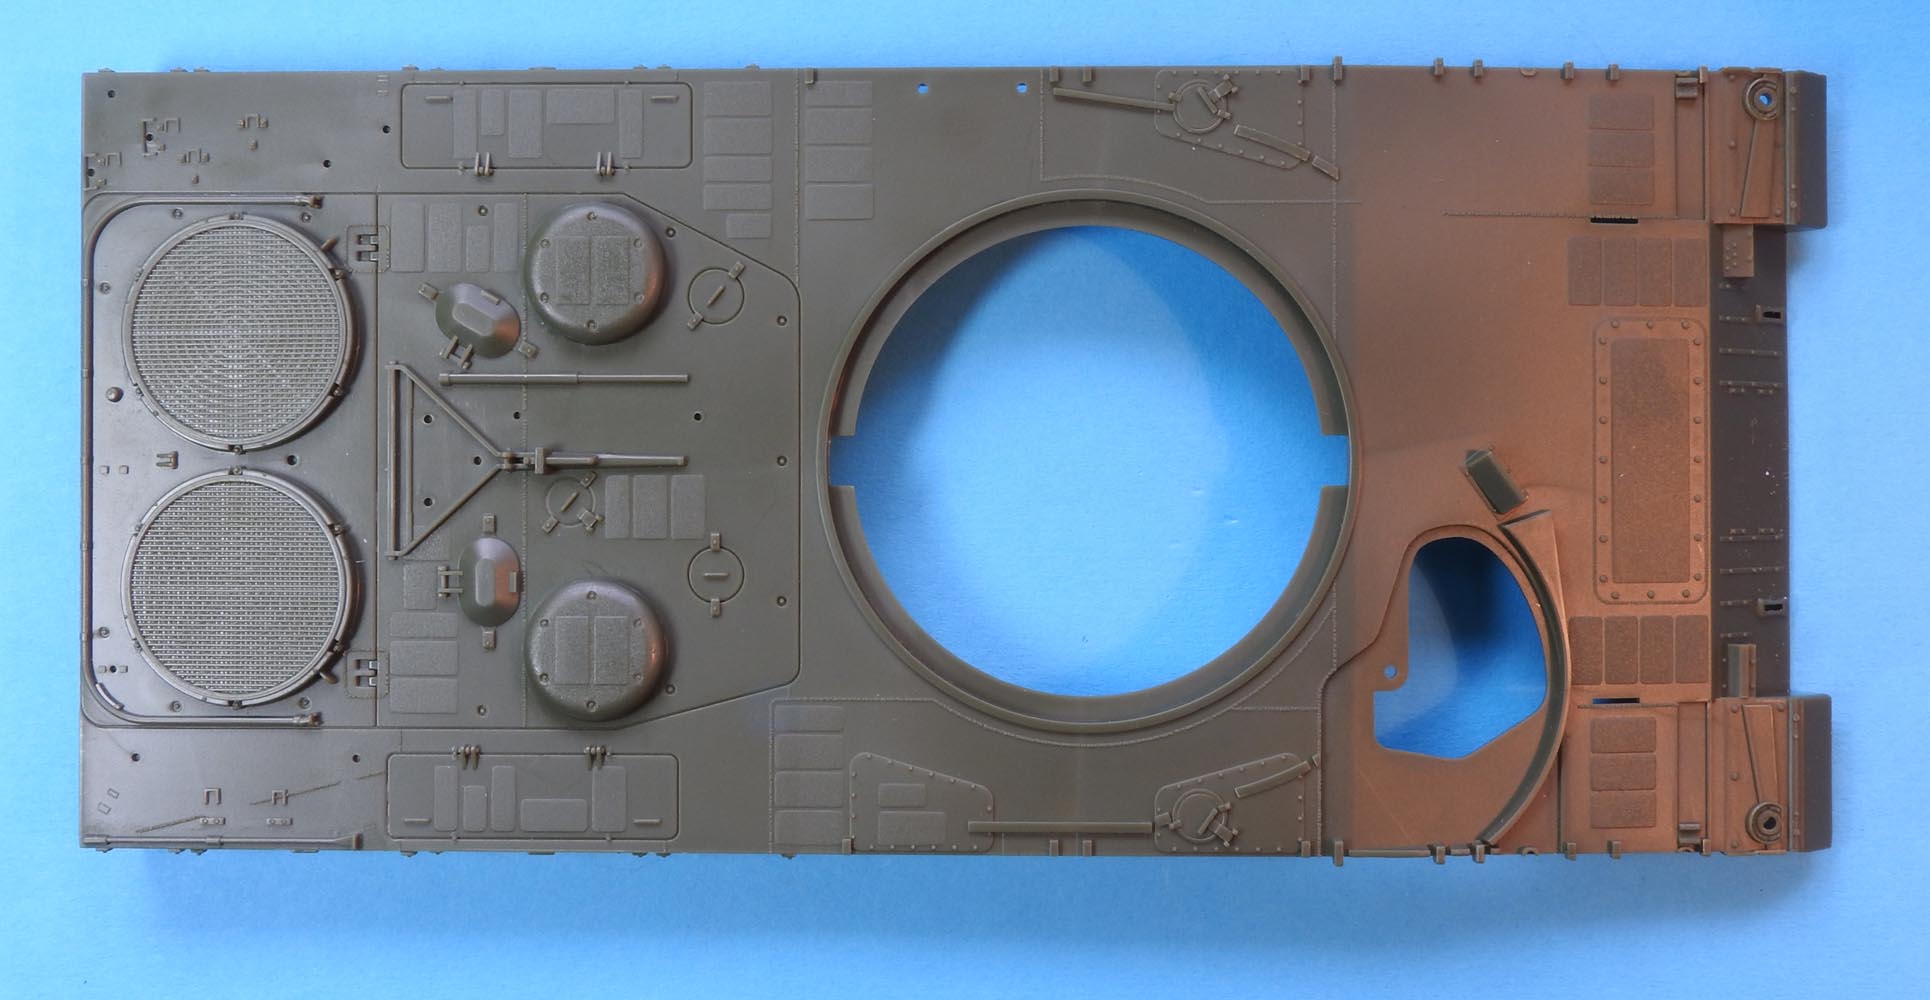
The hull tub is beautifully moulded. It has three reinforcement strakes under the rear of the engine compartment which is a late mod on 2A4s, particularly those for the export market. If HobbyBoss decide to do any further (earlier) 2A4s, they will have to engineer these off. Under the hull tub is a belly armour plate and the sides of the hull, behind the suspension, also has small appliqué armour plates, all to be added separately.

The hull top is even better. Everything is very well presented including the weld lines which all have subtle texture on them. The non-slip patches seem just right, certainly nothing to complain about there. Grab handles are solid but are easily replaced with wire. The later twin deck grilles with rubber dampers are represented. These dampers were first introduced in 2004 as part of the 2A5/2A6 programme. The grille covers are moulded really well showing the rings underneath the top mesh. No brass here. Moulded onto the sides of the hull are the mounting points for the slat armour. As with the reinforcement strakes, these mounts - and the damped grilles - will have to be engineered out for earlier 2A4 variants. As I said, simplicity is the name of the game with this kit without any alternative or confusing options.
One thing might be a problem - in all Leopard 2 kits from most manufacturers except Revell's latest. Leopard 2 has a large turret and a common complaint is that the hull top sags when the turret is mounted, meaning the long turret bustle often touches down on the rear deck. Looking at the hull top straight from the box, this kit does not have a warp. However, to keep it from warping with the turret in place, I would advise gluing in a rectangle of 40 or 60 thou card 93 mm x 5 mm - across the inner hull behind the turret ring - to strengthen this up and help support the turret.
The hooks and eyes on the hull front and rear are moulded in one piece. Leopard Workshop have more accurate positionable renditions complete with chains (LW025). These also come with machine gun travel locks which are missing from this kit and most other Leopard kits.
The fit of hull bottom to hull top is perfect, with no warping on my example (unlike Meng's 2A4 where some complained).
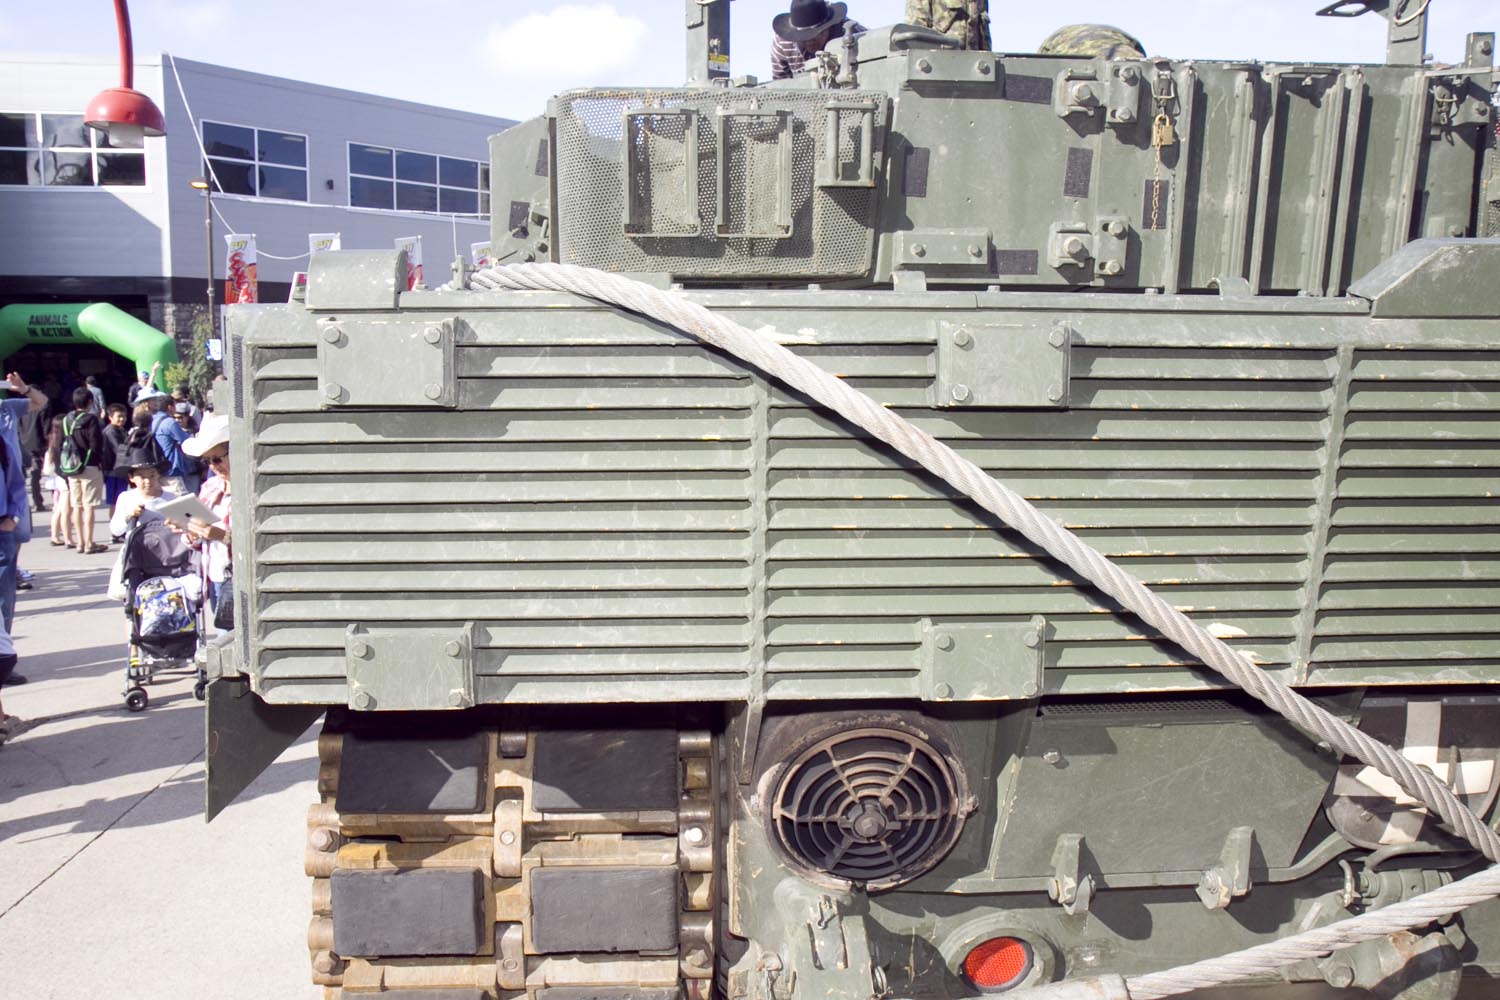
The worst point is that HobbyBoss seem to have an affliction when it comes to the rear hull of Leopard 2, or more specifically the rear grille. Real Leopard 2s have 11 slats. This kit has 12 slats! I only counted them because some of HobbyBoss's previous Leopard 2s have also been incorrect. Here they carry on the inaccuracy tradition, I'm afraid.

HobbyBoss - please take note. 11 slats in future, please. Thanks to Dan Hay for the photograph.
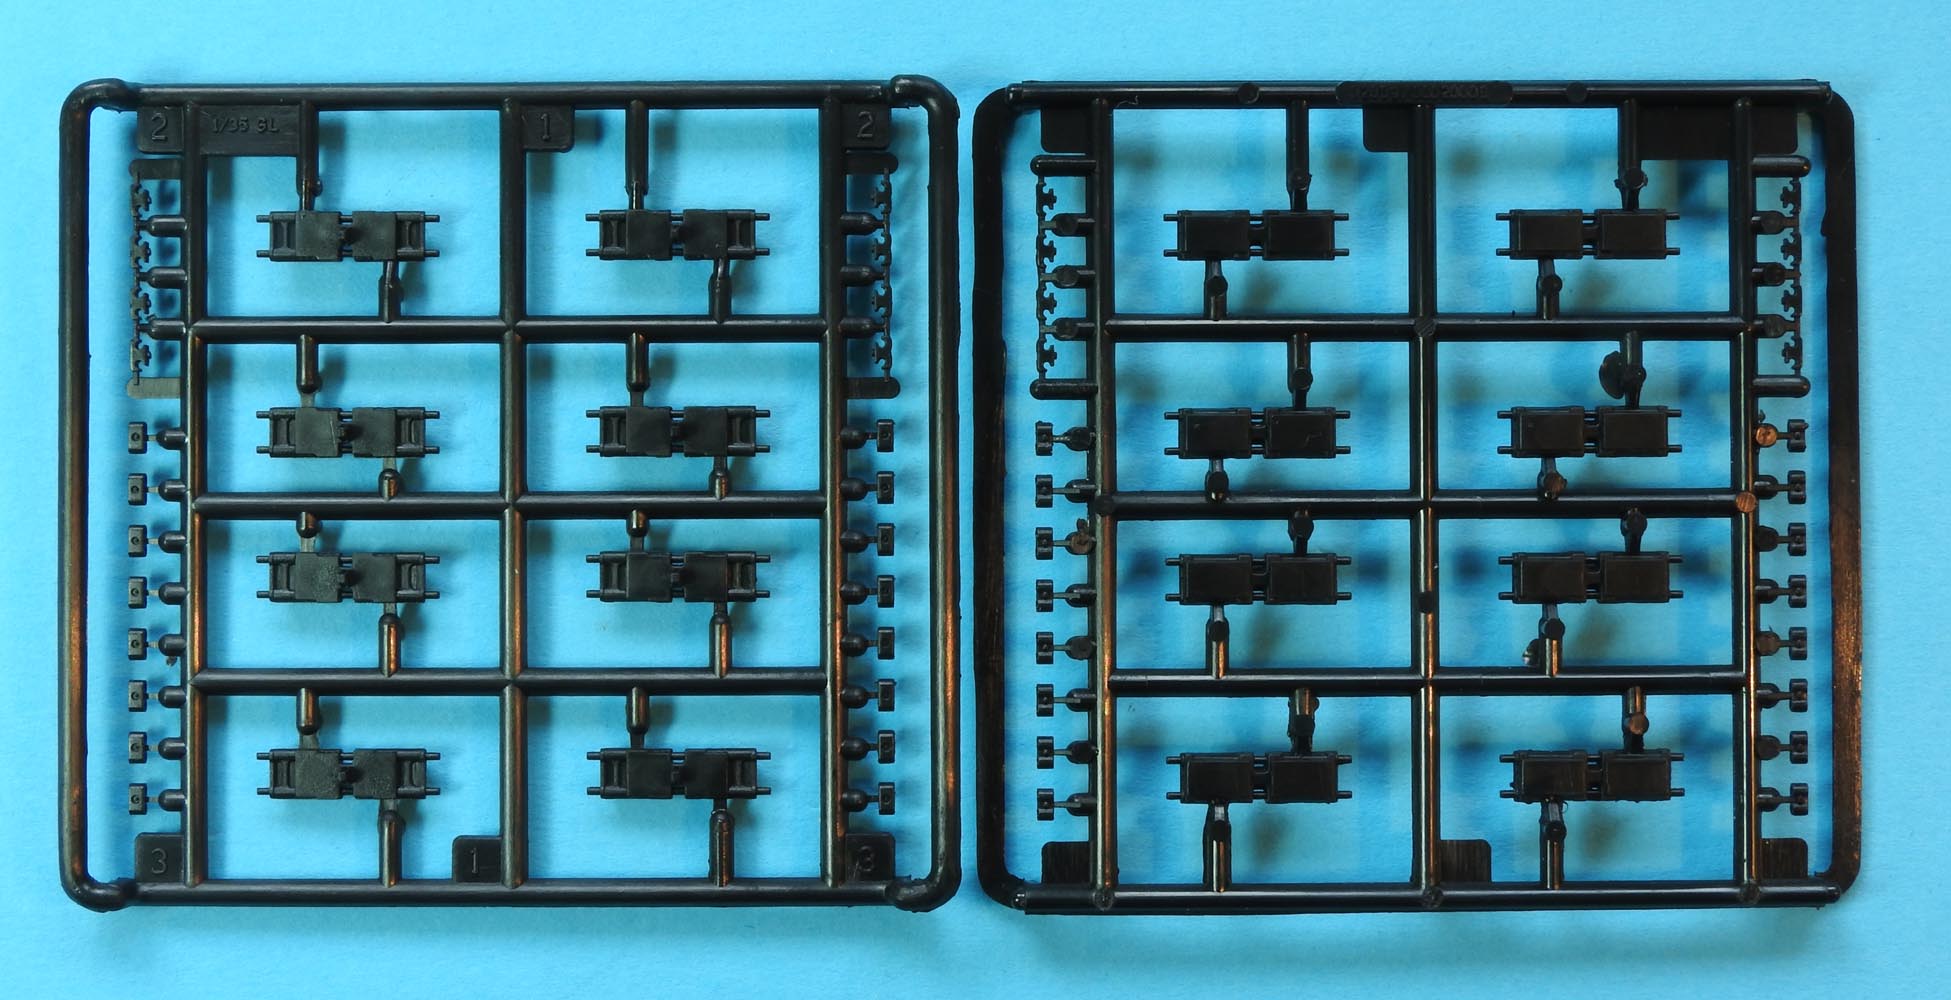
HobbyBoss have included sets of the Trumpeter Leopard 2 tracks where each link is made from four parts. The four parts are the main track pads with centre guide, two end connectors (which are spaced accurately on the sprues to slide onto the track pad pins), and a small centre connector.
Most of the tools are separate items but none of them have the characteristic tool clip clasps. These are moulded onto the hull top and are a little flat and 2-dimensional.
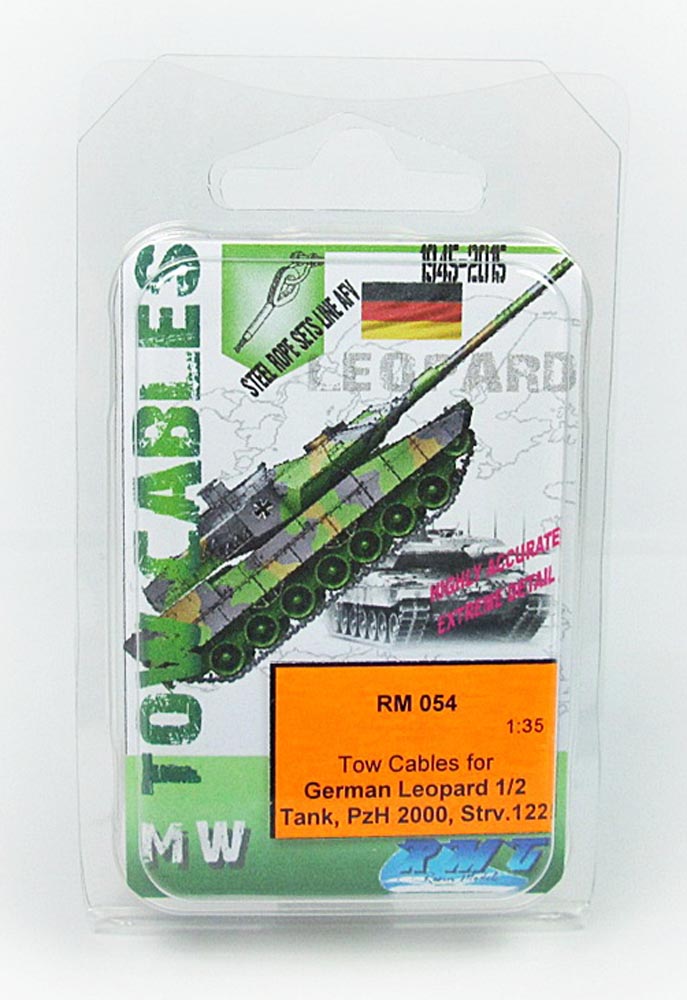
The circular forward intake covers have fine mesh to wrap around them. Nice! The tow cable supplied in the kit is brass wire which has to be cut to length (given in the instructions) and mated with plastic cable eyes which are a very strange shape (too skinny and too open). At least they are slide moulded with open ends to feed the cables into. Look here for a much better option or wait for RMG's forthcoming Leopard cables. Photo-etch clips are included to hold the cable in place. So why aren't the tool clasps in etch as well?
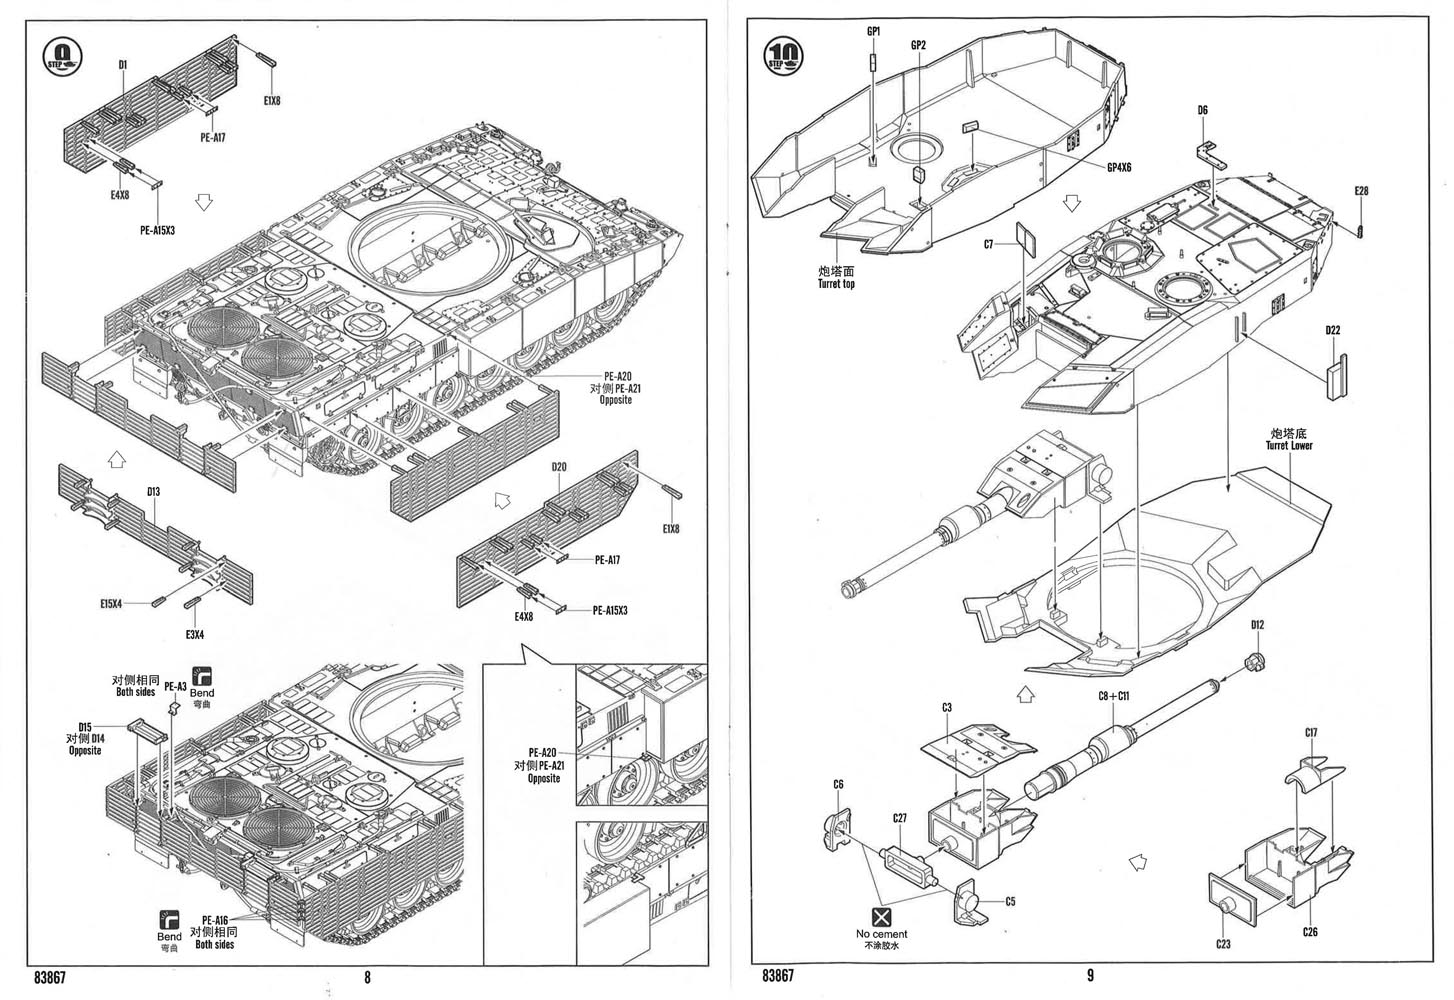
A particular feature of the 2A4M CAN, of course, is the armour package. Two thirds of the forward hull is protected by large armour blocks developed from the 2A7+ programme (nothing to do with the Bundeswehr's latest 2A7 which confuses everyone). A particular detail on these Canadian tanks is the crew footstep with the Canadian Maple Leaf etched into it.
HobbyBoss have done their best to reproduce these in their photo-etched steps. On the top surfaces of the armour blocks, non-slip patches have been nicely reproduced.
The upper glacis plate has a large hatch that was originally bolted in place from Batch 1-5. It was bolted and welded - as per the kit - in later upgrades. This is covered over by a large appliqué plate that covers most of the upper glacis.
Thermal imaging cameras are fitted front and rear and a lovely touch are the guards around the width indicator lights as separate parts - for the first time.
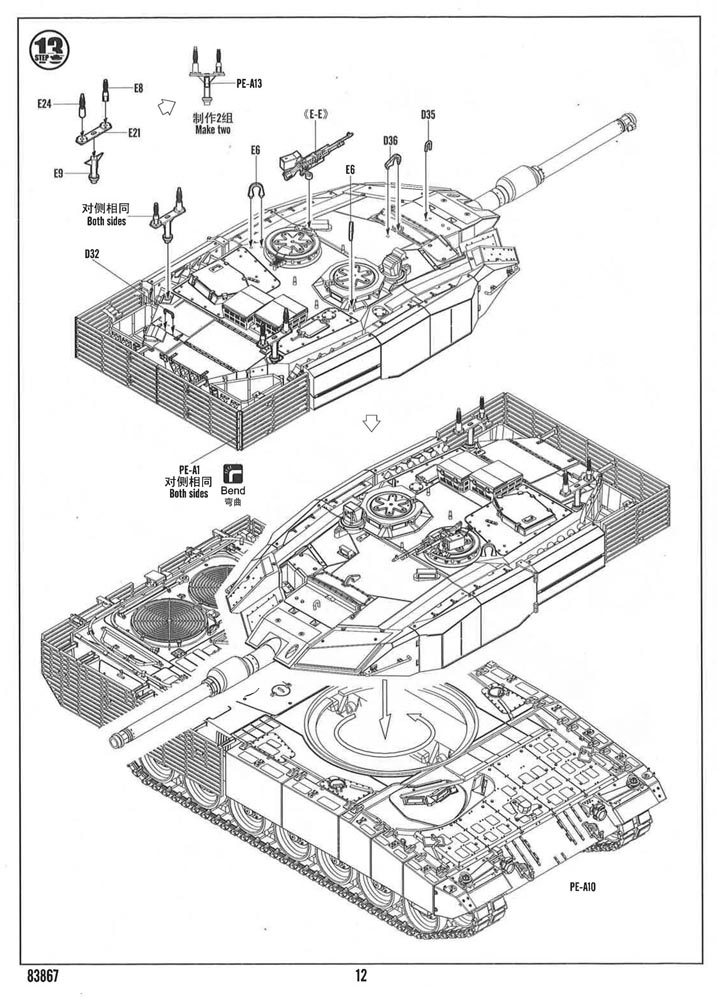
The final part of the hull build - if you must fit this - is the slat work.
This is supplied as three large panels to which a host of attachment bars must be fixed before attaching to the
points around the rear quarters of the hull.
This is much easier than building etch slat armour, of course.
However, if one of the etch companies offers the slat work in the future, it will have far more finesse than
the inevitably too thick plastic slats.
If you have the Perfect Scale Modellbau 2A4M CAN kit, which does have Barracuda of course, the plastic
slats might suit you.
However, don't fit them at all to the HobbyBoss kit if you want an accurate model  .
.
I have just done a test fit of the HobbyBoss hull bottom to the Perfect Scale Modellbau Barracuda conversion hull top and the fit isn't too bad. Just trim a millimetre or two off the rear hull edges and it should fit. All the widths are perfect. By combining the two kits (and not using the old HB 2A4 which the PSM conversion was intended for), you can have a fine model of an Afghan theatre 2A4M CAM. The PSM grille is also correct!
The turret is moulded in two halves, top and bottom, which both fit perfectly.
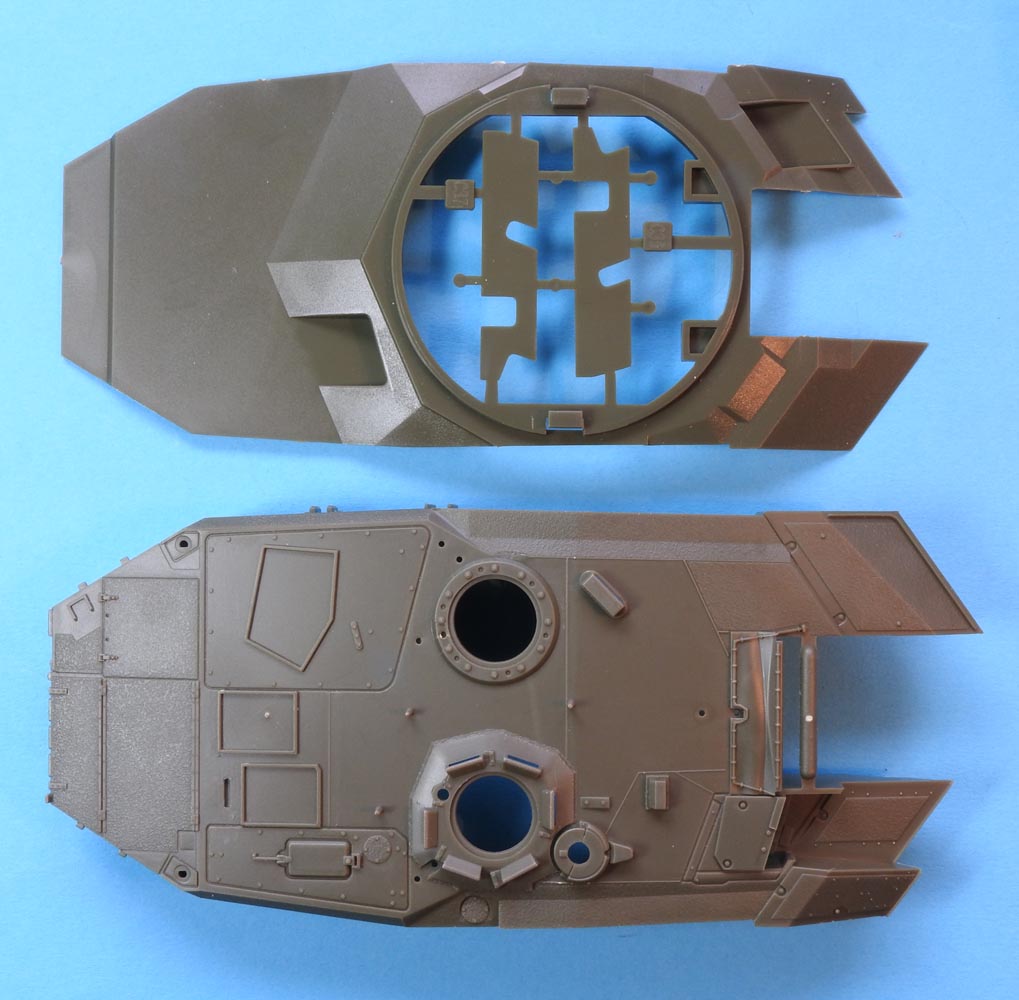
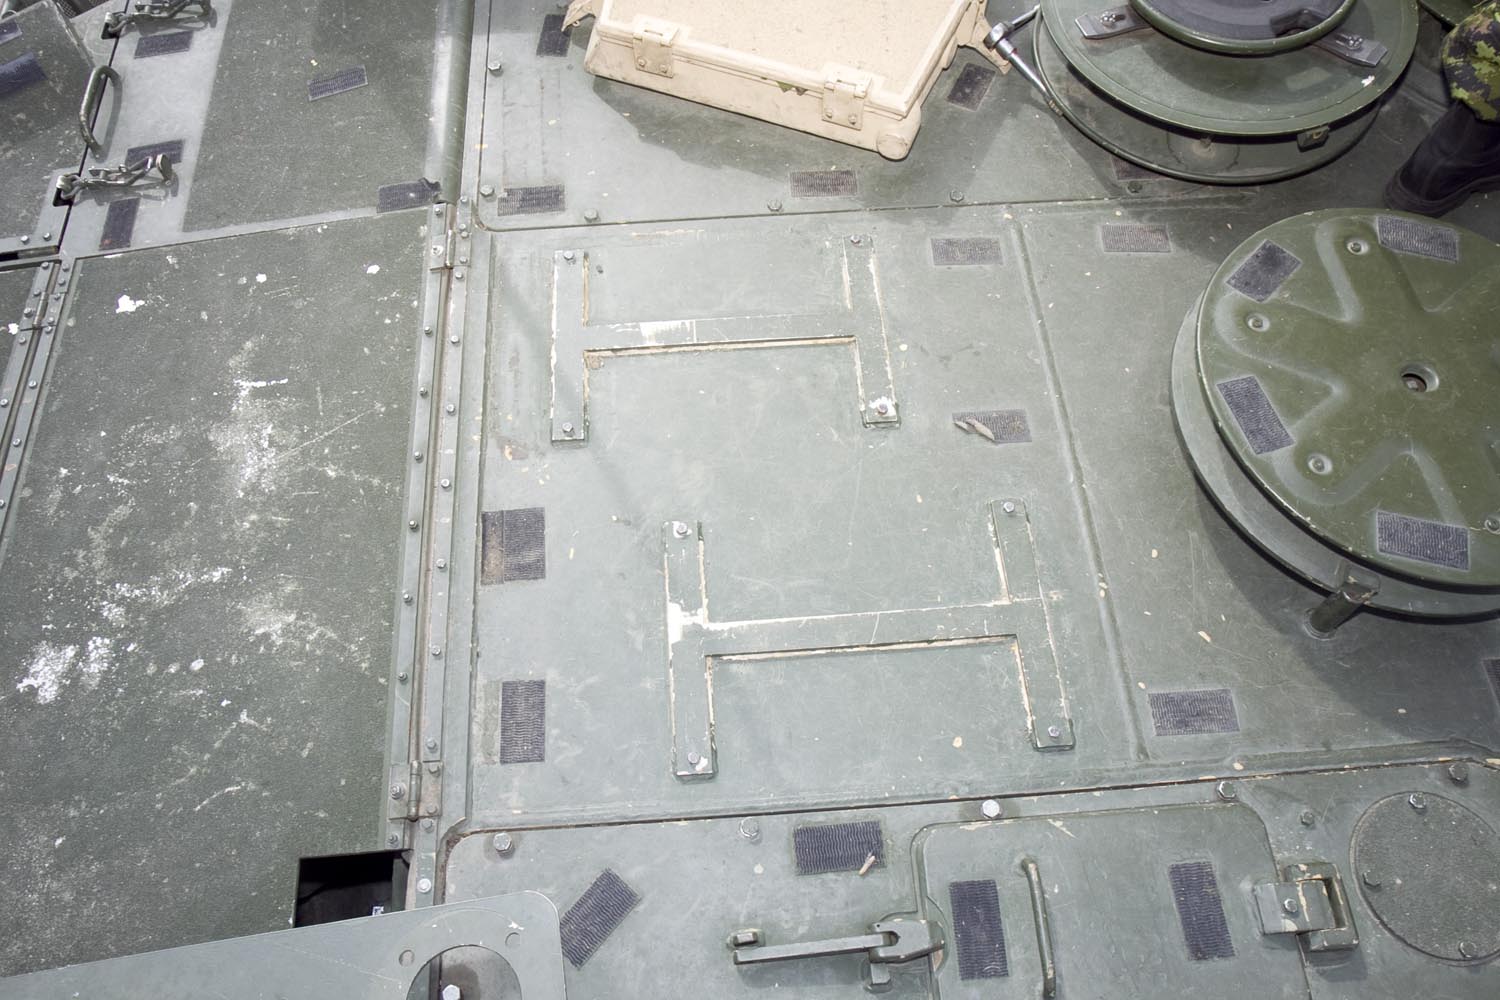
The top has non-slip surfaces moulded on but it is a different texture to the patches on the hull, which is a little curious. I am sure it won't show under a coat of paint and weathering. On top of the rear turret top are locations for the two electronics/ECM boxes. These locations are moulded on as two rectangles. On the real vehicle, they have H-shaped brackets, so it is a shame HobbyBoss did not follow the prototypes. These boxes are often removed in service, so it would have been better to mould on the H-shapes.
Thanks to Dan Hay for the photo.
The turret periscopes are all clear (as are the driver's). Curiously, the gunner's EMES 15 sight does not have clear windows. All we are supplied with are closed doors. However, the PERI R17 commander's sight on the roof does have a small clear window!
![]()
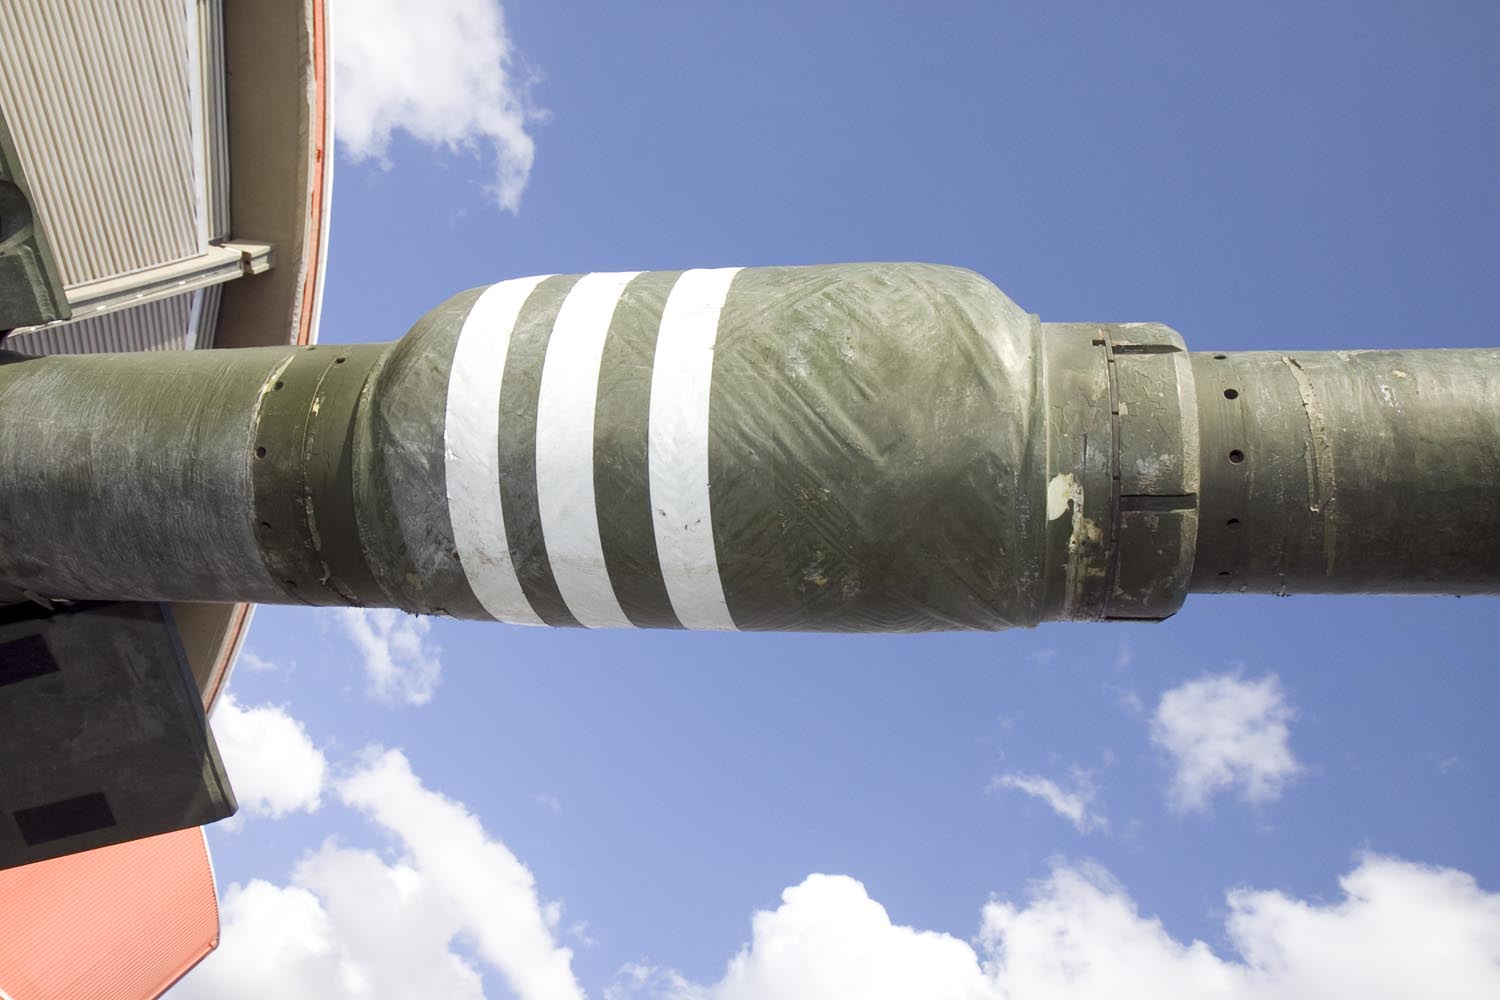
The gun is the usual split-in-half affair. There is a texture on the fume extractor, but it is pure fiction. And the canvas cover is awful, though is will be hidden under the turret armour. Leopard Workshop will soon have a replacement gun available (LW017HB). The gun remains mobile.

Thanks to Dan Hay for the photograph.
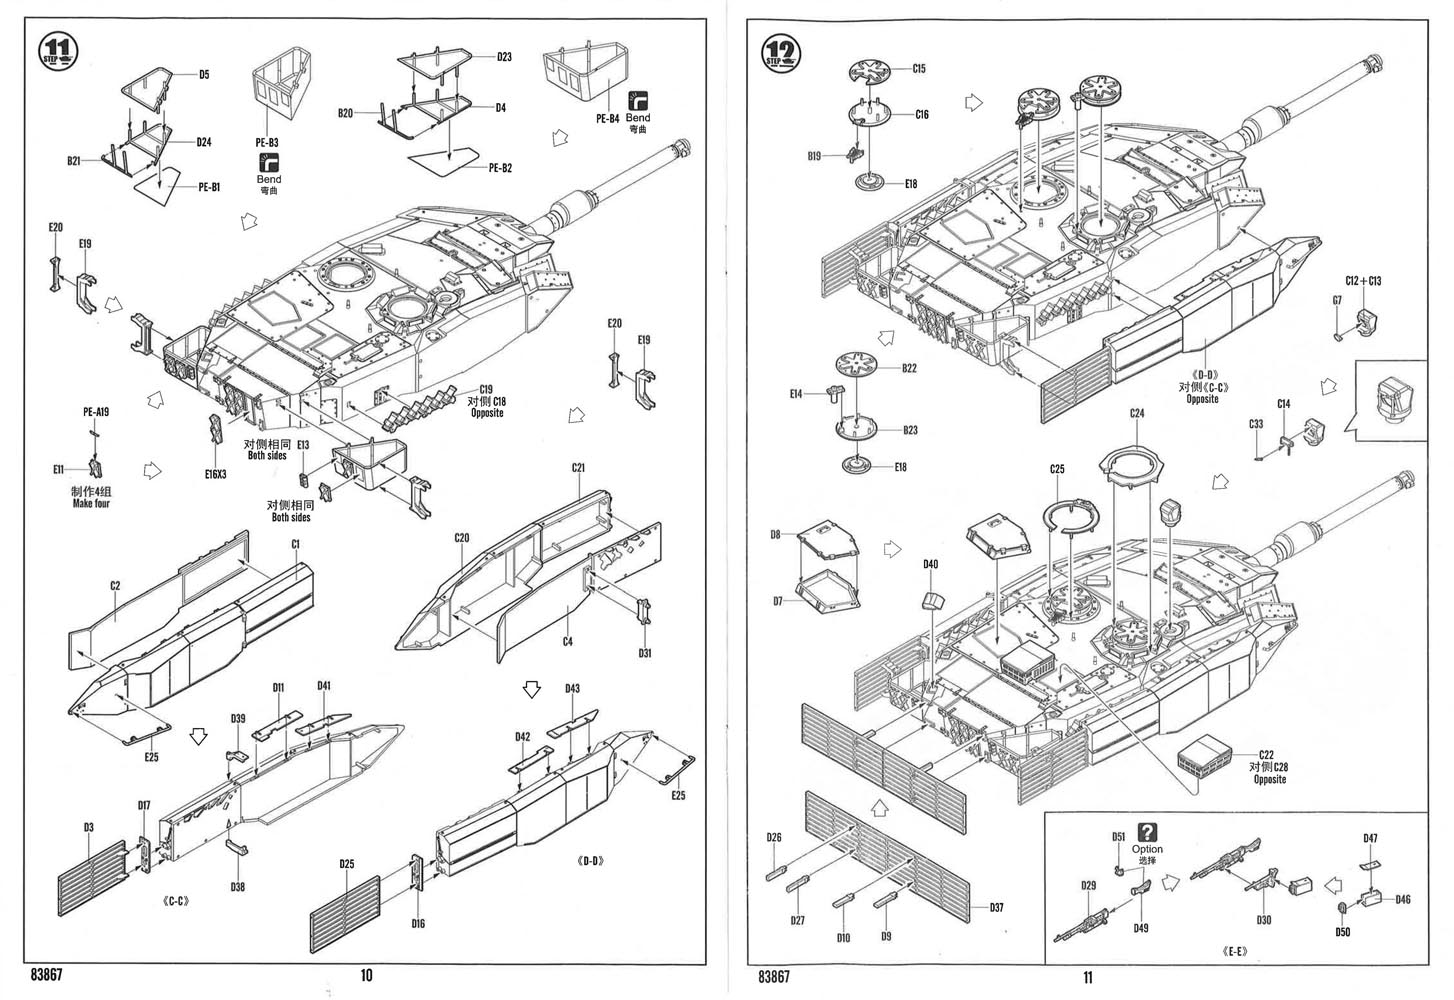
The two turret baskets are very fine indeed and are made up of top and bottom halves to be carefully joined together before wrapping them perforated photo-etch. All nicely done though somewhat delicate. Two of the basket frames in my kit were bent on the sprues, despite the protection from the foam envelope on this sprue.
The carbine box and the two electronic/ECM boxes are nicely done. The carbine box has non-slip on top, but the two ECM boxes do not - and should have.
The smoke launchers are moulded as one piece - 6 launchers on one rail. The mounting blocks are incorrect. They have the older style Leopard1/Leopard 2 mounts which have been replaced by stronger, blocky mounts. However, these will be hidden by the turret appliqué panels. Of course, you will have to deal with the inevitable mould seams and there are no etch chains. Leopard Workshop offers a Special Edition set for this kit (and for the 2A6M CAN) which includes resin launchers (with the correct mounts and etch chains), photo-etch ECM and carbine boxes with much finer detail, amongst other things (LW028).
I mentioned the only option earlier on. This takes the form of the C6 machine gun on the loader's cupola ring. This has the option of either a conventional wooden stock or two hand grips.
Like the hull, the rear quarters of the turret can be - but should not be - surrounded by slat armour. The same comments apply.
The aerial mounts are best replaced with Leopard Workshop LW015B. Most Canadian in-service machines carry only two aerials on the rear of the four points on the characteristic T-mounts. The instructions show four aerials as carried in Afghanistan - but this is not an Afghan model. The Workshop set has three antennae so you'll have a spare for that future project.
This is a very, very good kit. As with any kit, there are one or two quibbles, but these are mostly minor.
The worst problem is the rear grille. HobbyBoss have had loads of complaints about this particular point in the past, and now they repeat the same mistake. This is unfathomable. Please do not make the same mistake again HobbyBoss! Also, I personally do not see the point of all the slat work.
However, overall, compared to the latest releases from their main competitor, this kit has been kept simple and should be a relatively fast build, possibly only slowed down by the track build. Having said that, nothing is missing, the accuracy is there (with one notable exception and some small ones already mentioned) thanks to the efforts of HobbyBoss and their two Canadian consultants, and will build into an interesting member of the Leopard family.
Well done HobbyBoss!! This kit is thoroughly and highly recommended.
HobbyBoss have, or had, plans to re-engineer their whole range of Leopard 2 kits. If this model is a sign of the future, we can all be happy.
© Leopard Club
![]() Contact us at leopardfibel@gmail.com
Contact us at leopardfibel@gmail.com