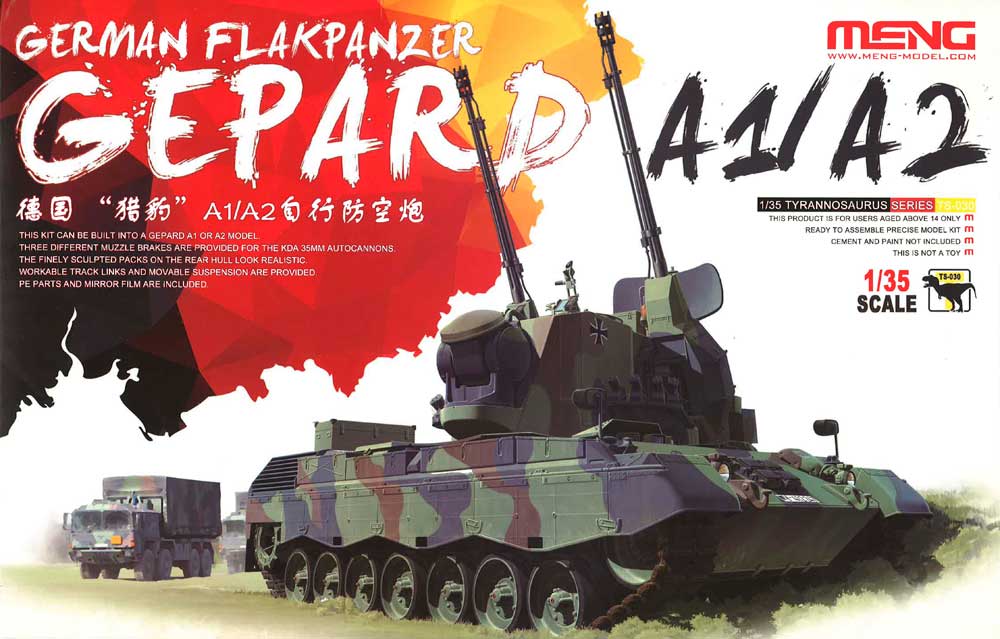
 Catalogue number: TS-030
Scale: 1:35
Media: injection moulded plastic, photo-etch
Reviewed by: Michael Shackleton
Photos from the author's collection unless stated otherwise
So now we have two! Following fairly swiftly on after Takom's recent release of their Gepard, we now have another from Meng. We also had an announcement at the beginning of the year from HobbyBoss - but only as a photo on a boxtop. Both of these new models have their own individual problems, some of which most of you will say is nit-picking. Whichever kit is bought, you will have a very good model of Gepard in your collection, certainly a big advance on what has gone before. Maybe, if HobbyBoss decide to move forward with this subject, they will learn from these two kits and come up with the perfect Gepard, unlikely though that may sound. Time will tell if they wish to compete.
Inevitably, you will be wondering how the Takom and Meng kits compare. I am not going to do a direct comparison, but I have made comments throughout this review. The Takom kit has already been reviewed here so please read them both and you will be able to make your own informed decisions.
The story of Gepard is a little complicated. I have already covered this in some depth in my review of the Takom kit, so if you are interested please refer to the same link above.
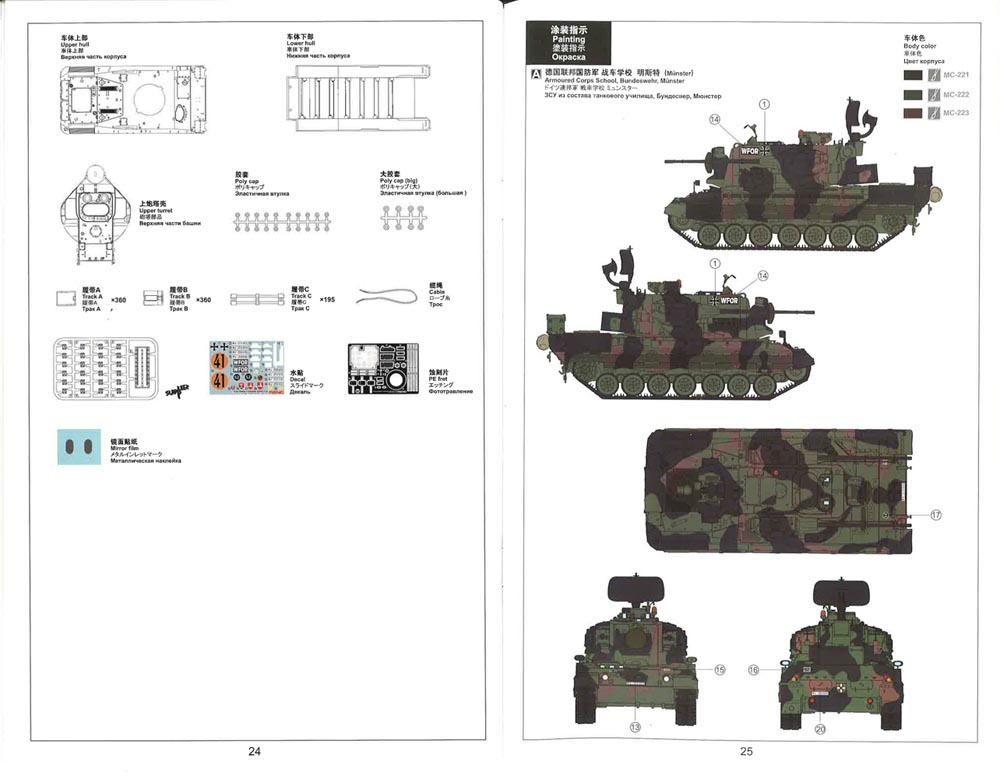
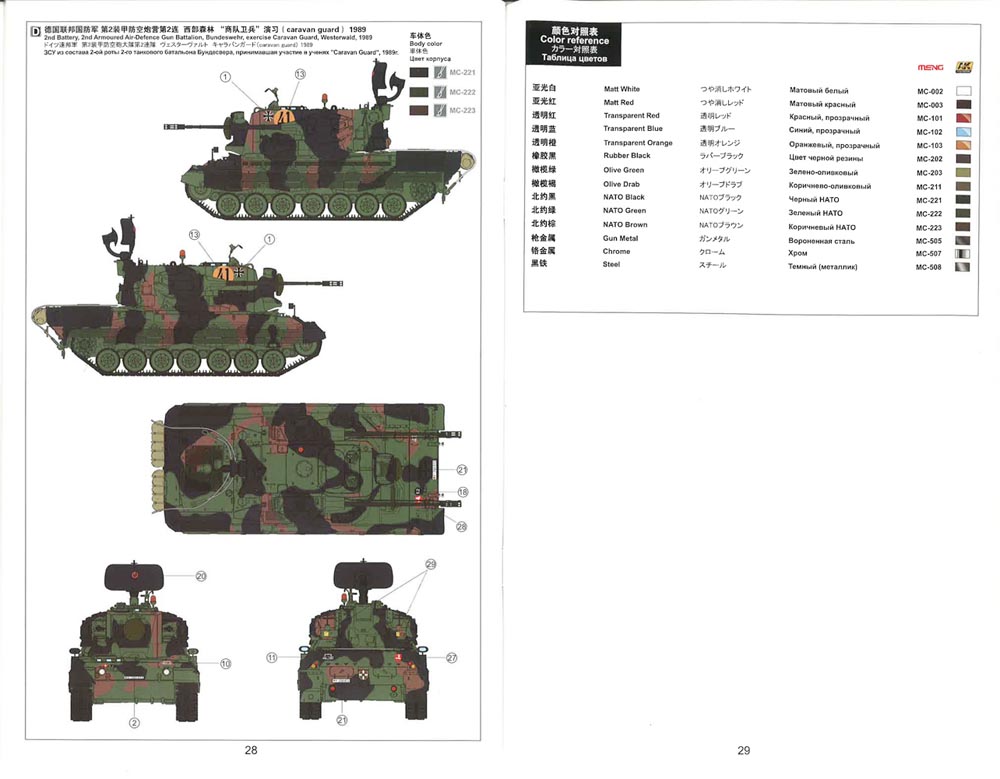
The box top itself carries the artwork of a Bundeswehr Gepard A2. Except it isn't as these machines NEVER wore side skirts in Bundeswehr service. Side skirts were dropped in 1978, two years after entering service. These parts have NO PLACE in this kit especially as the marking options are Bundeswehr A1 and A2 only - both post-1978 versions. Rather stupidly, the colour profiles in the instructions also show these in place. If you don't believe me, look up your own references. They were only fitted to initial service vehicles before the laser rangefinder was fitted to Gepard A1 on top of the tracking radar at the front. Meng, by including side skirts, are proving they haven't done their homework or are being advised incorrectly, which is more likely.
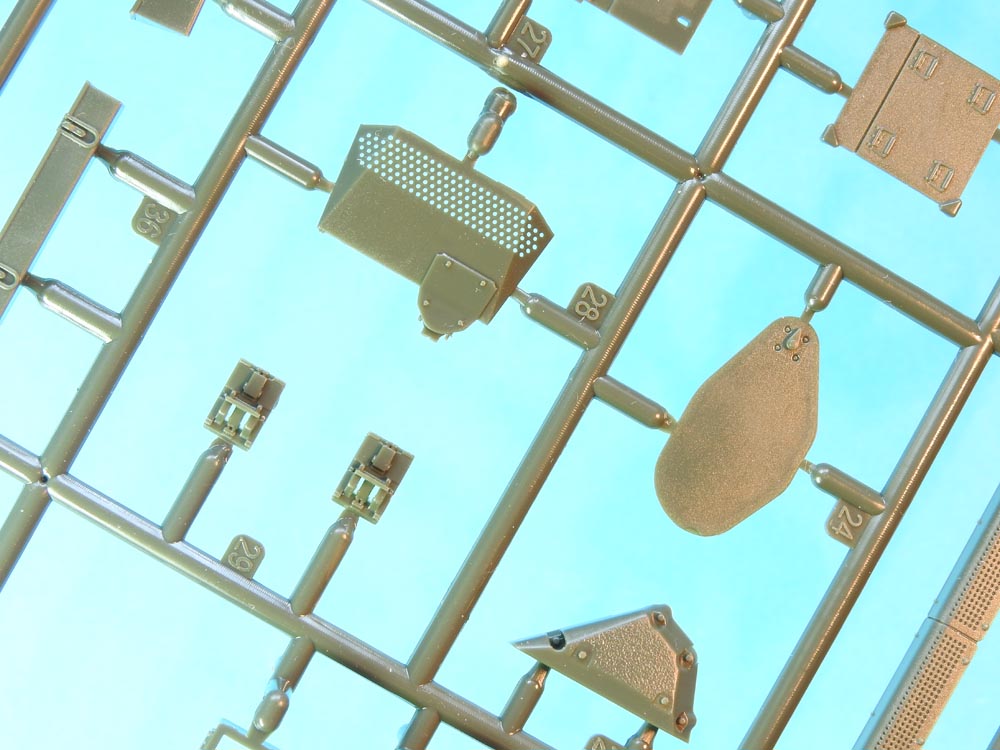
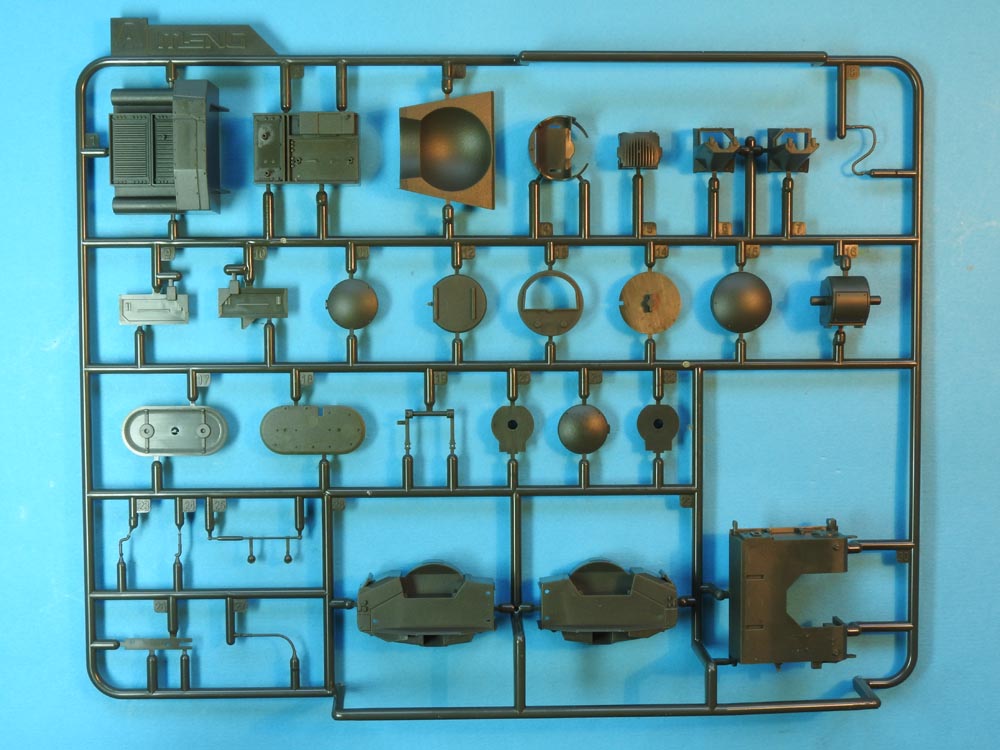
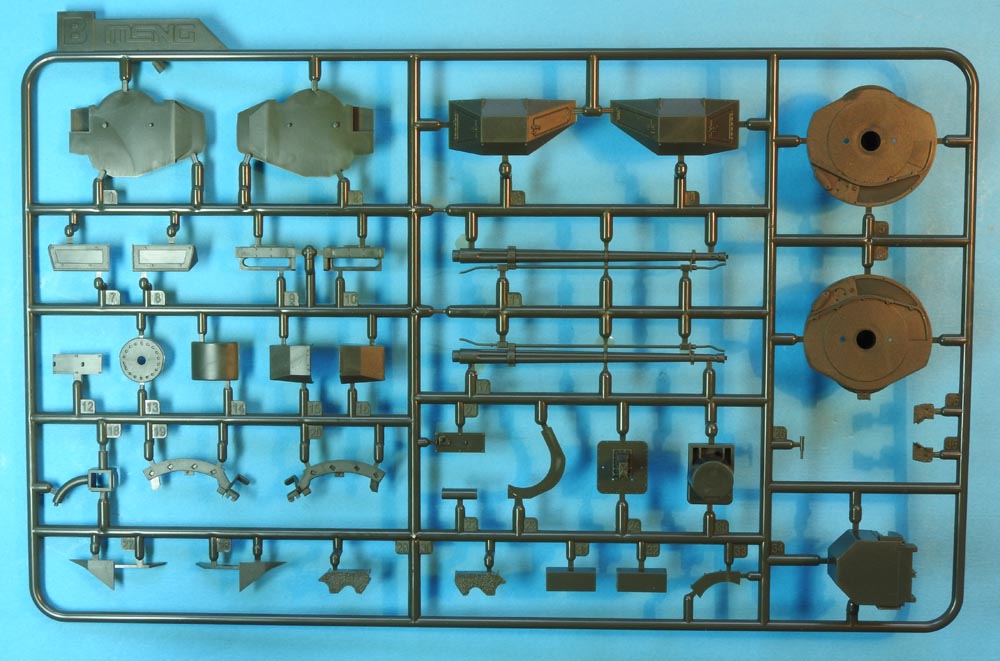
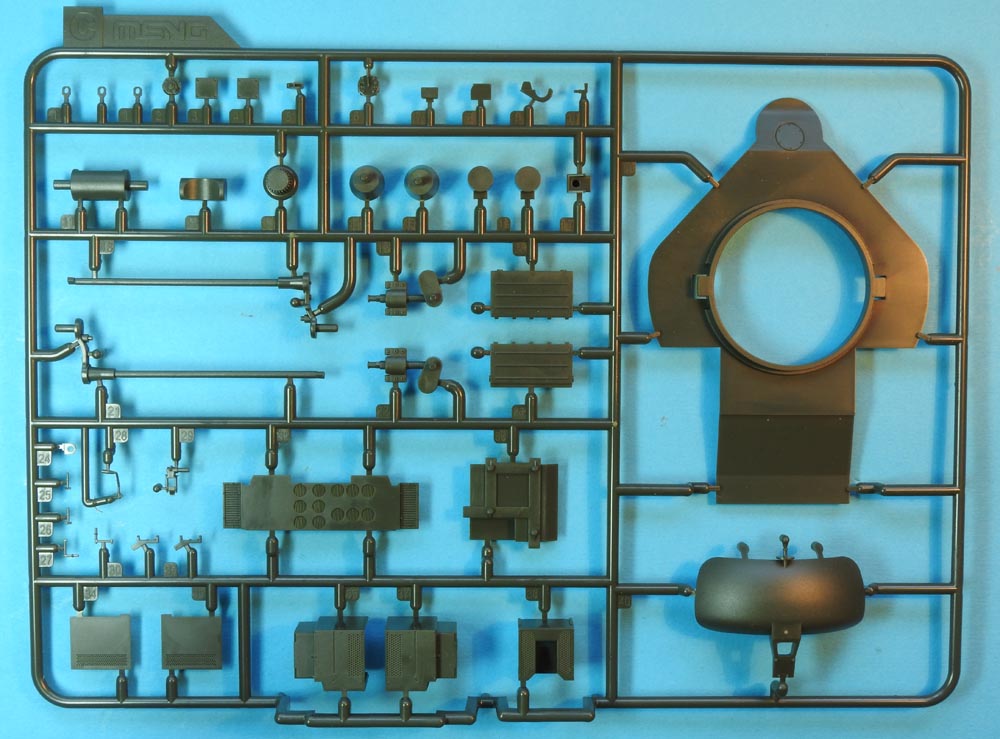
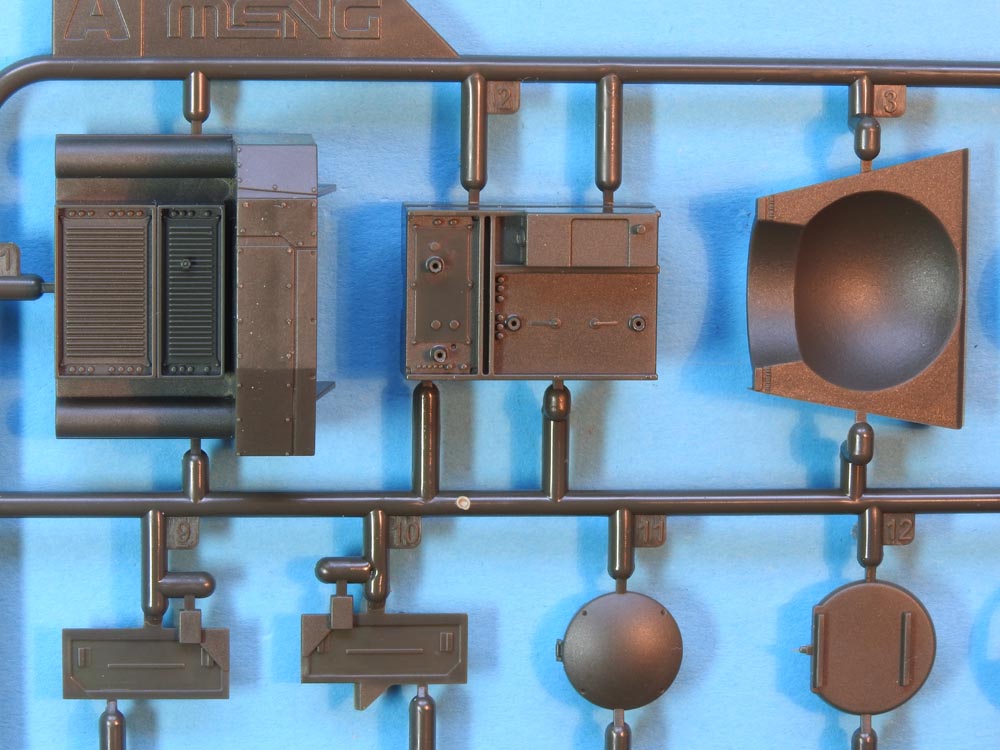
What we have in the box itself has virtually nothing in common with their previous Leopard kits, apart from the tracks. Parts count is reasonably low which means a fairly simple build (apart from the now-familiar Meng individual link tracks) but a higher parts count than the Takom kit. Detail on the parts is good - sharp and crisp. The are polycaps in the wheels so the rear faces of the wheels are inaccurate, though much improved compared to Meng's Leopard 1 wheels! Etch is kept to a minimum which means the APU exhaust grilles on the left-hull side are moulded in plastic, for example. Some plastic parts have perforations moulded clear through - which is impressive - as is the moulding on the guns, for the most part. Overall, this looks like a really nice kit.


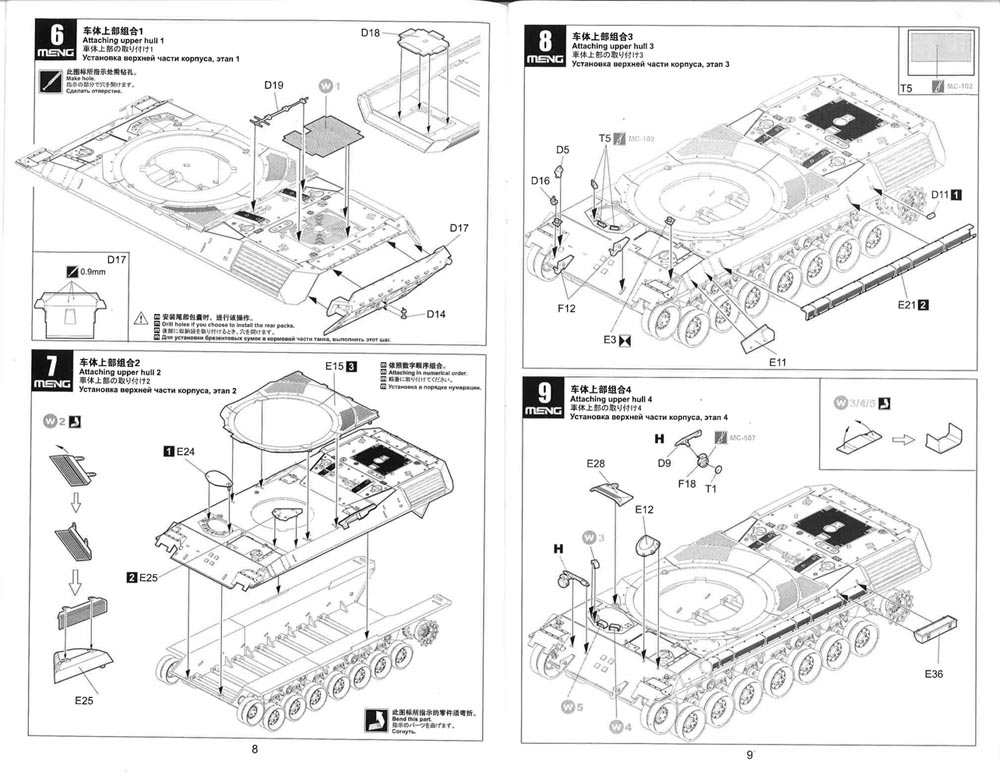


Yes, like the Takom kit, the wheel spacing IS correct! This is the most common question so I just wanted to get that point out of the way. The major complaint about the old Tamiya kit (Heller too) was incorrect, evenly-spaced wheels stations, just like Leopard 1. Gepard had an extended hull (80 mm extra) and Meng have got it spot on with 2.3 mm more between the third and fourth wheel stations.
As mentioned above, Gepard A1 and A2 did not wear side skirts in Bundeswehr service, so the suspension is on full view. Meng have thankfully redesigned the suspension compared to the hidden-behind-skirt parts on their Leopard 1A3 and 1A5 kits.
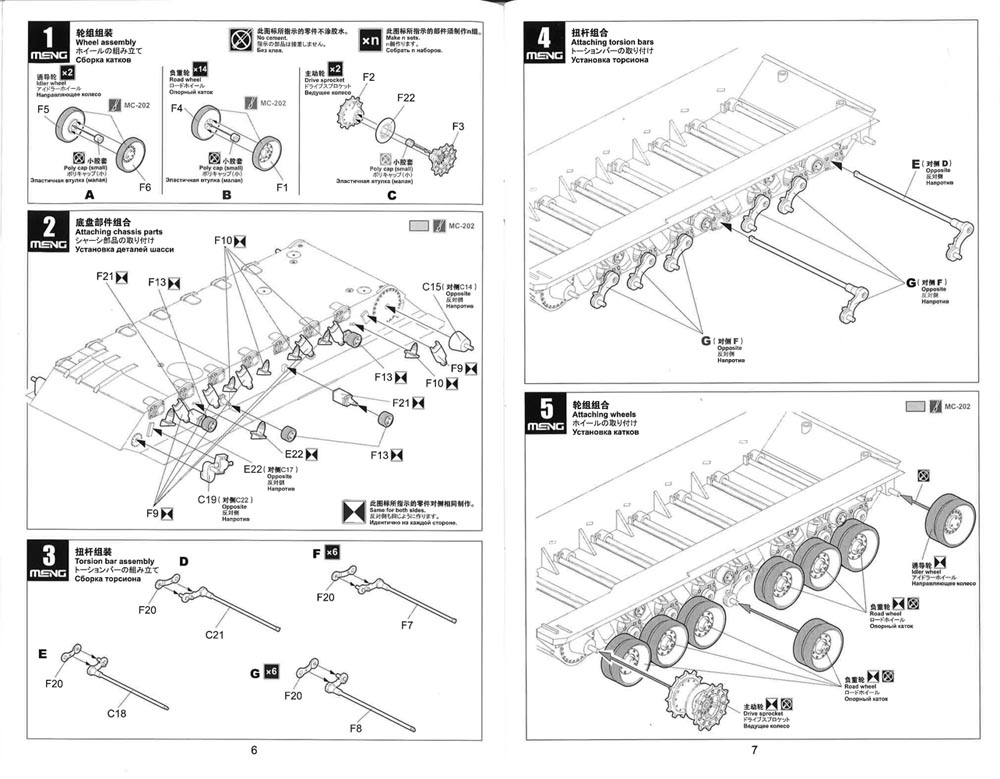
The swing arms now have the correct angles (they were flat before). They also have separate facing plates, like they did on their Leopard 2s, which makes clean up easier and adds a little detail, something totally missing previously. Oh yes - they still have torsion bars. Return roller mounts, bump stops and shock absorbers are all separate parts.
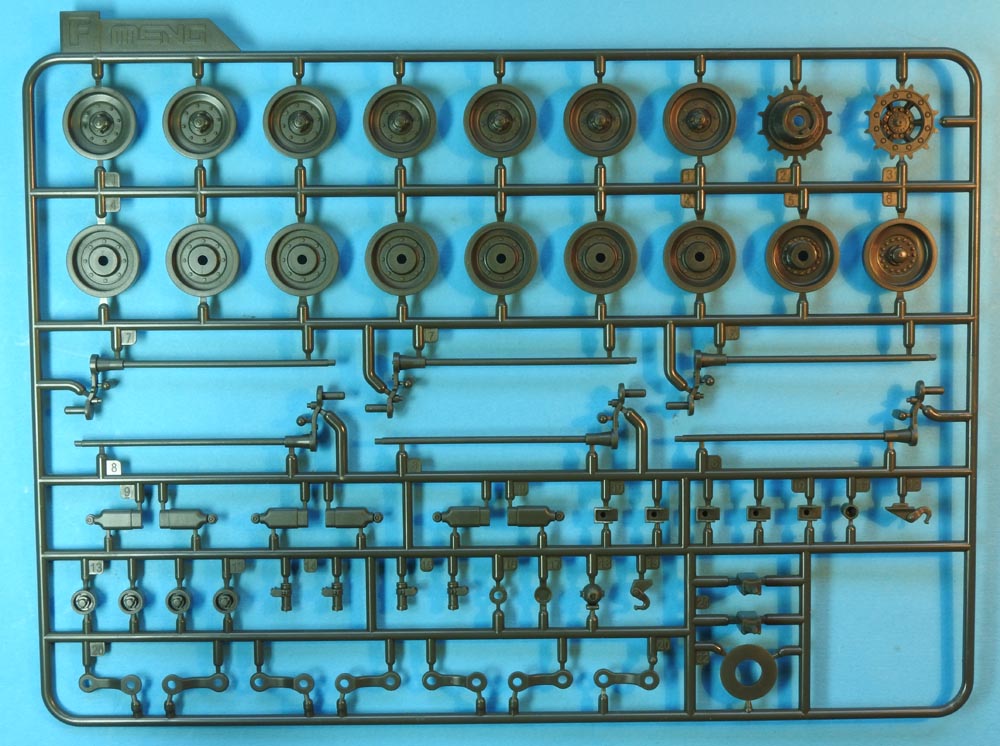
Unfortunately, Meng seem to have copied the design over from their Leopard 1s for the road wheel outer faces which are still not right. The tyres are also still too thick. The wheels have polycaps so the rear faces are incorrect, though better than previous attempts. There is even some bolt detail, but it is still not completely right.
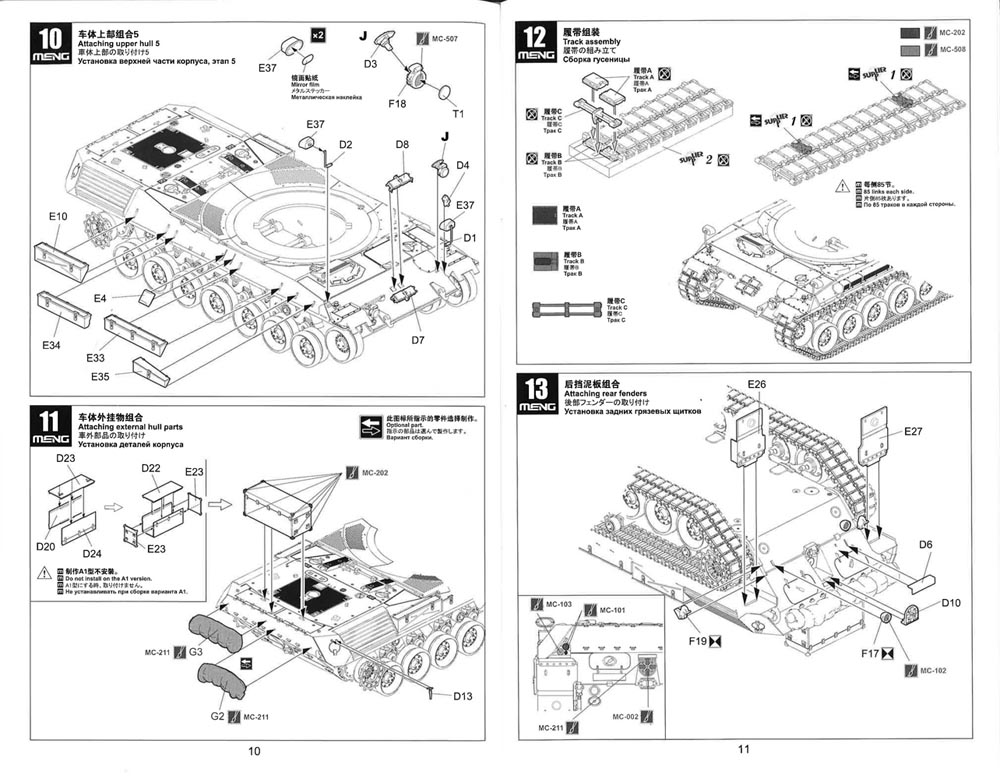
The kit's return rollers are all identical. This is wrong. In reality there are two distinct styles. All have the same tyres. However, the first and third rollers (which support the outer track only) have thin metal rims. The second and fourth rollers (which support the inner track) have much thicker metal rims. The hubs should also be two different types. The second and fourth rollers have their hubs recessed into the wheels. They do not stick out otherwise they would clash with the track's guide teeth. Takom made a similar mistake with the rims, but at least their hubs were different.
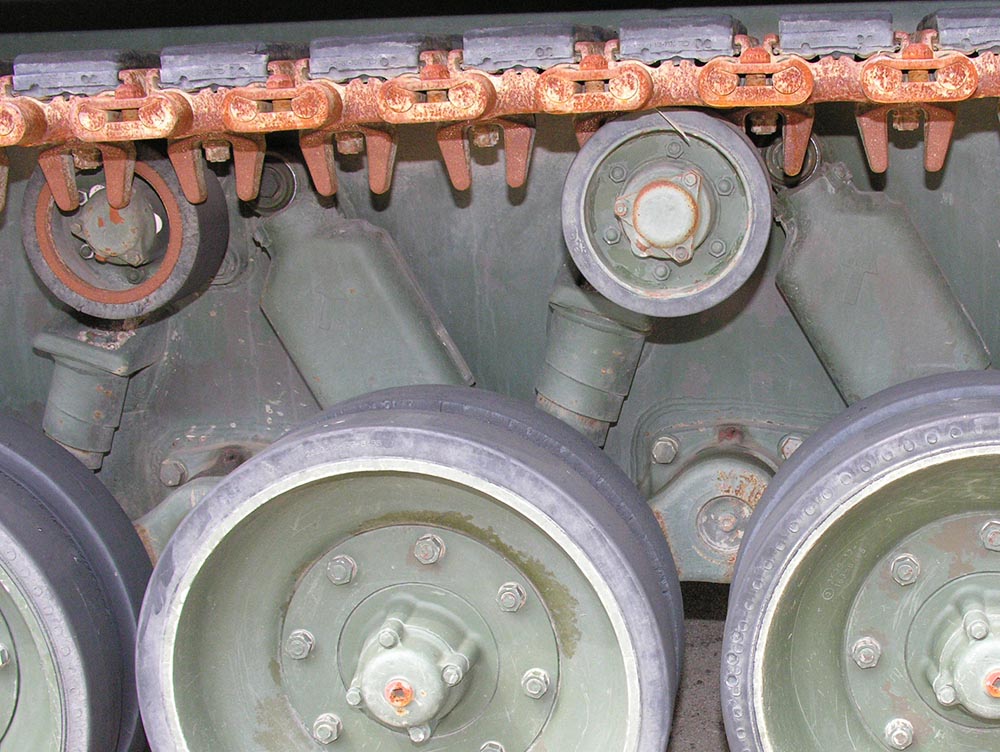
There are two styles of return roller in reality. The one on the left, behind the guide teeth, has a much thicker metal rim and the hub is recessed inside the wheel. All the kit rollers are identical - to the roller on the right. This is wrong.
The kit sprockets have 15-bolt hubs which is incorrect for Gepard. Many Leopard 1s were upgraded with 15-bolt hubs but this didn't seem to happen with Gepard - unless someone knows differently. They should have 8-bolt hubs.
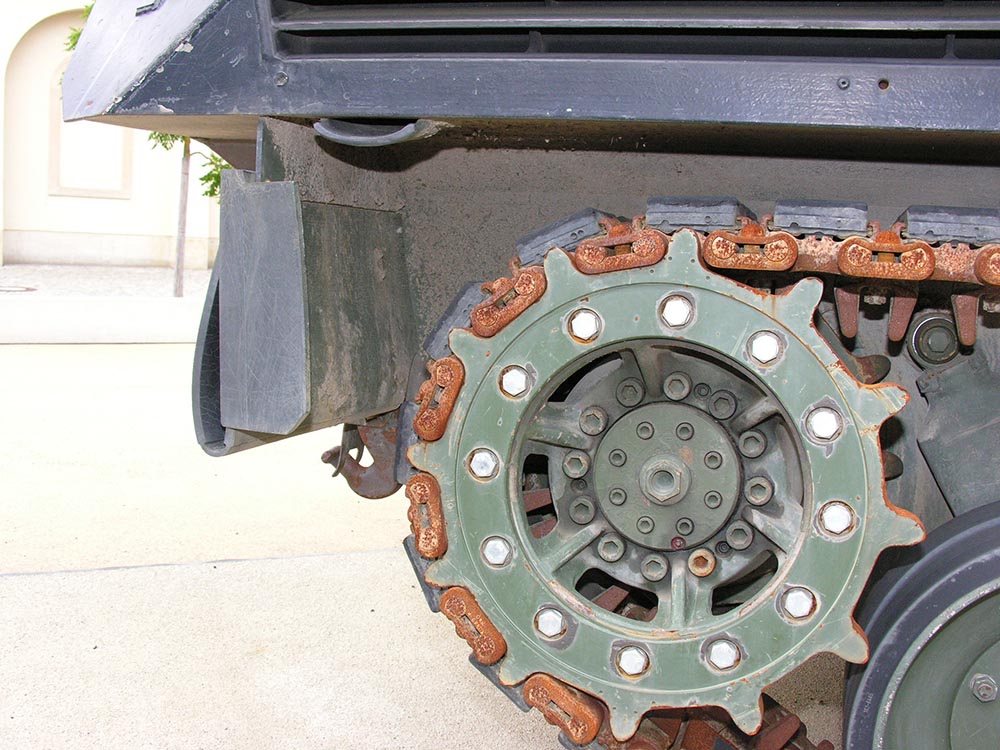
8-bolted hubs on Gepard, not 15 bolts as in the kit.
For the accuracy buffs, Leopard Workshop has LW001-1 road wheels and LW010 suspension upgrade corrects all of these faults if you feel that way inclined. Sorry, like Takom, this is the worst part of an otherwise good kit. We will soon have 8-bolt hubs available but in a new track set LW036. Maybe we should do these separately?
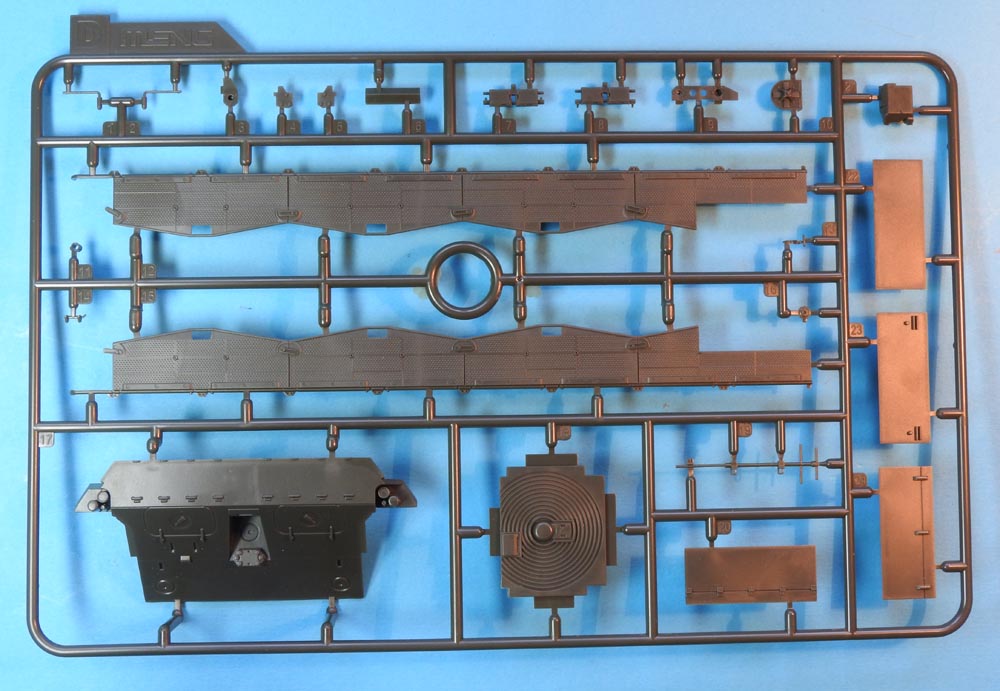
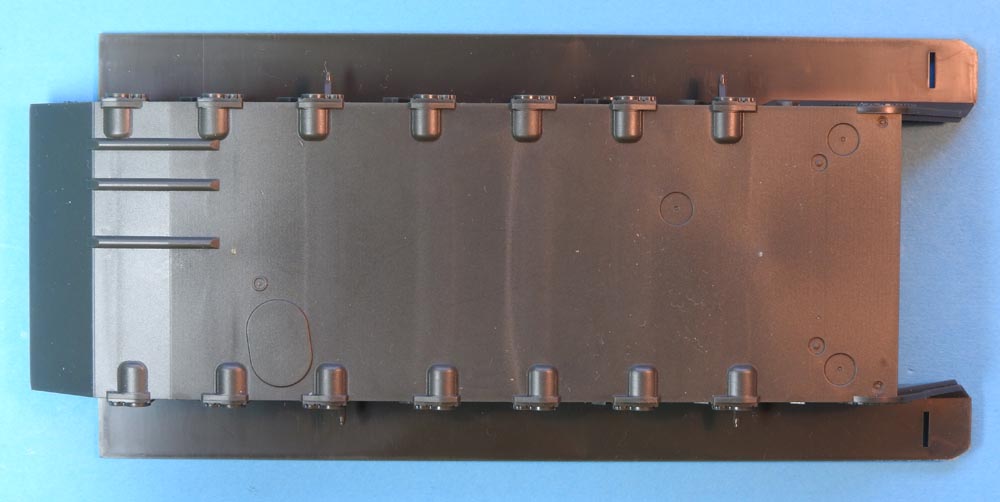
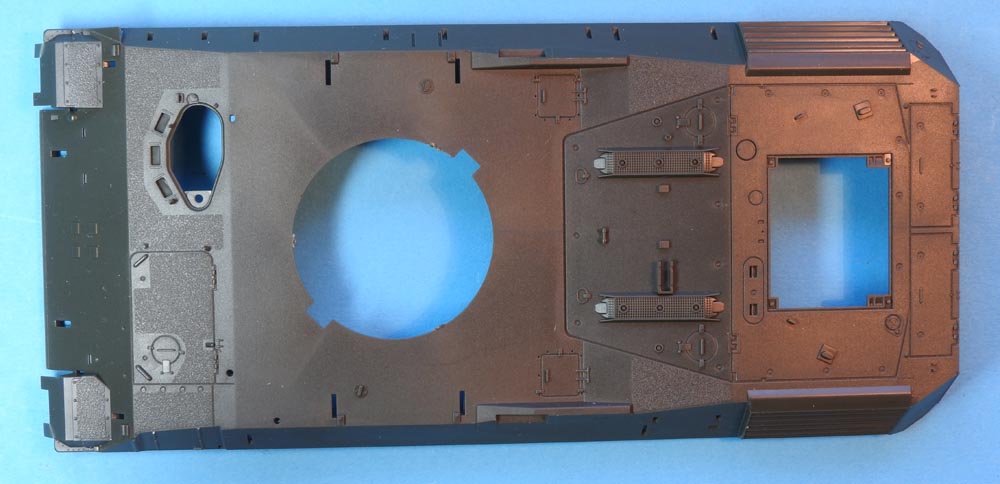
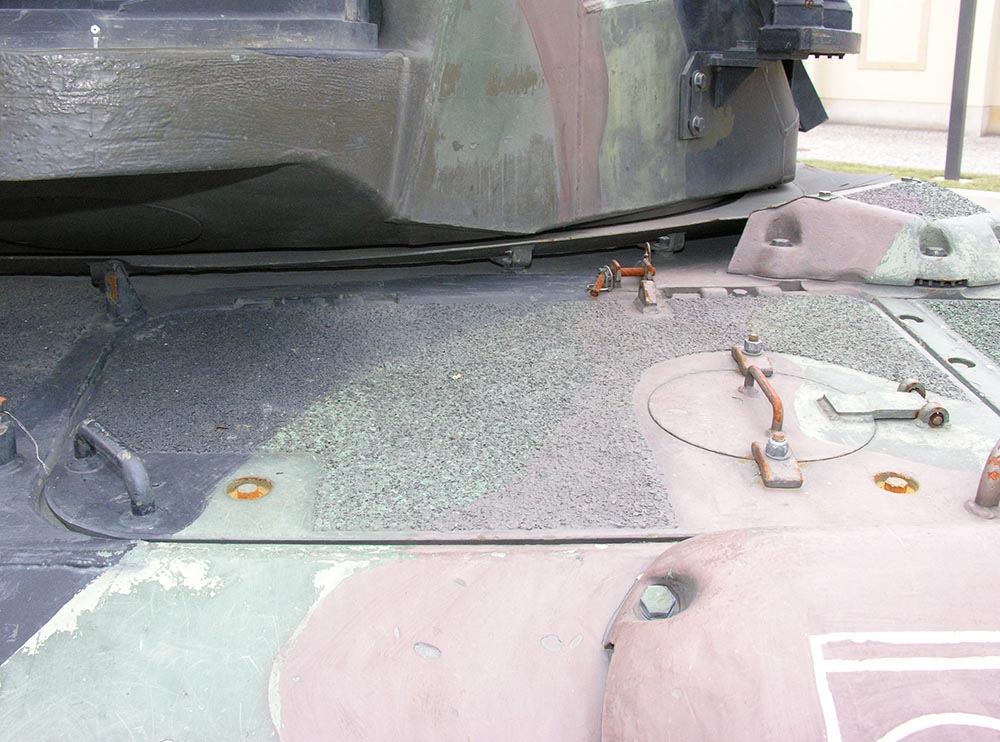
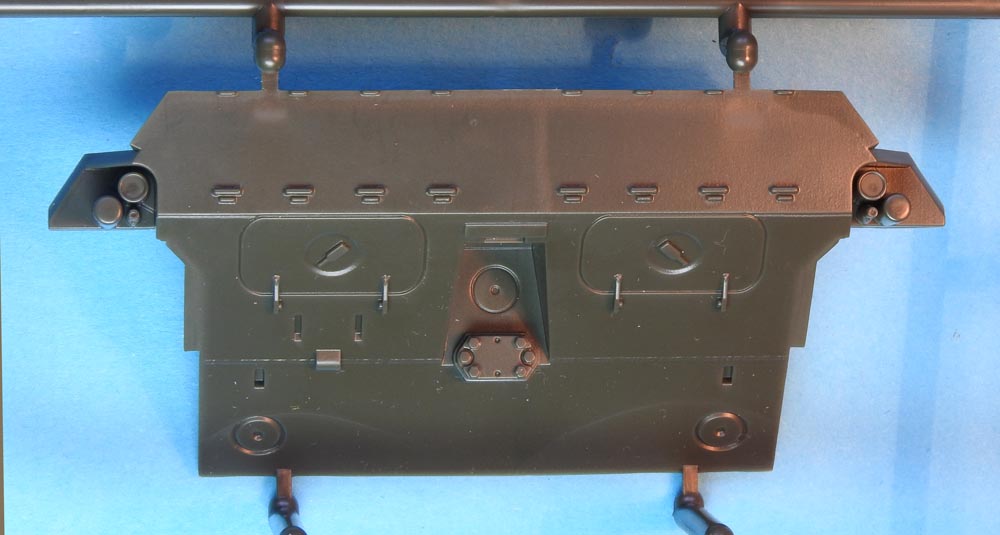
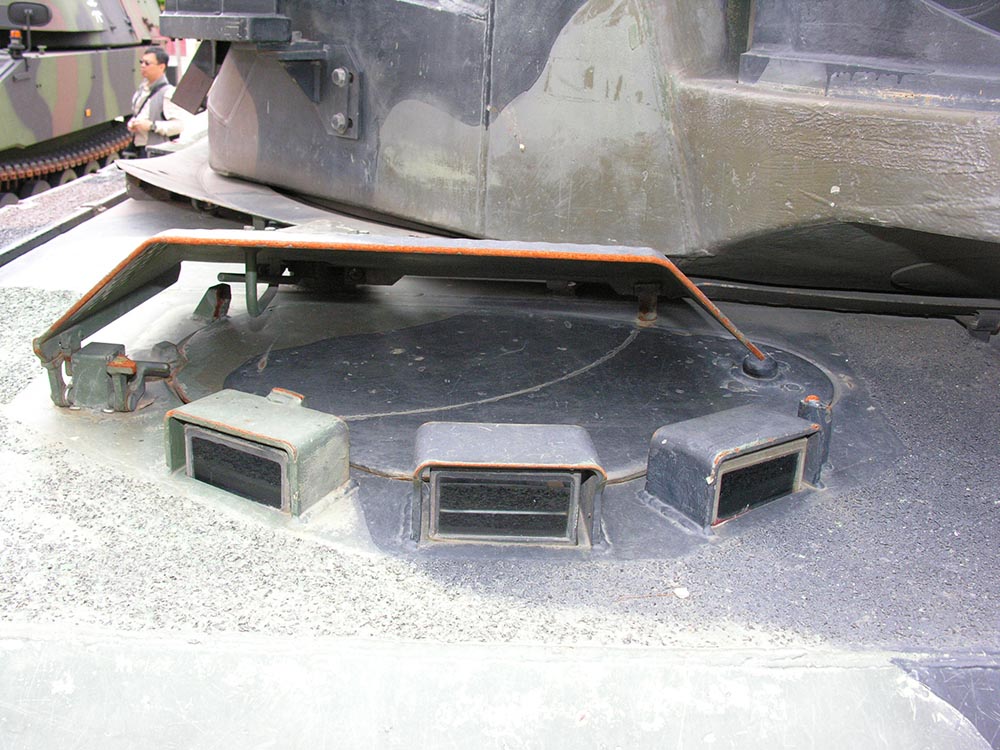
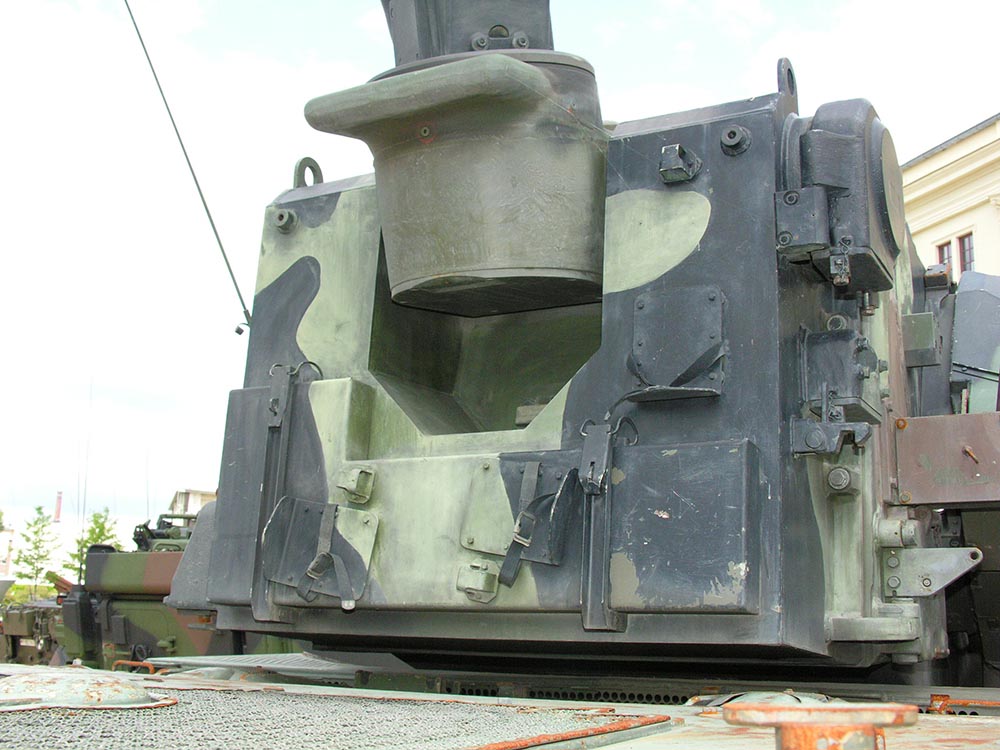
The hull parts are very nicely moulded in conventional upper and lower parts. They fit together perfectly. The lower hull has the Gepard's representative reinforcement strakes under the left front hull (where the APU is housed) but none of numerous access plates and bolts are represented (Takom has them).

None of these access points/bolts are represented. Detail on the rear faces of the roadwheels can also been seen.
Another error on the hull top is the hatch over the APU compartment at the front. Meng have modelled this with parallel sides front and rear, but the rear edge should be angled (which Takom have done). Clear photos of this are hard to find, and it probably won't be that noticeable once the turret is in place.
The rear edge of the hatch should be angled. Compare the lengths of the sides and hopefully you will see what I mean. It is not a rectangular hatch.
The upper hull has the full-width glacis plate and the extended rear end that gives it a completely different appearance to the Leopard 1 hull. Non-slip patches are represented nicely. Another difference are the circular inlet rings on the rear decking which were only ever used - apart from on all Gepard's - on Australian AS1, Greek GR1 and Turkish T1 Leopards. This is moulded separately and inserted from inside the hull and is topped off with a nice etch grille.
The grille that covers the APU exhaust pipe down the left side is a separate part which looks OK until you realise that the perforations are circular and should be square. Takom managed this on their kit, even casting it on the hull itself. No doubt one of the etch companies will come to the rescue here. I checked the old Eduard 35120 set for the Tamiya Gepard, and that etch will definitely NOT work here. Curiously, etch is supplied by Meng to be added over the APU inlet, so why didn't Meng do the same thing on the exhaust pipe cover?

These exhaust perforations in the kit are circular, not square, but only really noticeable under a magnifying glass.
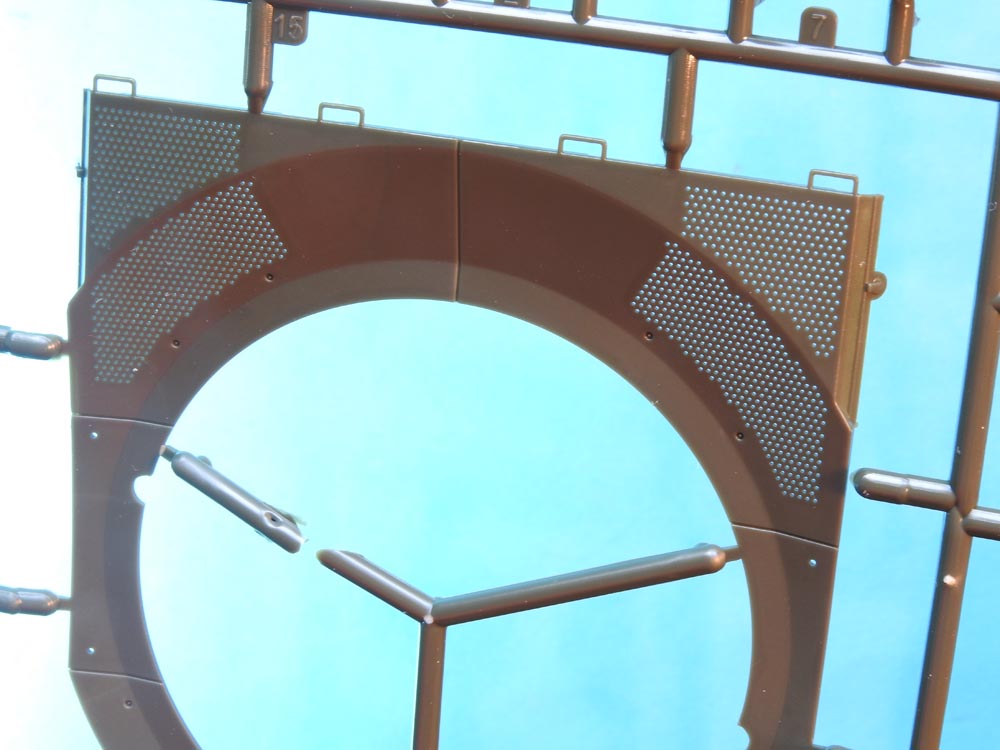
The hull grating that surrounds the turret base is moulded very nicely with perforations that go clear through the piece (Takom's does not). No need for photo-etch here. The rear exhaust grilles on the hull sides are slide-moulded into the hull sides, so they have nice depth to them, unlike their fairly awful, previous Leopard 1 grilles. Meng seem to have learned from Leopard Workshop here!!
One minor point is that there are three curved bilge exits under the hull sponson edges and all of these are missing (Takom has them all). They are under each exhaust grille and under the crew heater exhaust on the right.

There are three bilge exits under the edges on the hull sponsons, all missing.
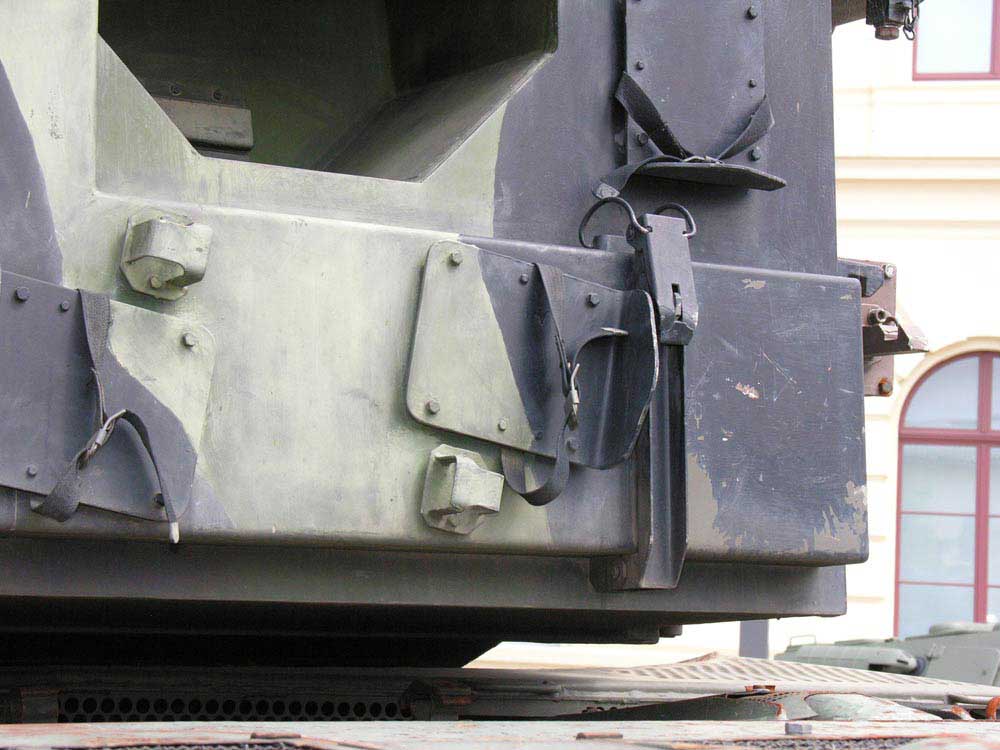
The rear hull extension has some issues, but most will accept them as OK. At least it is not as bad as the Takom extension which has bigger issues after comparing the two kits. The Meng problems are small and concern fictitious locks on the two hatches, the hatches should have constant radius rounded corners and the lights should have an angled step under the reflectors. The pencil lights are also very anaemic. Like I said, small things.
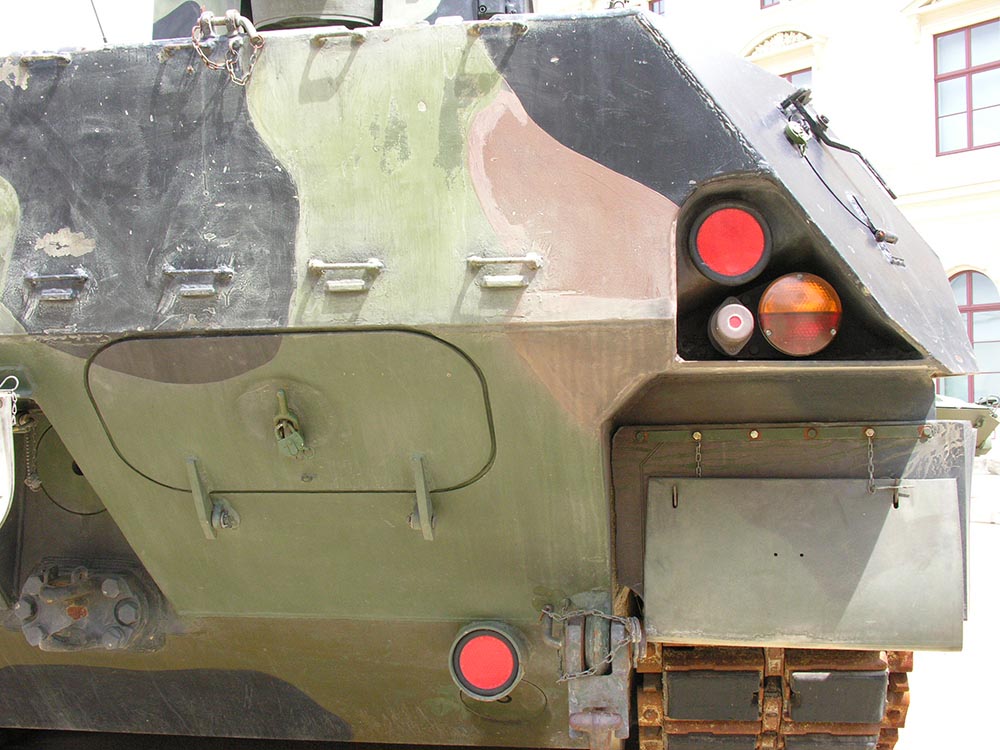
Compare the rear end with the two from Meng and Takom - and with each other!
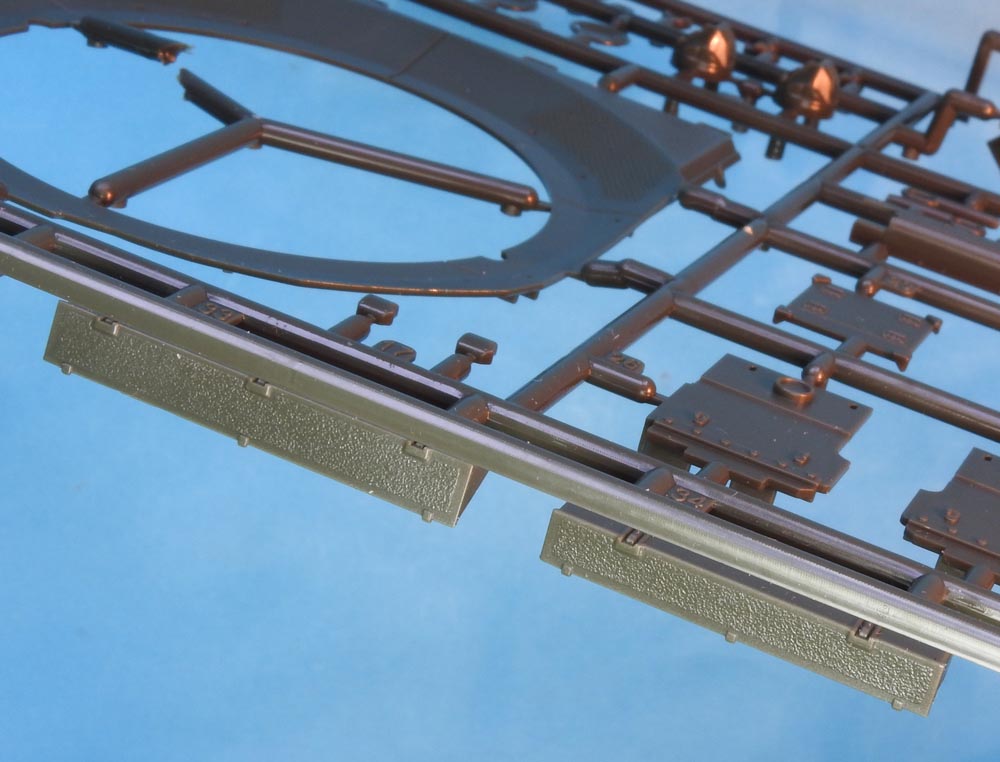
The toolboxes on the hull sides are nicely done with slide-moulding being utilised to give them a non-slip texture on the lids. The front mudflaps are also slide-moulded in one piece, so no nasty joints to clean up, just a tiny moulding seam.
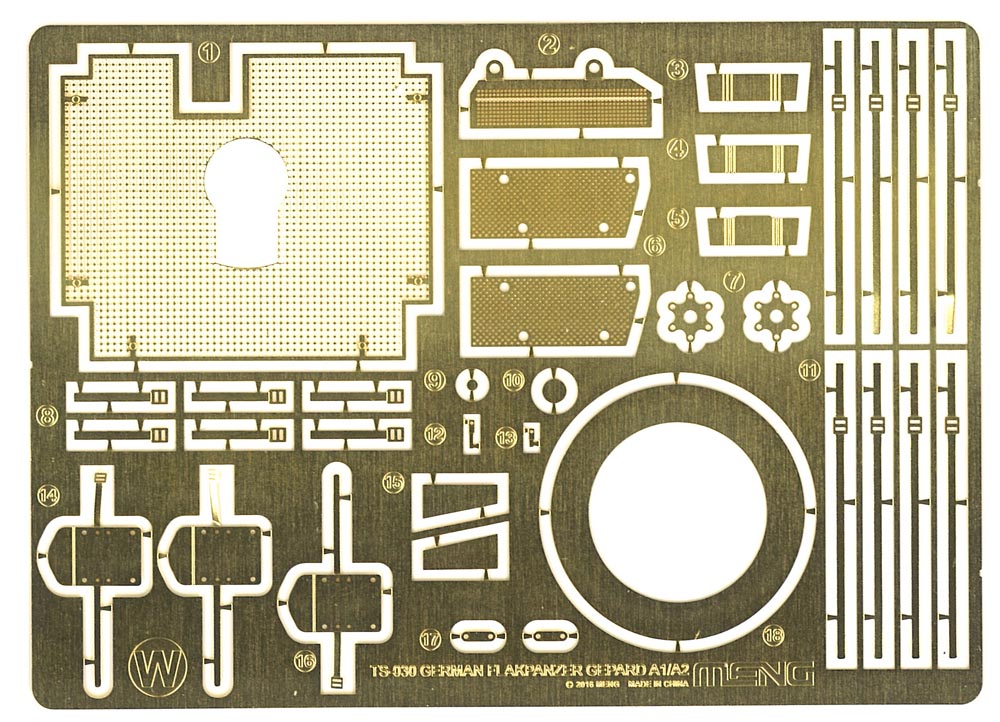
As you may have guessed, photo-etch in this kit is kept to a minimum, which is good as far as a lot of modellers are concerned. The etch we do have here is used to top off the aforementioned rear deck grille, the APU intake, two perforated plates on the turret sides and some straps and fittings. Just the bare necessities, which is fine in this case. Unfortunately, chains are not supplied for the smoke launchers (see LW026). I don't see it mentioned in the instructions anywhere, but there is a large circular piece of etch (W18) that can only be a wheel mask to help with painting the roadwheel tyres.
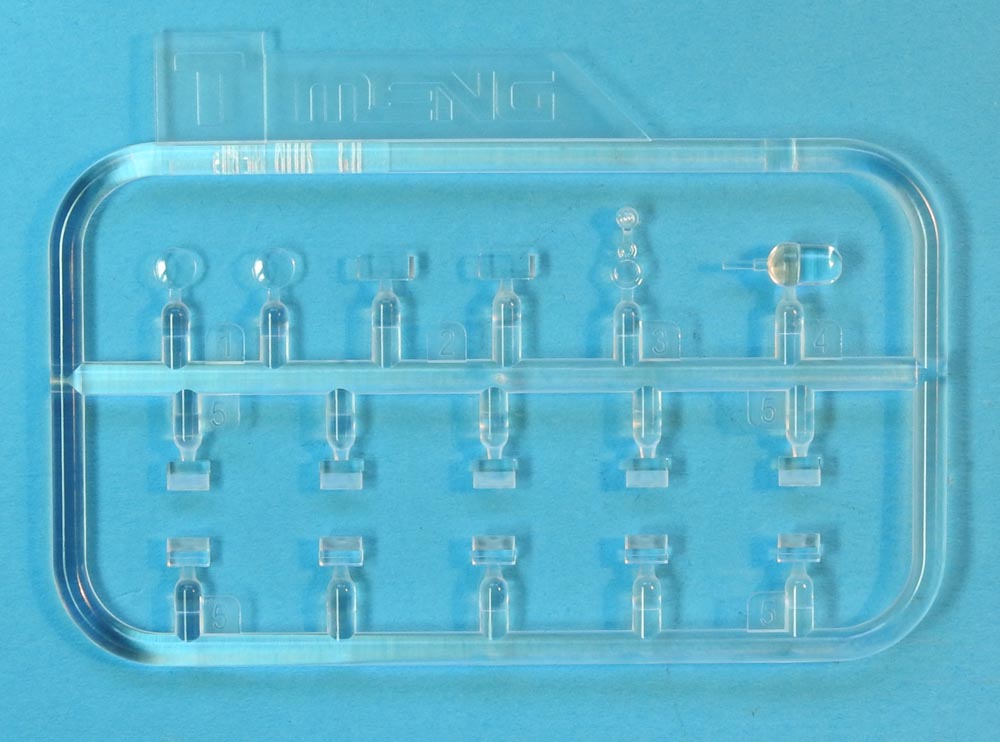
Driver periscopes are clear plastic and so are the headlight lenses. The rear view mirrors have self-adhesive mirrored film which is a nice touch. The T-hooks and eyes at both ends of the hull are still single piece (see LW025). The protective cover over the driver's head is also nicely moulded with perforations clear though. Maybe it could be sanded thinner to be more representative. Takom did this in etch.
The cover over the driver's hatch is nicely done in plastic, but inevitably can be improved by thinning down.
If deciding to build the more modern Gepard A2, you will need to mount the rear storage box. Gepard has no external tools mounted apart from the sprocket T-bar across the hull rear.
The tracks are the nice familiar Meng Leopard 1 tracks ones already reviewed here, so I won't repeat myself. These are supplied in several cellophane bags. I have not included photos here as they are already familiar from the link above.
Nylon string is supplied for the tow cable with separate plastic eyes. Not nice. A better choice is to use the Eureka Leopard 1-2 tow cables with resin eyes that fit more neatly than undercut plastic eyes. Also, RMG Resin are about to release some new sets.
The last step of the hull build is to NOT add the side skirts. However, the front mudflaps DO have to be added and will need the tubular extension at the front of the skirts (see step 15 in the instructions) to be cut off and added to the top/side edge of the mudflaps.
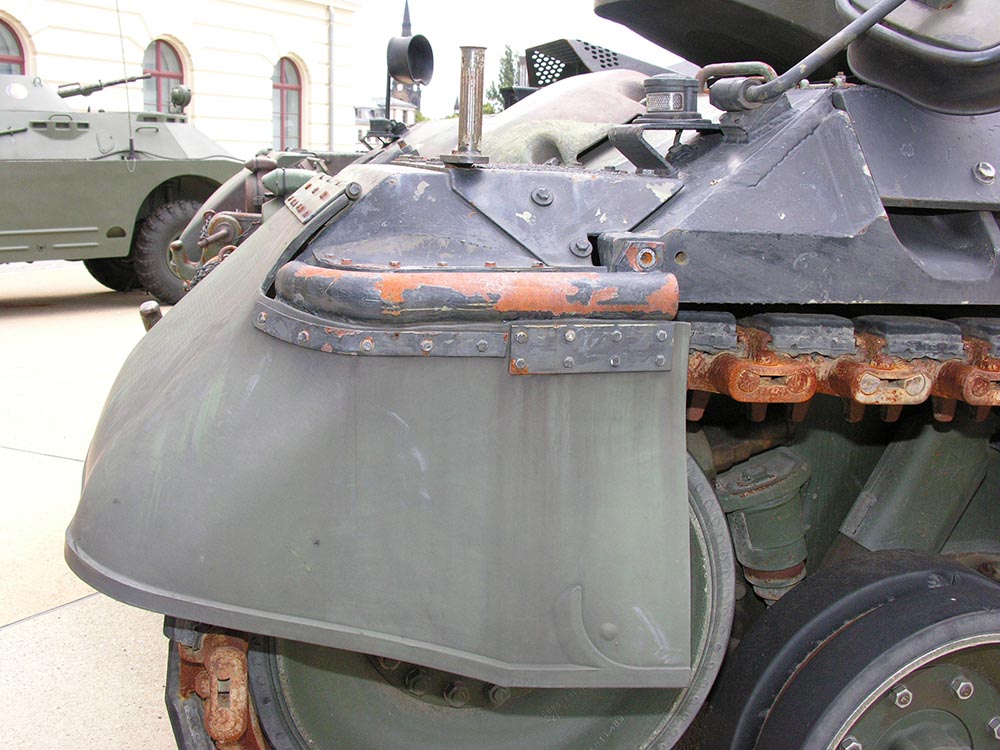
Note here the tube along the top of the mudflaps which has to be cut from the skirts which are not needed. Also, the width indicator light bracket (part E3) should be hollow, not solid as in the kit. Not so easy to do!
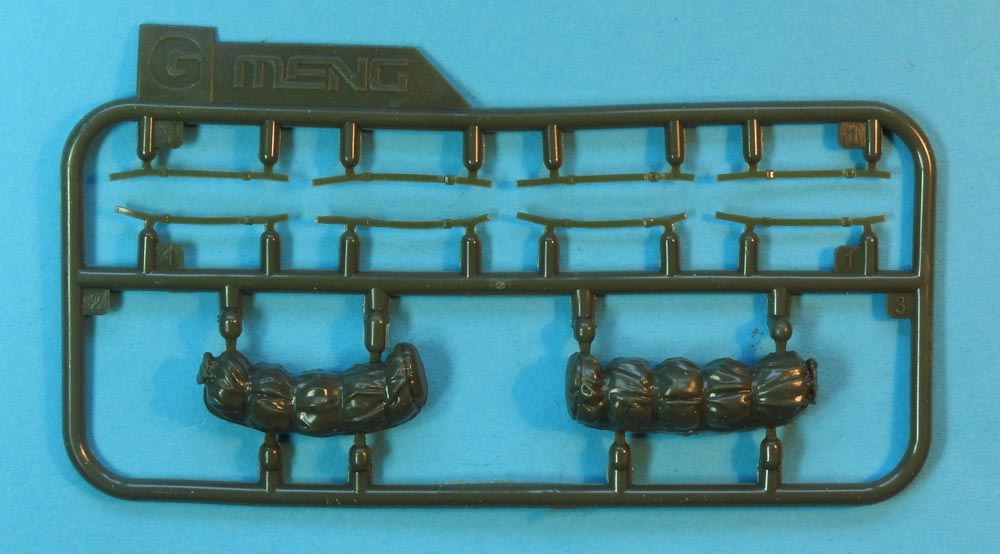
Slung from the rear hull are two rolled tarps moulded in vinyl.

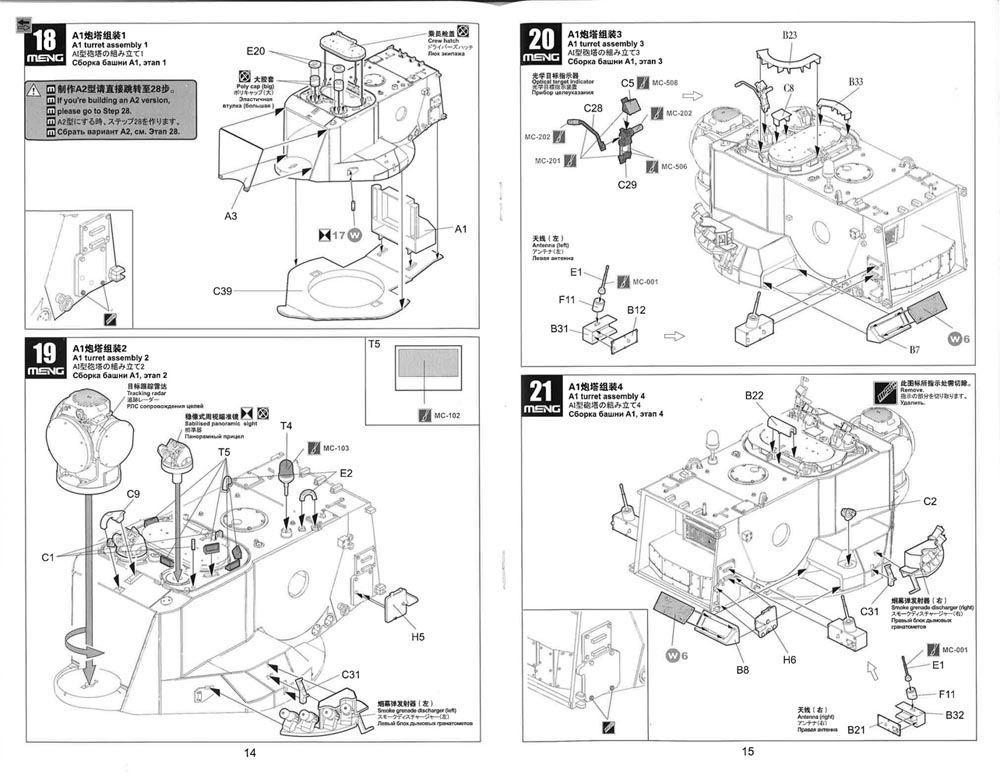
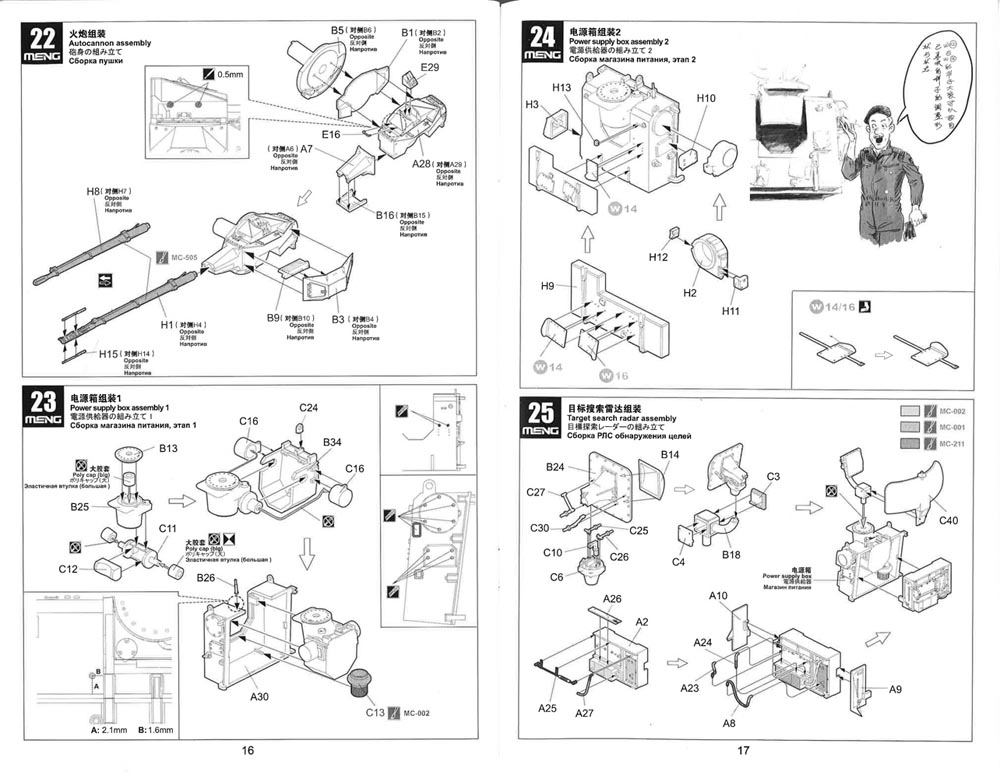
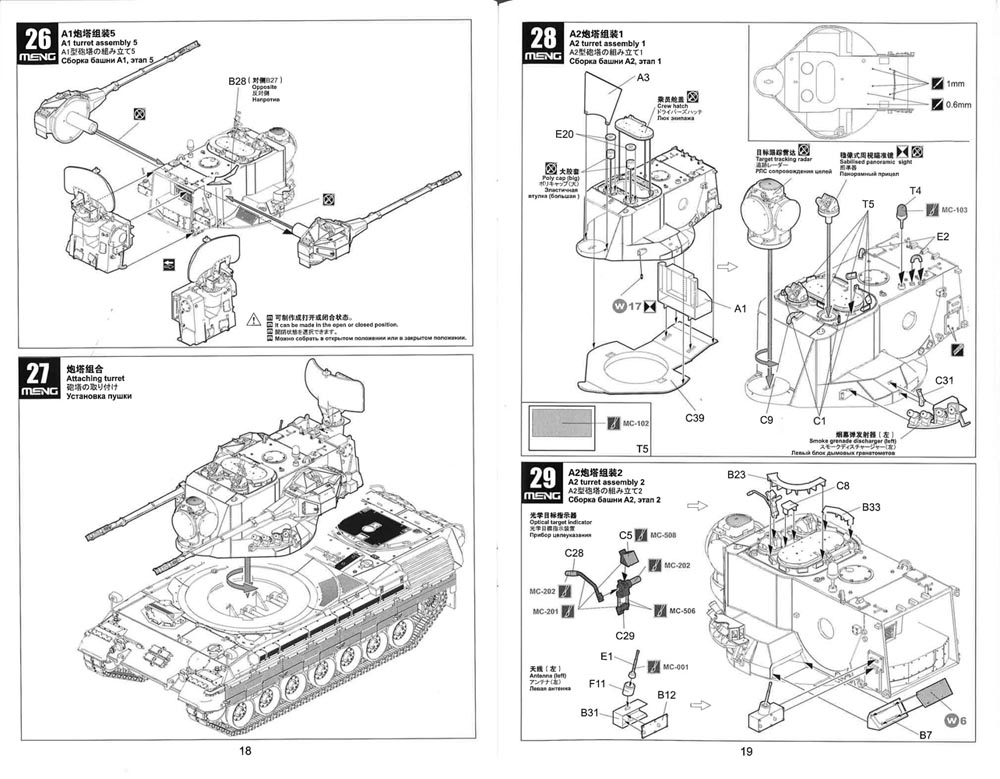
In the instructions, work on the two turret types for A1 and A2 is clearly separated - steps 18 to 27 for A1 and 28 to 34 for A2. This is much clearer than Takom's instructions. Some removal of bolts and other raised detail is necessary with a sharp knife for each particular version, so choose your option early on - and be careful what you remove as you go along.
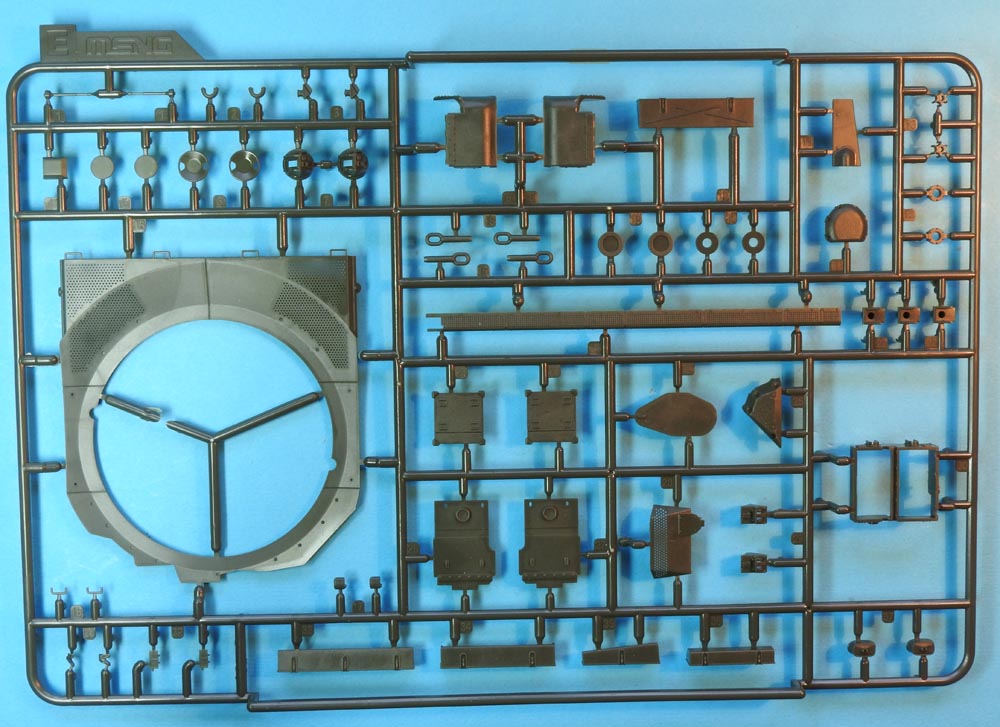
I have to say that the turret is more impressive than the hull with very few problems that I can see. Generally speaking, it has some nice features like turret-top sights held by polycaps so they are rotatable (Takom have to be glued), an optional Optical Target Indicator (missing from Takom) and the back of the turret can be posed open with a reasonable amount of interior detail (none from Takom). Needless to say, both radars are fully rotatable as well.
The tracking radar has polycaps to keep it mobile vertically and a key at the bottom of the turret on which it rotates 360 degrees horizontally. The radar rotates backwards for protection when it is in travel position.
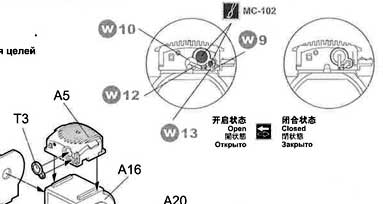
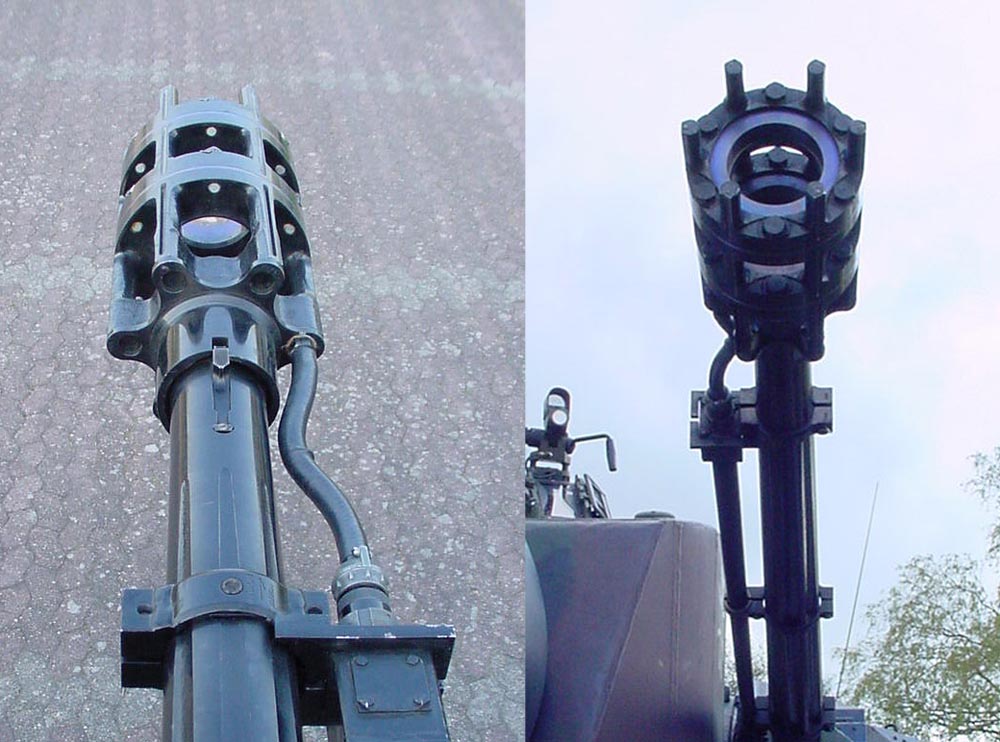
The turret-top panoramic sights are beautifully moulded and have separate clear windows and doors. The Takom ones can only be modelled closed. The infra-red rangefinder on top of the radar has some VERY fiddly, tiny parts. The sight window (T3) is clear plastic, but on top of this are four tiny etch parts - 2 circular covers and 2 arms - so you can model the window covered or uncovered. Good luck!
There is very little photo-etch on the turret and what there is, is very simple. A notable omission are chains for the smoke launchers, but LW026 will come to the rescue here. I have mentioned the Optical Target Indicator which clips on to either panoramic sight. You don't often see this fitted in photos, but it is here if you want it.
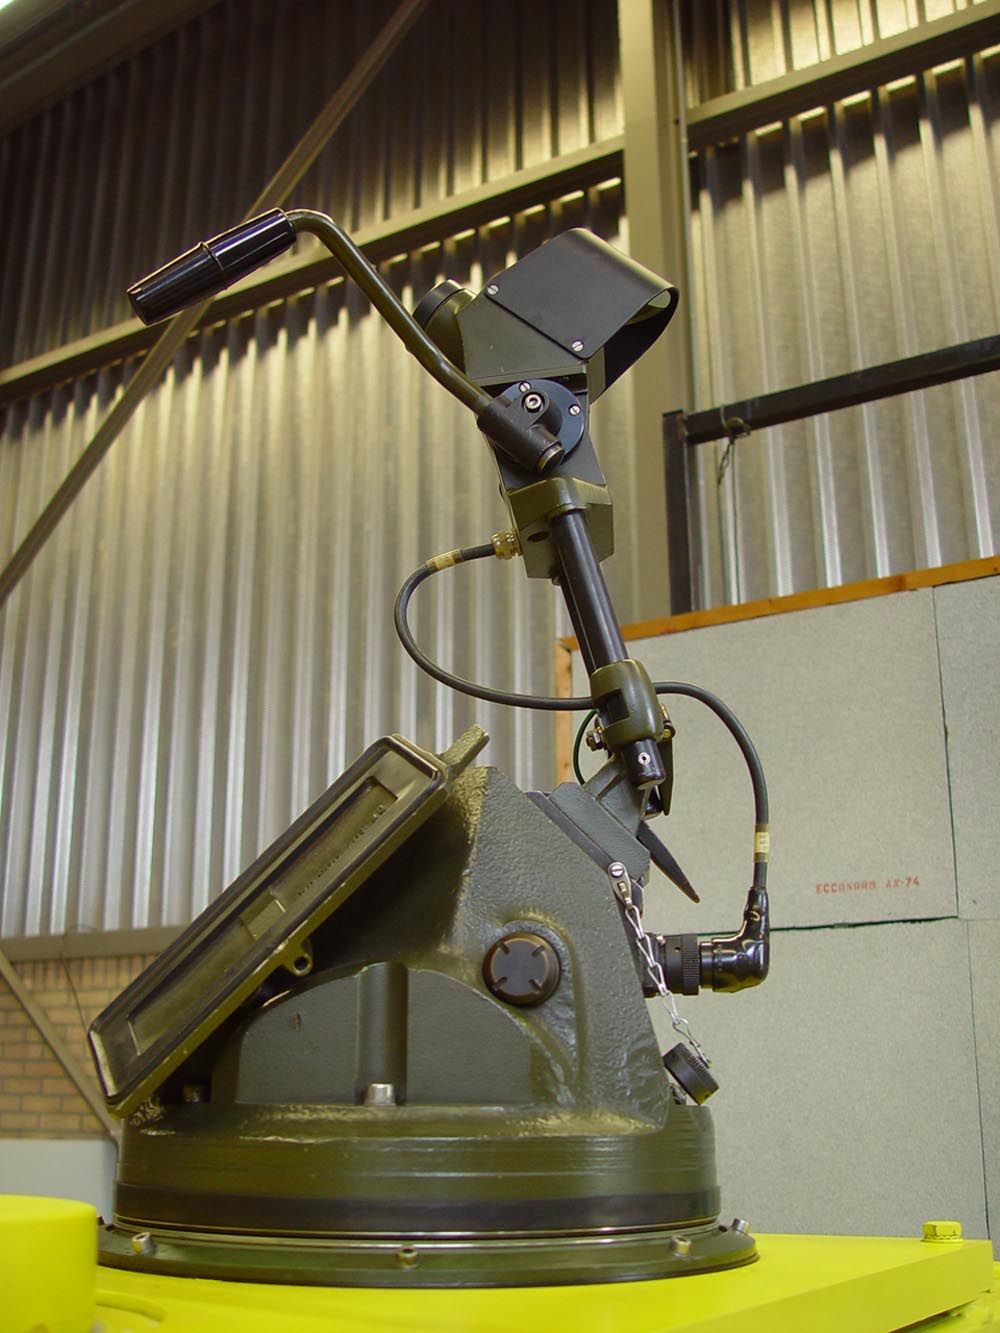
The Optical Target Indicator. (JW de Boer photo from the Spotlight page)
Only bases and bottom sections of the aerials are included but most Gepards (A1 and certainly all A2) would have used SEM 80/90 aerials (LW024). Like the hull, all periscopes are clear plastic as is an optional convoy light on a short mast (Takom also included a longer mast).
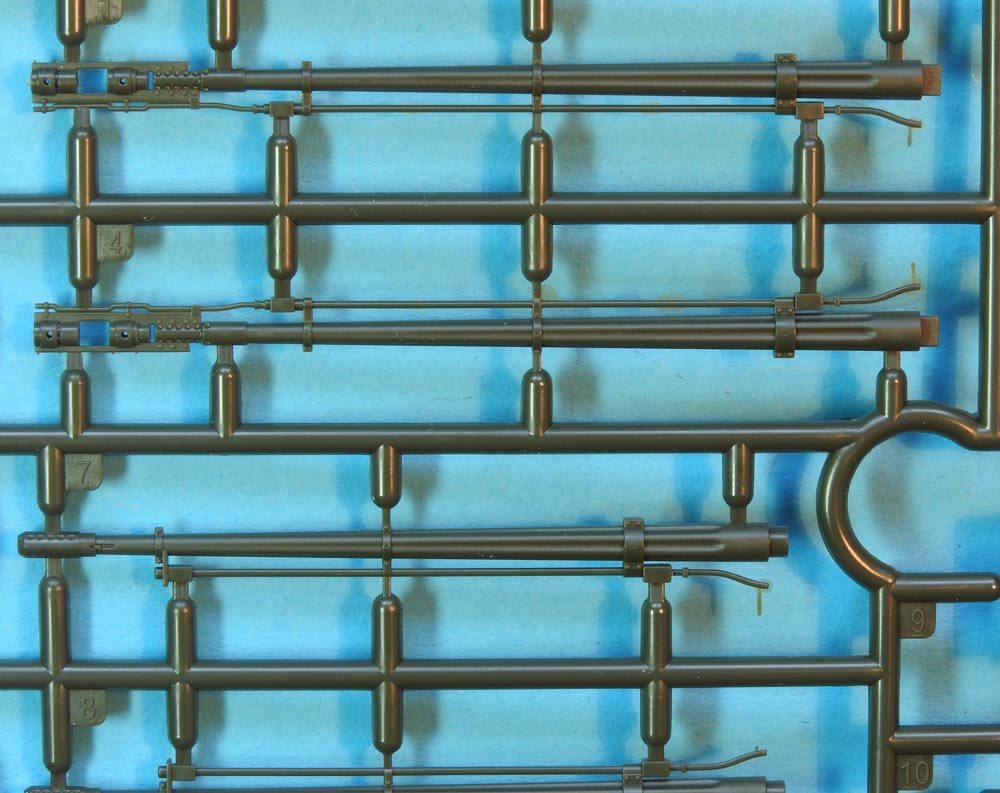
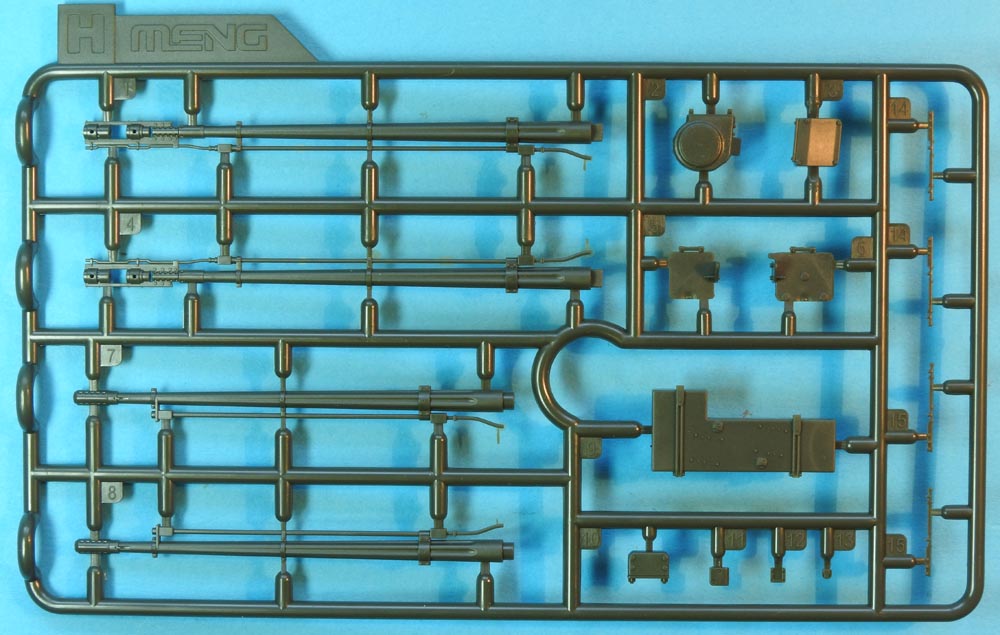
The main body of the gun pods are slide-moulded very nicely and completed with eight other parts before mounting the gun of choice.
The guns themselves - and there are two options here - are slide-moulded in one piece! No separate halves here. There are some mould seams to clean up, but this will be very easy with a sharp blade and/or sanding stick. Obviously the muzzles are hollow. The alternative guns are the normal service 35 mm Oerlikon cannon with the four 'fins' on the outside, and an alternative which has a simple perforated muzzle which was used when firing blank practice ammunition. This was used on both A1 and A2 versions and can be clearly seen in photos of both versions. Unfortunately, the 'perforations' in the simpler muzzle are semi-circular and poorly defined. They should be circular like the other more complex muzzle which has been moulded correctly right next to it on the sprue. This is curious. However, some patient drilling will improve them no end - or maybe the after market will come to the rescue.

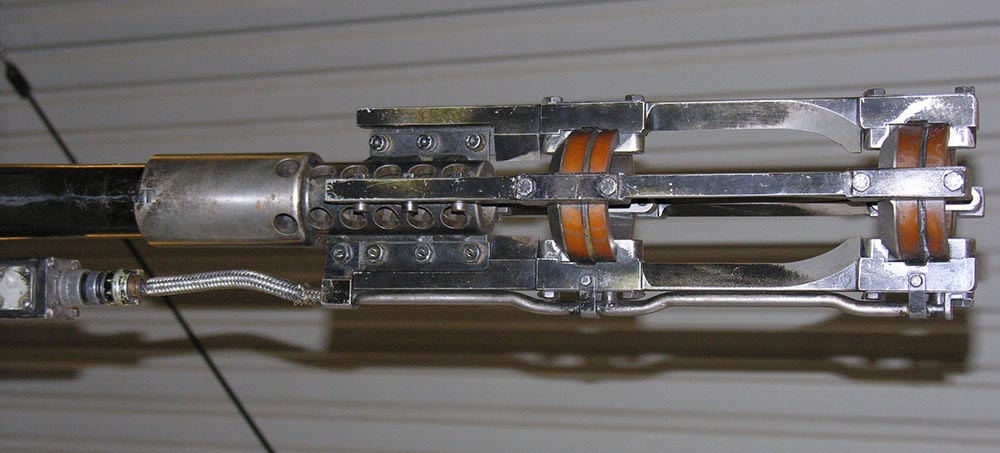
The normal operational muzzle from A1 with its four 'fins'.

The MPG practice barrels with simple perforated muzzles. Found on both A1 and A2 Gepard. (Wikipedia)
The box at the rear of the turret, the power supply box (the part which swings open), also holds the pivoting base unit for the search radar. All the pivots use polycaps to allow free movement. On the rear face are some photo-etch tool brackets which a strange cartoon character shows you how to place in Chinese! Takom supplied these moulded in place on their turret rear, complete with tools. Meng does not supply the tools, just the brackets.
The search radar itself is more complex than the one supplied by Takom. This one includes four linkages behind the radar pick-up that sits in front of the large reflector (none in the Takom kit).

The linkages to the radar pick-up.
The interior of the turret rear is then furnished with numerous parts to simulate the electronic equipment housed in there. The instructions only provide very vague colour information, but there is a link here with a few photos. On the Spotlight page you will find the box opened on a Dutch Cheetah, but the equipment inside is totally different!
All that remains to finish the A1 model is to add the gun pods to the sides of the turret by glueing the two pivots together inside the turret shell and positioning the rear box open or close to show off the interior as desired.
How is the A2 version different? The gun choice is different. Once again we can use the MPG practice barrel or a different barrel which has a more complex muzzle reference system which is made up three plastic plus one etch part - each side.
Front and rear views of the A2 muzzle.
The tool box on the hull rear is added, as we have already mentioned. On the turret rear, we can ignore the photo-etch tool brackets and build up the cooling system boxes for the crew and electronics before adding these. On top of the turret, a double storage box is added. That is it. A2 is complete.
As I said before, all of these profiles show side skirts. DON'T add them to any of these, please. Meng are wrong here.
A new Gepard has taken a long time to come around. We had the same situation with Leopard 1 until Meng and then Takom released different versions. These Leopards were a little below par, so what about this Gepard?
Now we have two very good Gepard models. Meng have realised the differences between two of the versions, A1 and A2, but have not included the first version which is a shame (the one with skirts!!). Parts count is relatively low which means it looks easy to build, though more complex than the competition from Takom. It is crisply moulded with a lot of superb detail. It is a quantum leap over the old Tamiya kit.
The biggest problem is the suspension/running gear which still has problems, though most might think I am being too picky.
Both Takom and Meng have come up with great kits. I have identified some problems with both kits in this review, each with their own differences, but either will build into a lovely model of Gepard.
If I was to give the edge to either kit, I would say that Meng's interpretation is the better one. I would be tempted to use Takom's hull with Meng's turret for the more perfect solution, but the Takom hull is too long at the rear with incorrectly proportioned hatches top and rear - plus the problem of different diameter turret rings between manufacturers making the fitting of the turret a little problematic.
I have not included any mention of Dutch Cheetahs in this review as it is a significantly different machine and a whole story by itself, and it is not covered in this kit.
© Leopard Club
![]() Contact us at leopardfibel@gmail.com
Contact us at leopardfibel@gmail.com