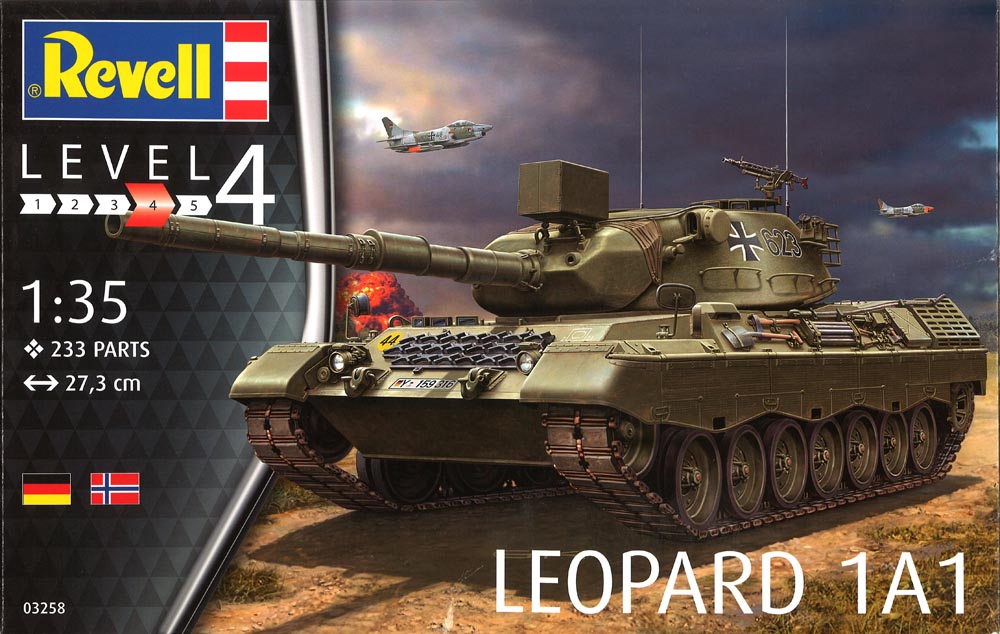
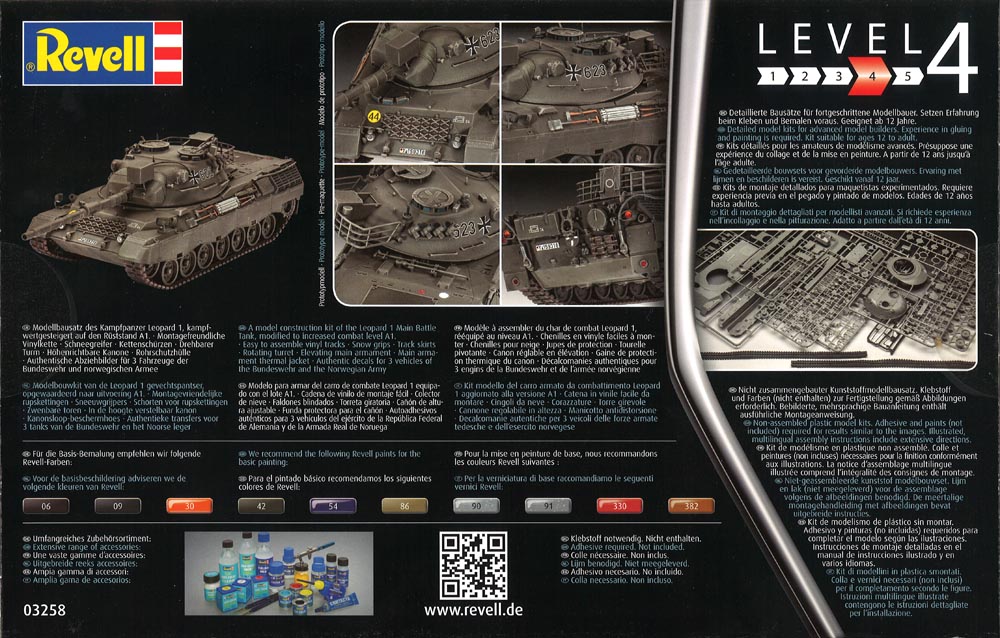
Reference 03258
Scale 1:35
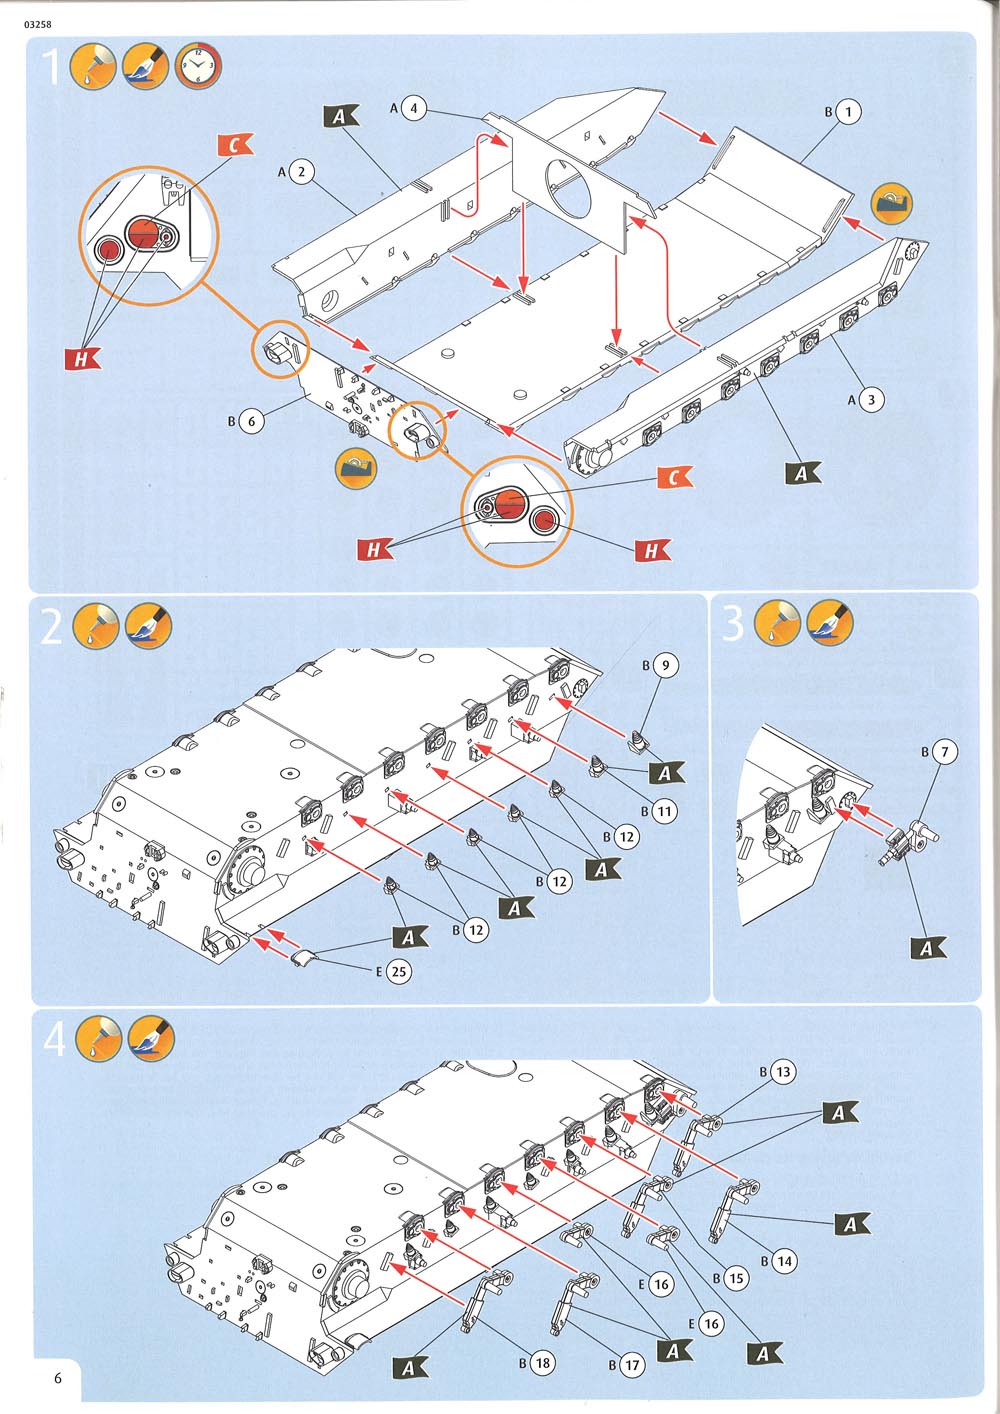
Media: injection moulded plastic, vinyl
Reviewed by Michel Shackleton

Review sample kindly supplied by Modellbau-Koenig
Late in 2015, Revell released a completely new-tool Leopard 1. This kit depicted an early production Leopard, dating from 1965, therefore celebrating the 50th anniversary of Leopard 1 going into production, and service. In the box we had options for production batches 2, 3 and 4 in service with German, Belgian and Dutch options (notably hull-side toolboxes and Dutch smoke launchers).
There were mixed reviews and mixed feelings towards the kit. Two reviews can be found here on the Leopard Club (Kenneth Østergaard and Jürgen Schulz).
Personally, I liked the kit. It was the first cast-turreted Leopard 1 to accurately depict the shape of the turret, and particularly the rangefinders, in plastic. It depicted the early style D139E2 chevron tracks (though in vinyl). It was simple to build with numerous interesting options. Granted that there are some fit problems, sink marks and some simplification. However, please realise that Revell's market is not the same as the more hi-tech companies like Meng or Takom. Revell's engineering reflects this in the price and quality of their kits - kits that are aimed at a lower end of the market for more affordable and simple-to-build kits.
During the years of its service, Leopard underwent various upgrades in different phases. Once the first four production batches were completed for the Bundeswehr, the first modification phase was introduced to upgrade the existing tanks. Therefore, German Leopard 1A1s were modified tanks from the production Batches 1-4, not new-build tanks.
I suppose I should point out that Leopard 1 was simply called Leopard originally, so the first modification phase would have originally been Leopard A1. It only became Leopard 1 (and 1A1 in this instance) when Leopard 2 was introduced.
The first modification phase from Leopard to Leopard A1 introduced a fully-stabilised gun. More importantly for the modeller, the physical changes toits appearance were:
Other changes were introduced during the same period**:
** Changes 1-4 were all done at the factory. In reality, some of the other modifications (5-10) were fitted in stages either during maintenance or major overhauls. Therefore, as illustrated in the kit's colour profile in Stage 62, not all tanks had snow grouser racks fitted to the glacis plate (this actually started when 1A2 went into production). Some 1A1s soldiered on with D139 tracks until they wore out. Some kept short cables. Some were not even fitted with skirts, so there was a real mixture for a time until all mods were completed.
Leopard can be a complex subject at times!

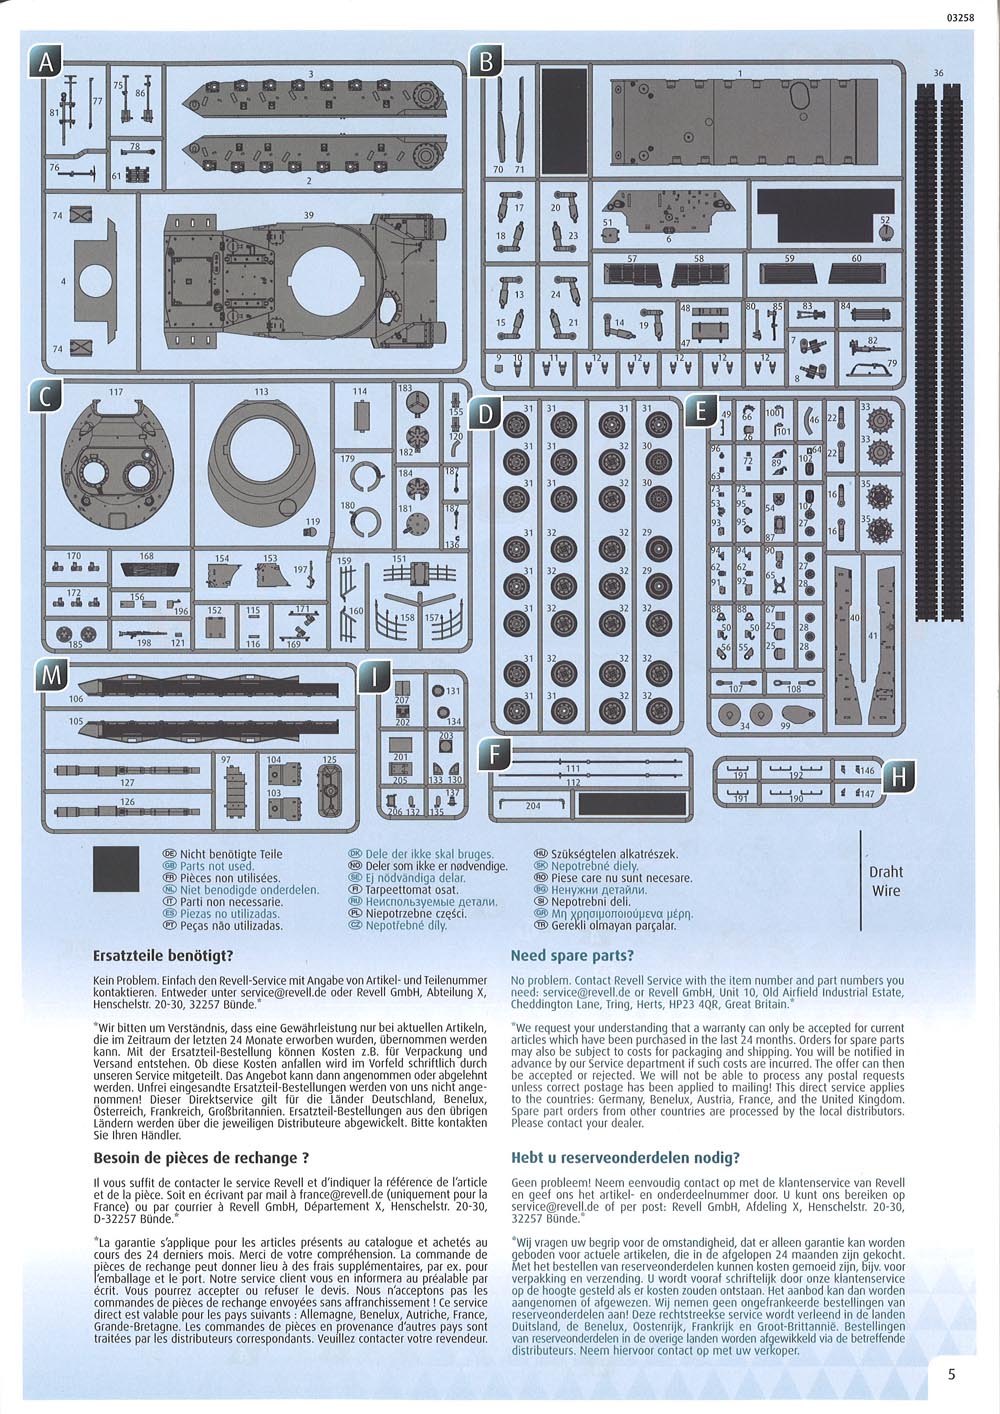
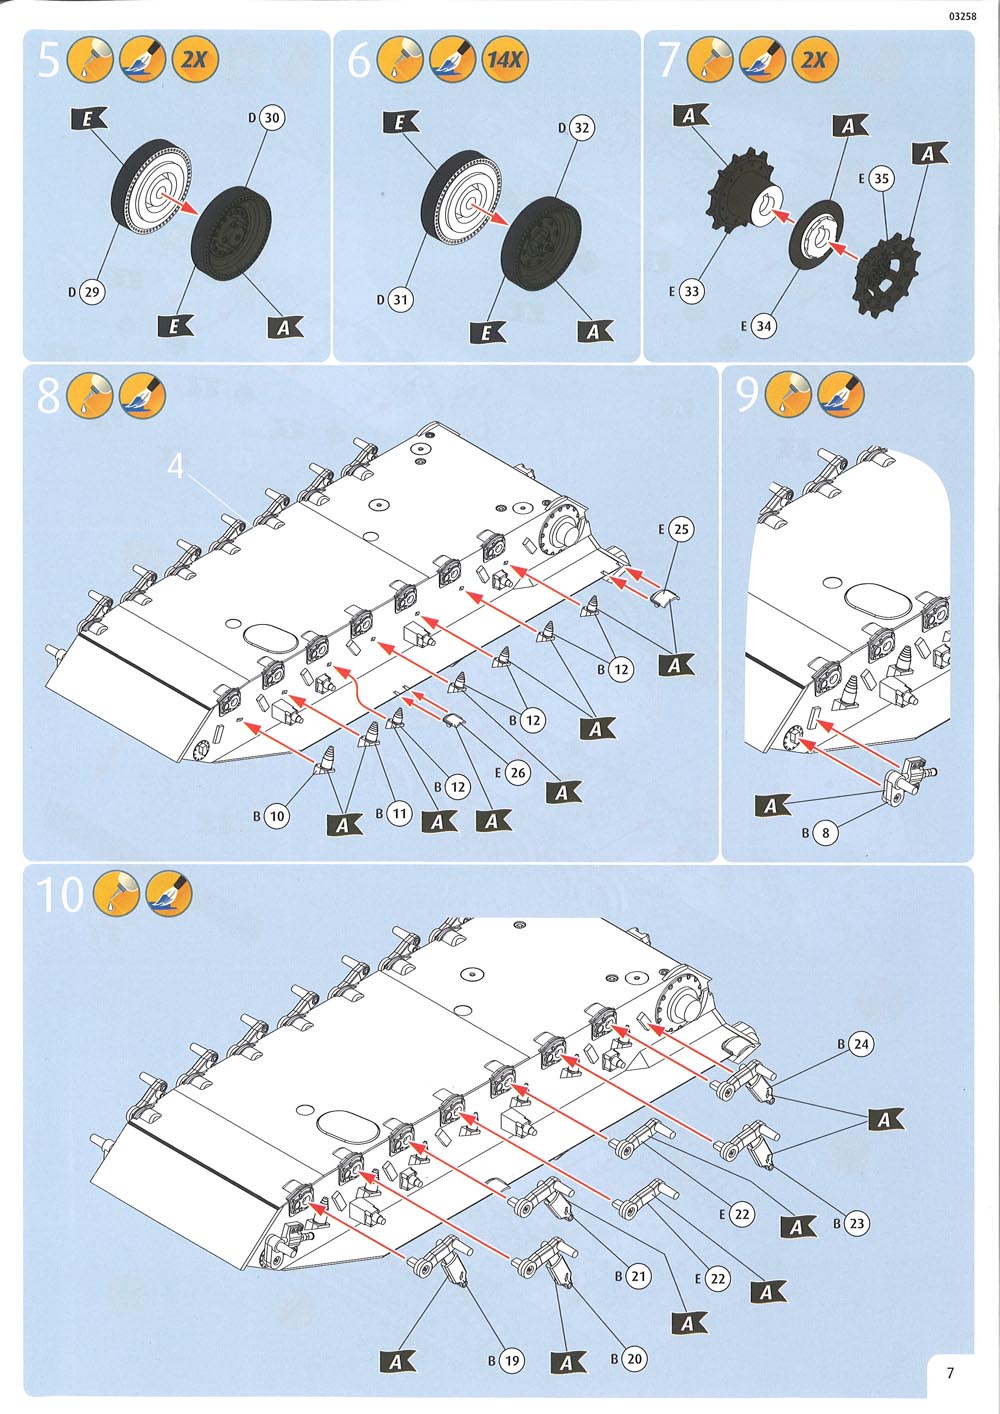
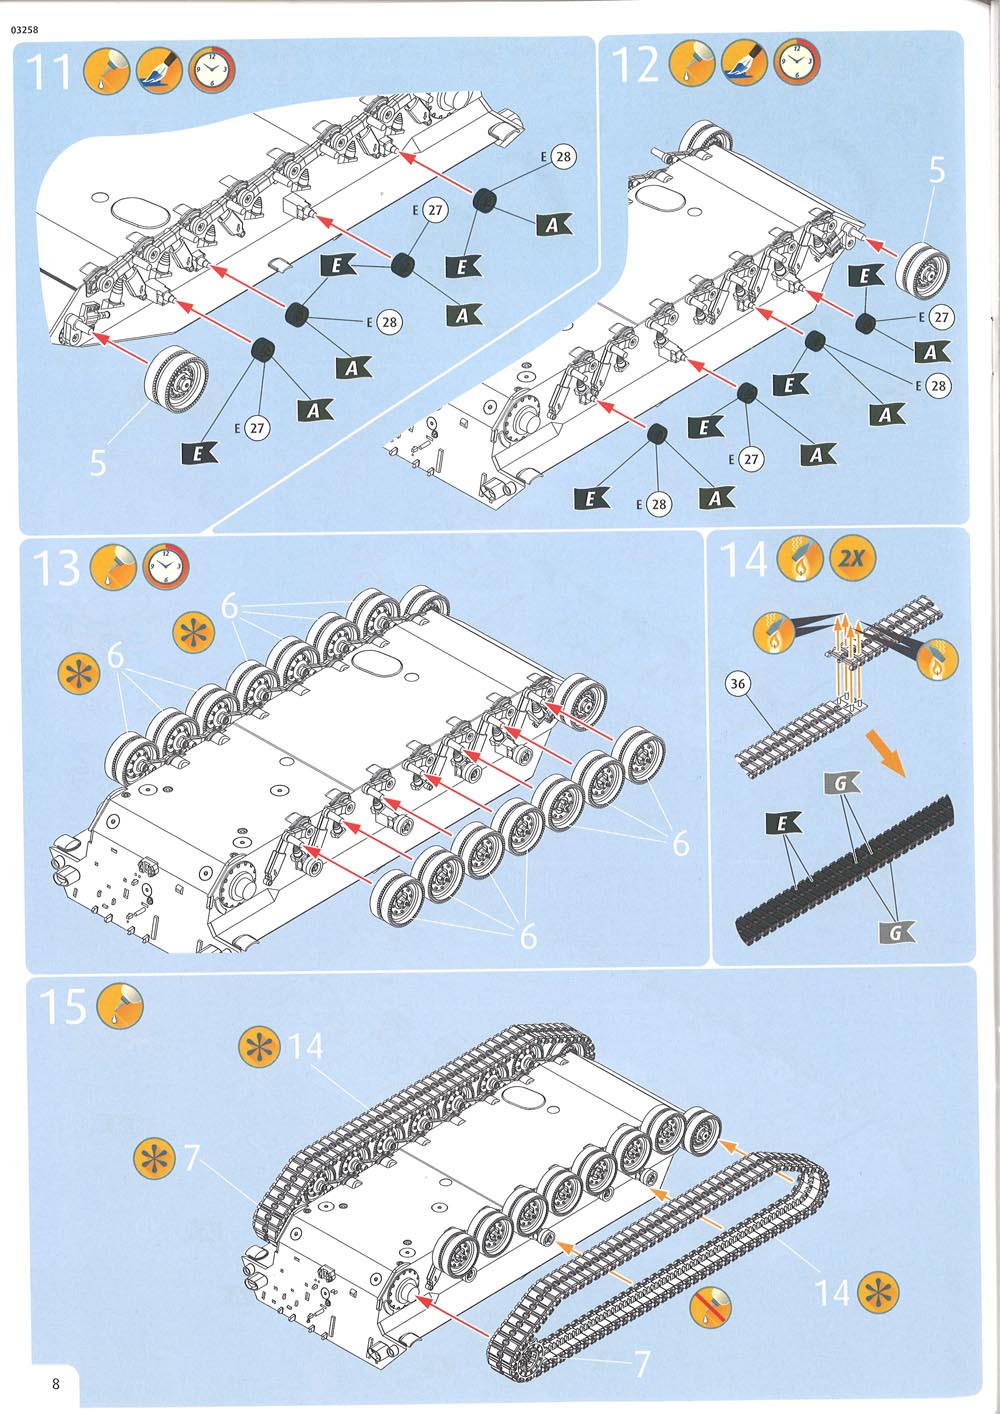


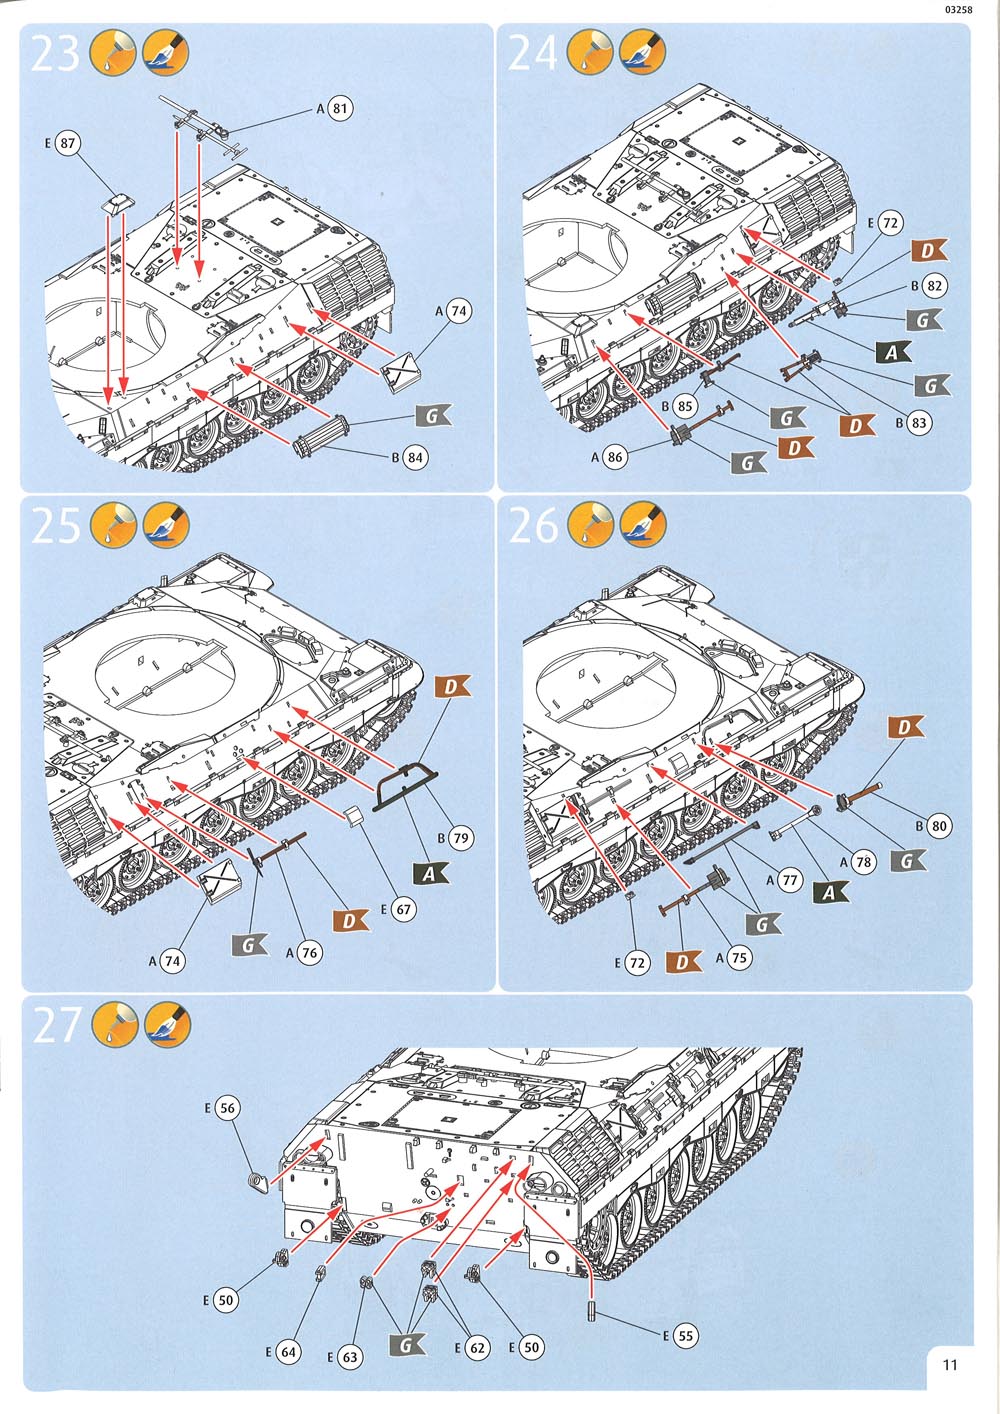

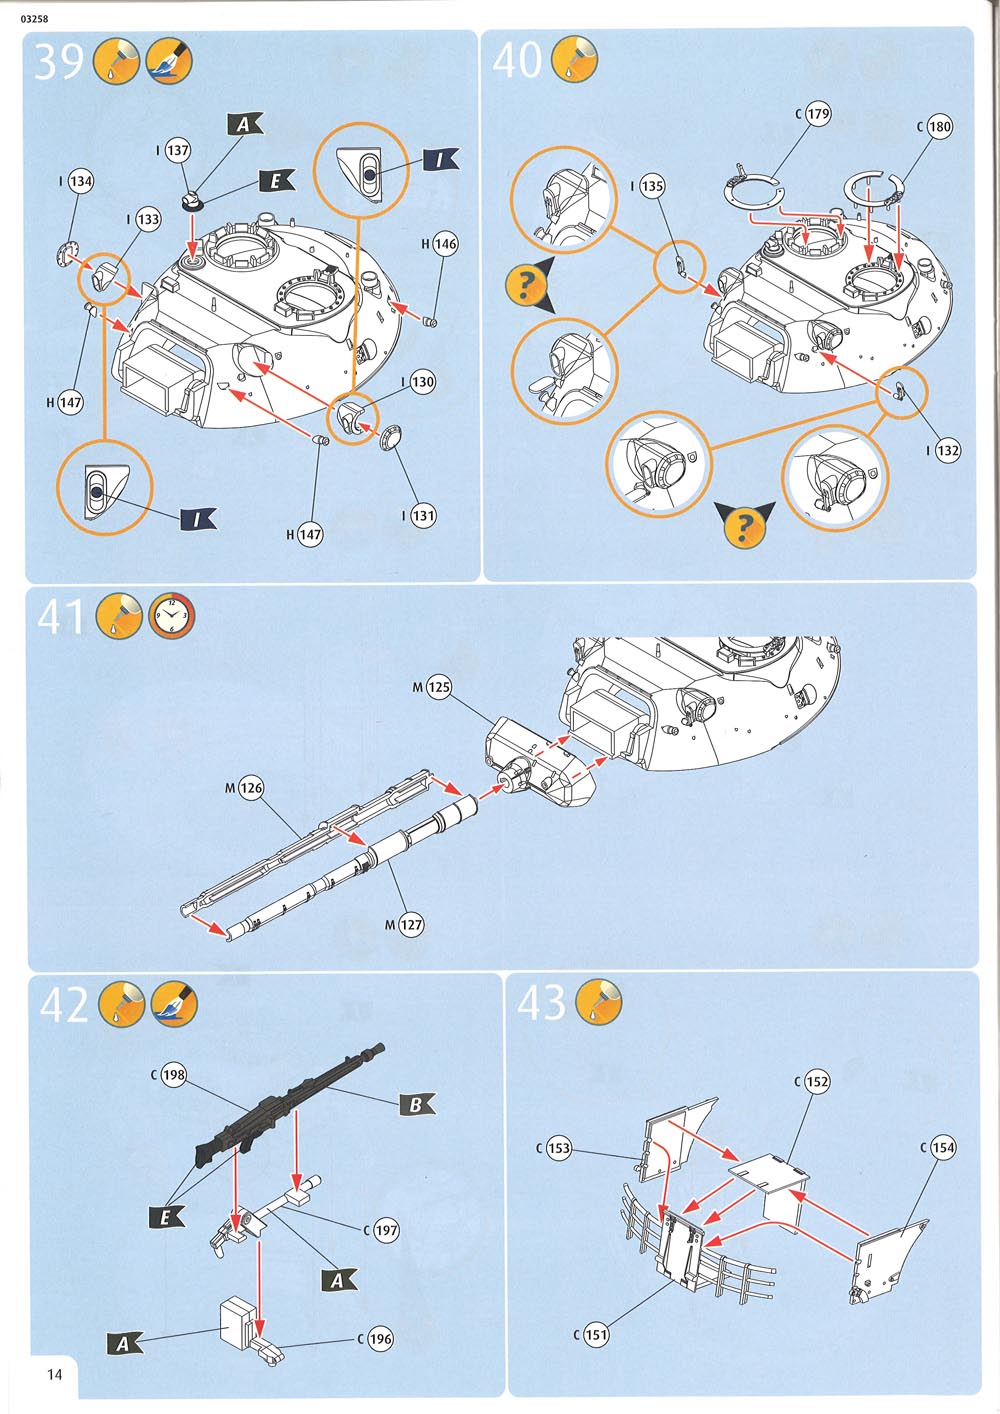
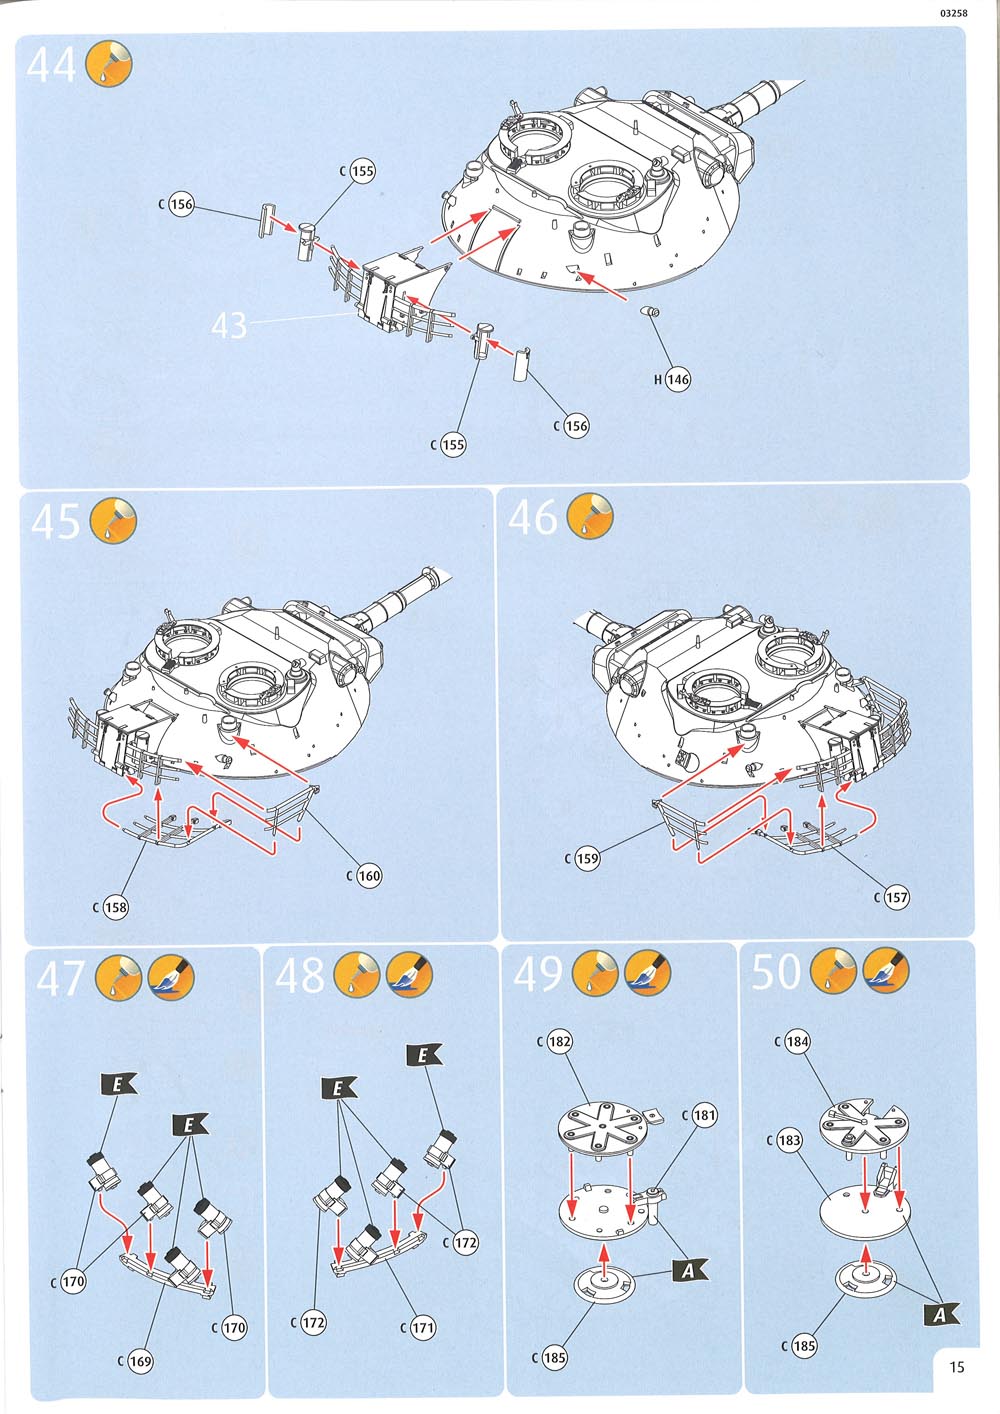
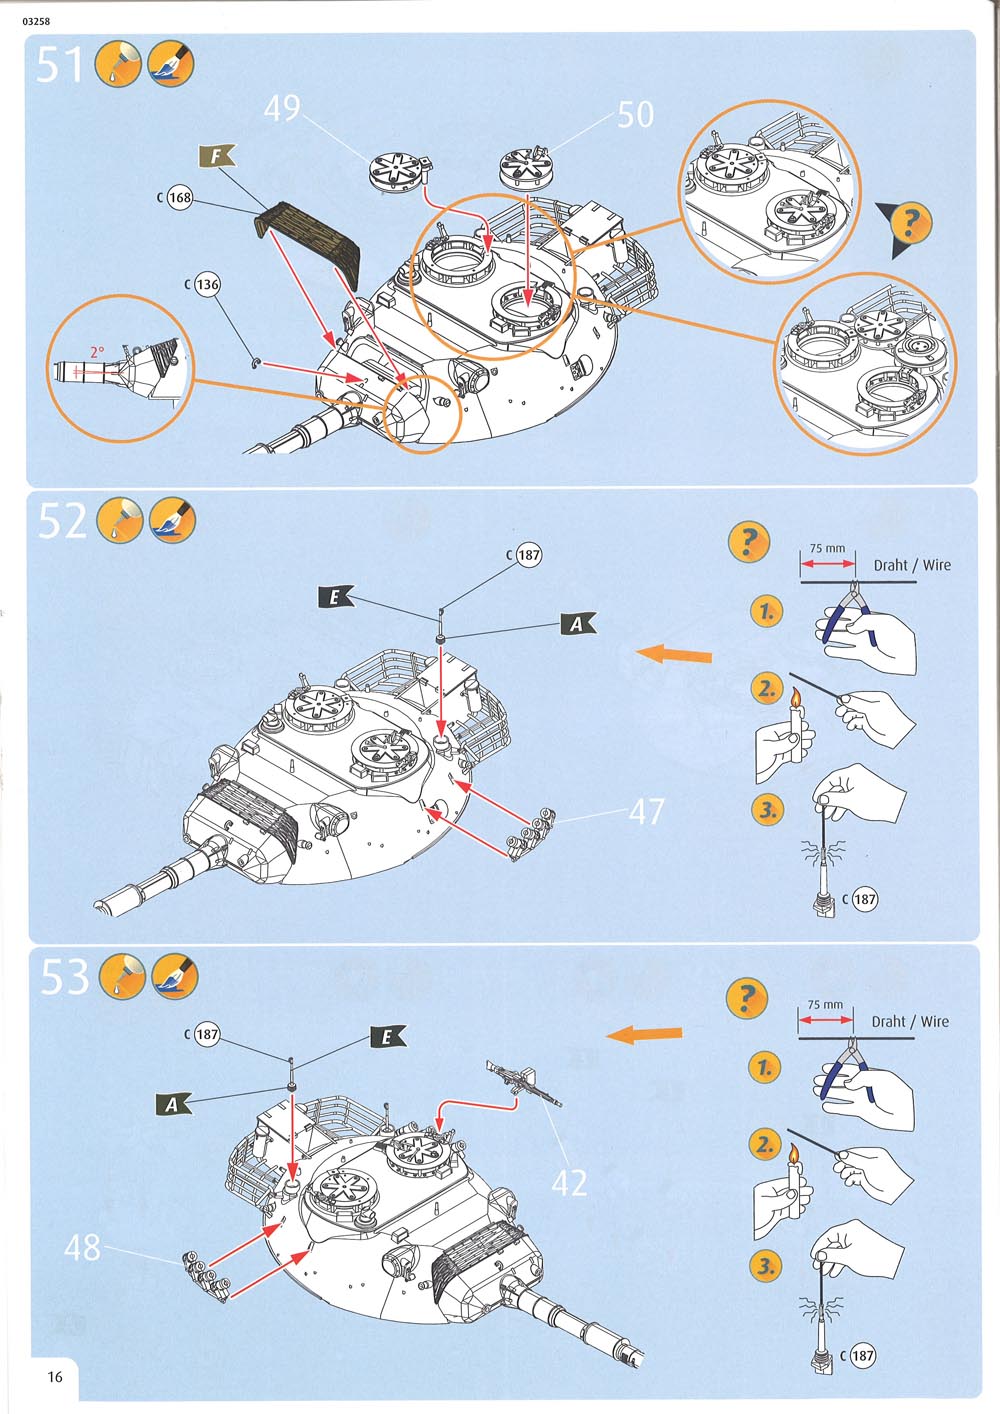
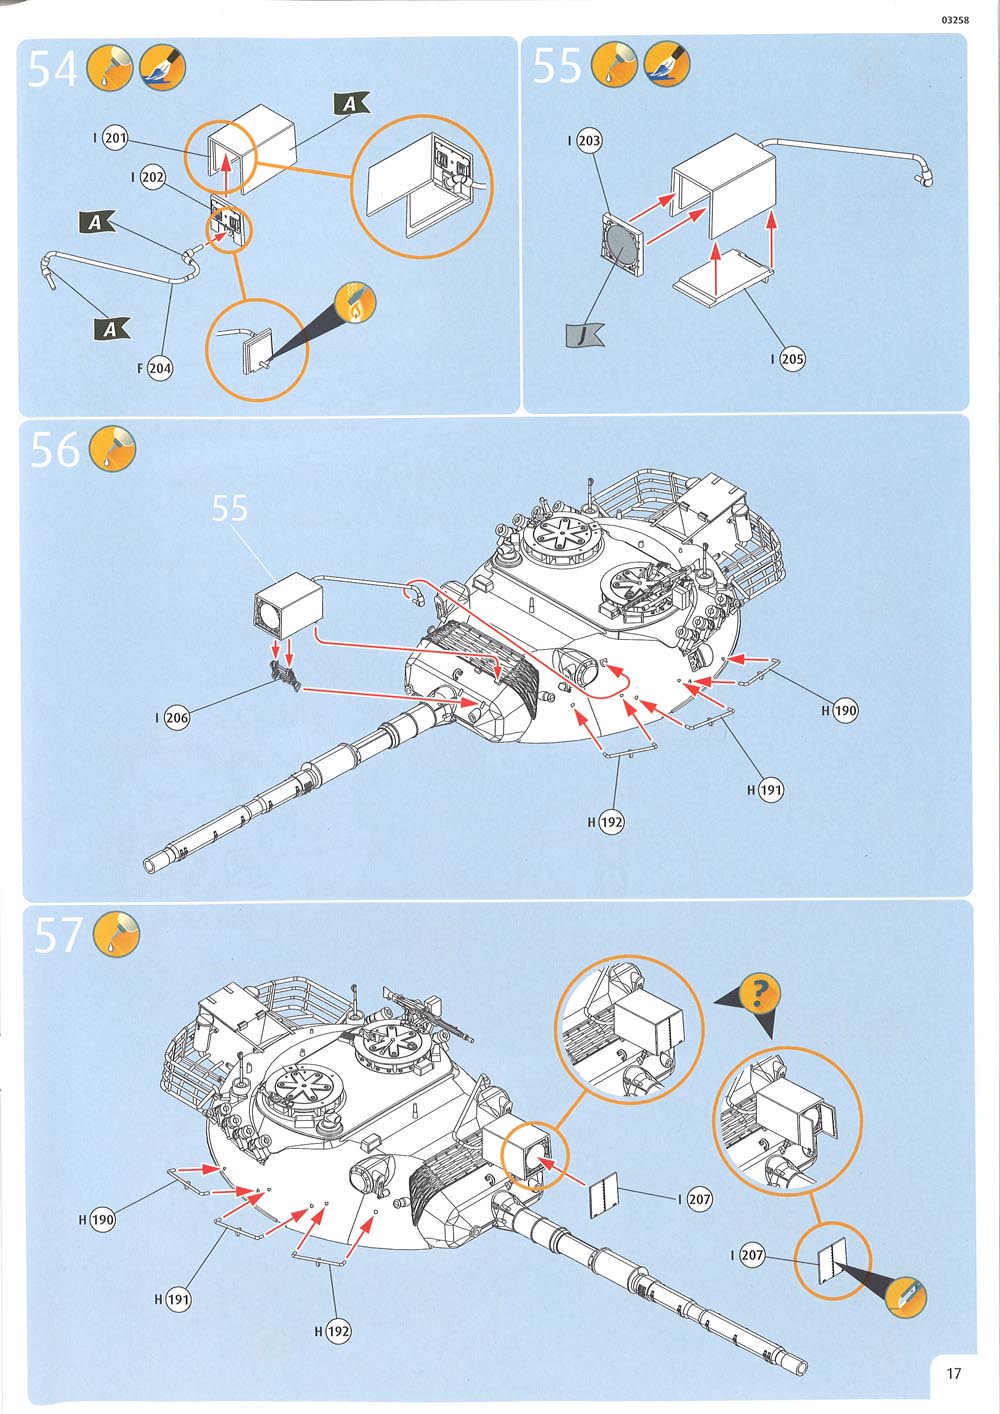


Looking at the sprues in the new kit:
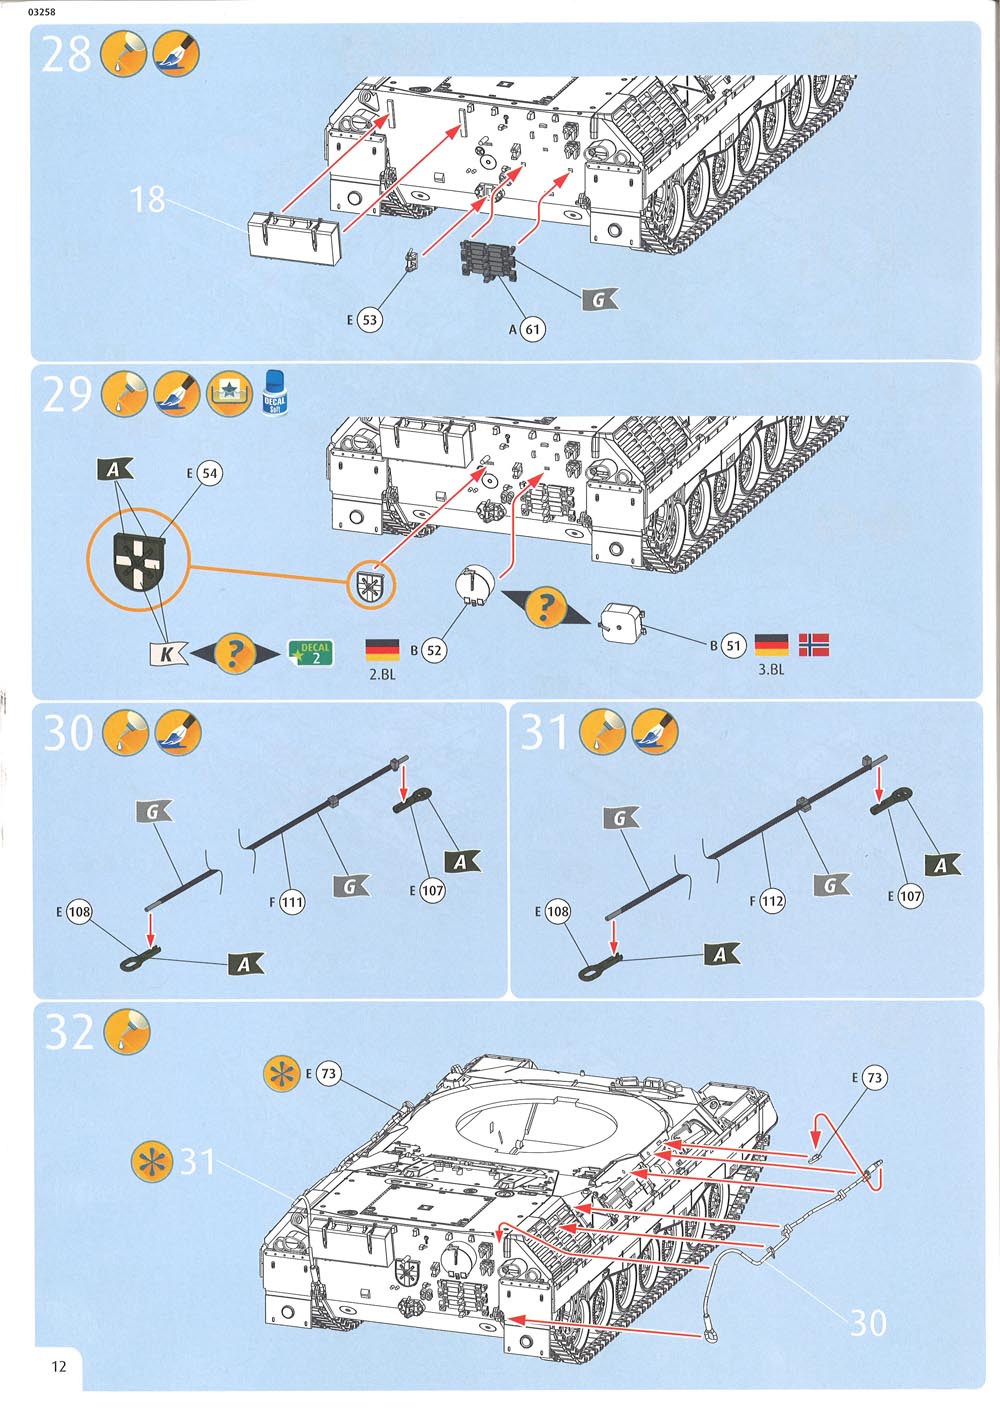
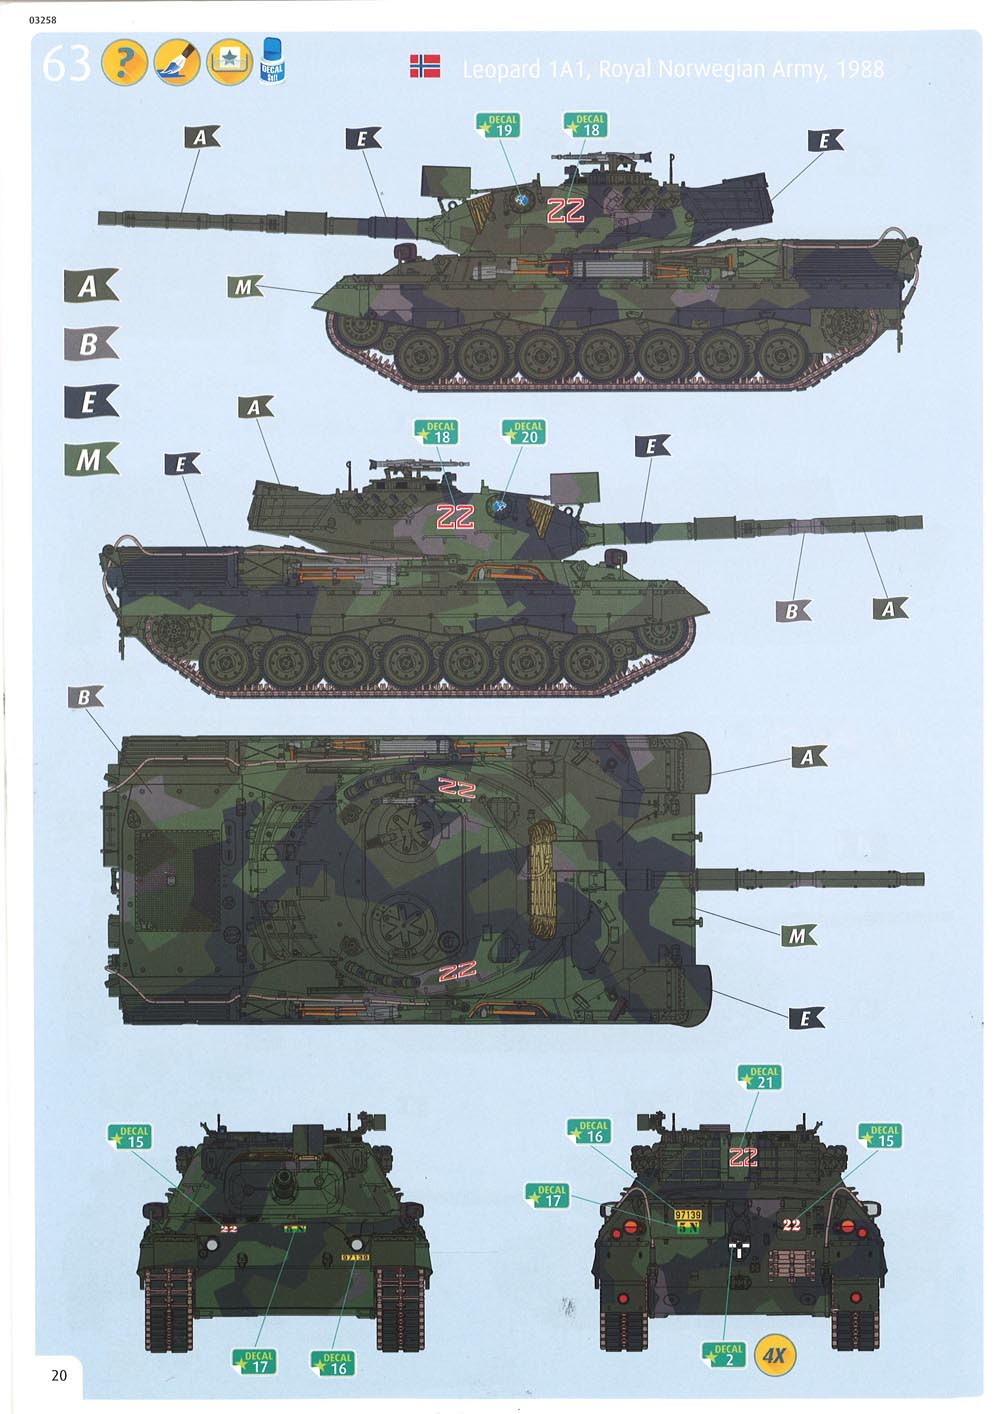
Note that in the instructions, colour profile 62 has no grouser rack. This is correct but it is not called out in the earlier instructions (stage 33), so beware if you want to build this tank. Also they call it Batch 3 and have drawn a square (Batch 1) telephone box on the hull rear. There are three photos of this particular tank in the Leopard 1 Trilogy. It is Batch 3, so it should have the circular box. /p>
For the Norwegian option, the grouser rack is also missing - which is correct. The original Norwegian tanks were never fitted with grouser racks, so they used 105 mm ammo boxes tied to the glacis to carry grousers (see LW032).
General impressions ... are much the same as the original release. There is no surprise in that as the kit is 90% the same. Therefore, the same comments apply here. Please refer to the review links above.
I have only photographed the new/modified sprues as the others are already in the previous reviews.
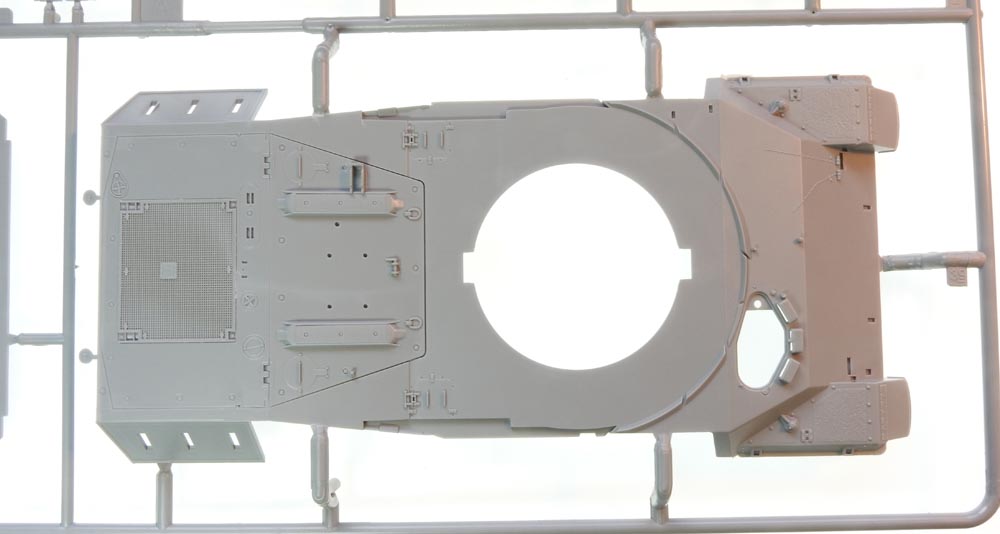
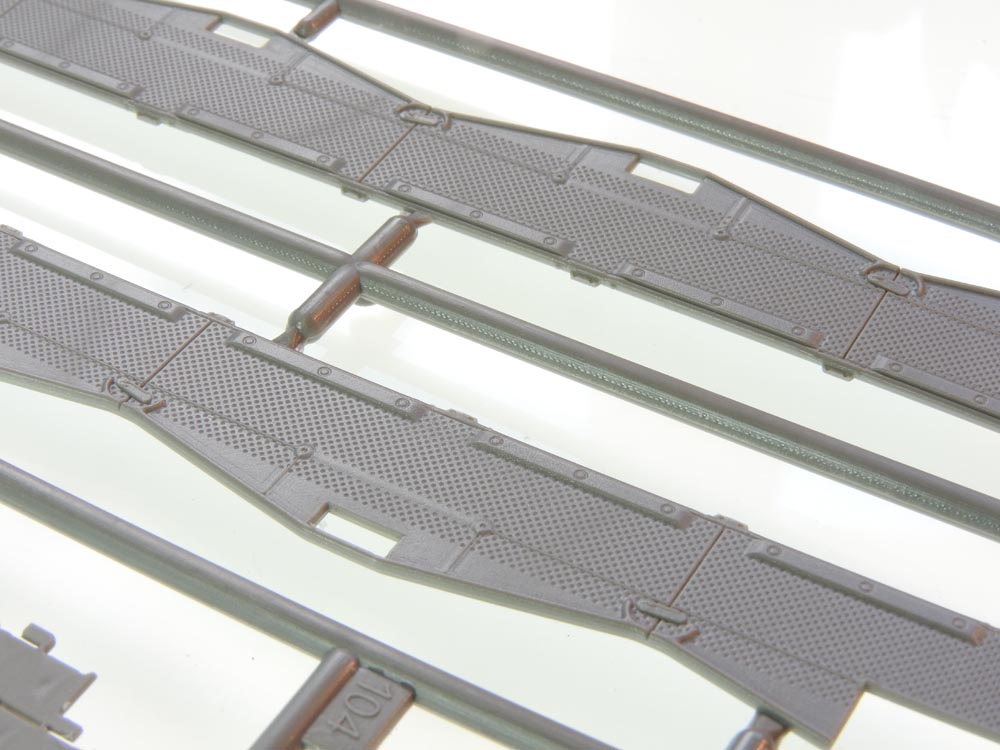
Re-worked upper hull
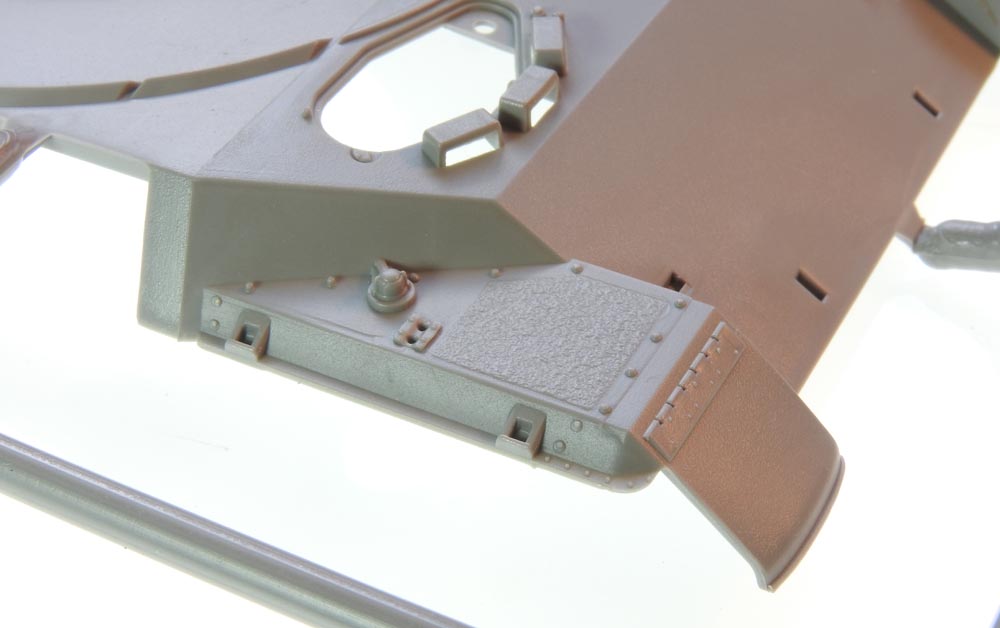
Detail of re-worked trackguard
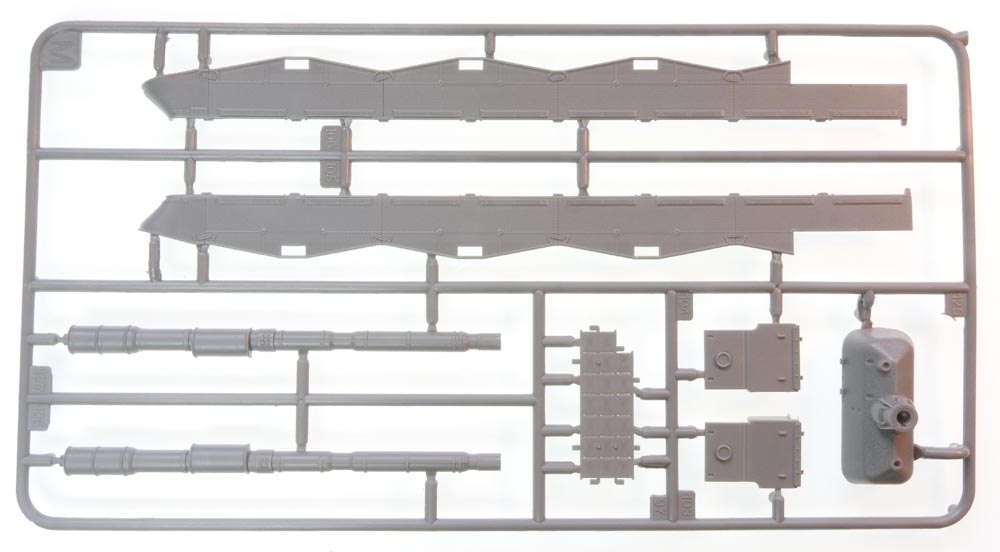
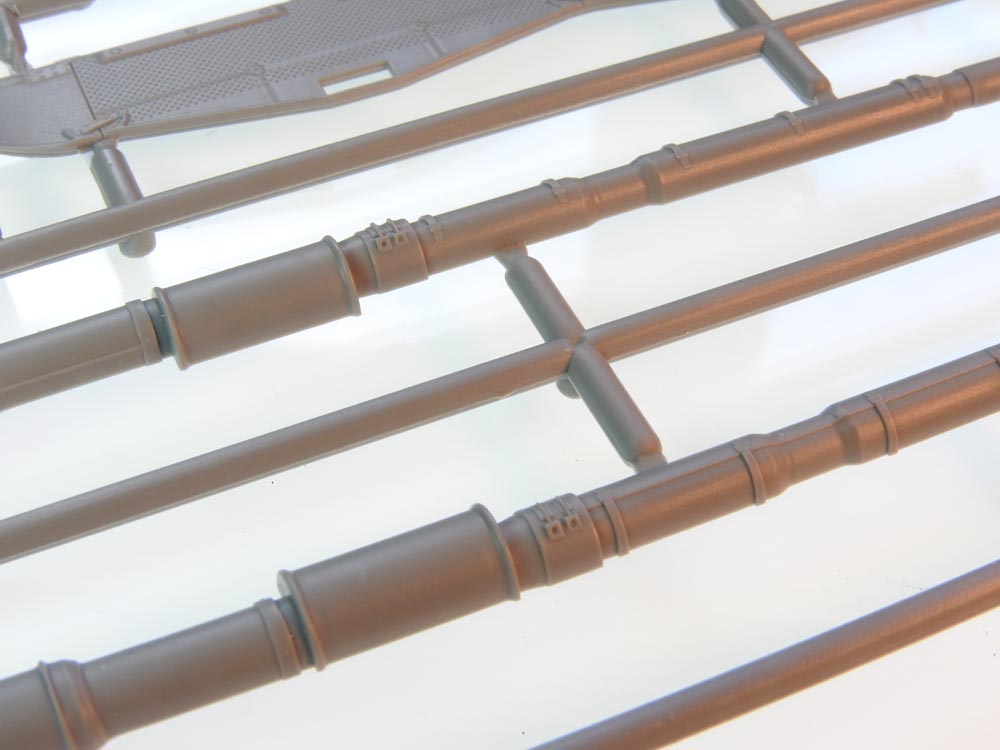
New Sprue M
Detail of side skirts.
Catches are different angles - nice. Pattern is OK but not up to Meng/Takom standard.
Detail of thermal sleeve. 2-part gun. Catches over-simplified.

Detail of grouser rack. Note the knock-out marks.
Also, I compiled this list of comments (modified here to suit the new 1A1 kit) on the Leopard Club Facebook page when the original kit reviews from Kenneth Østergaard and Jürgen Schulz were published - good and bad points together:
As I said before, overall, I like this kit. The breakdown of the parts makes sense as Revell has swapped some parts from the first kit, replacing them with new parts to make a more recent Leopard. Apart from the running gear/suspension, which I know is a major part of the kit, this is an accurate model. The sideskirts will largely cover the suspension parts, so the problem is not as pronounced as the first kit. It should be noted that these kits are licensed by Krauss-Maffei Wegmann - it says so on the box - so I hope they provided research for Revell's designers.
The quality of the engineering and fit is not up to Meng and Takom standards, but it is still more than acceptable. Maybe we have been spoiled by manufacturers like those from the Far East. Compared to the old Italeri/Revell kits - still very good for a late 1970s kit - the new Revell kits are better!
The kit represents very good value and is designed for the average modeller who will have no trouble at all building this. There are already many parts that can be used to improve it and, if you do, you will have a really good model of an early Leopard 1.
All Revell have to do now is add the turret armour (and PZB200), and at last we will have a reasonably accurate 1A1A1 (and 1A1A2) for the first time.
When the first Revell Leopard appeared, I quickly released an improvement set for the kit (LW033). This set is equally applicable to this kit. Other sets that are useful are:
© Leopard Club
![]() Contact us at leopardfibel@gmail.com
Contact us at leopardfibel@gmail.com